Esp32 / NRF24L01 Moodlight
thingiverse
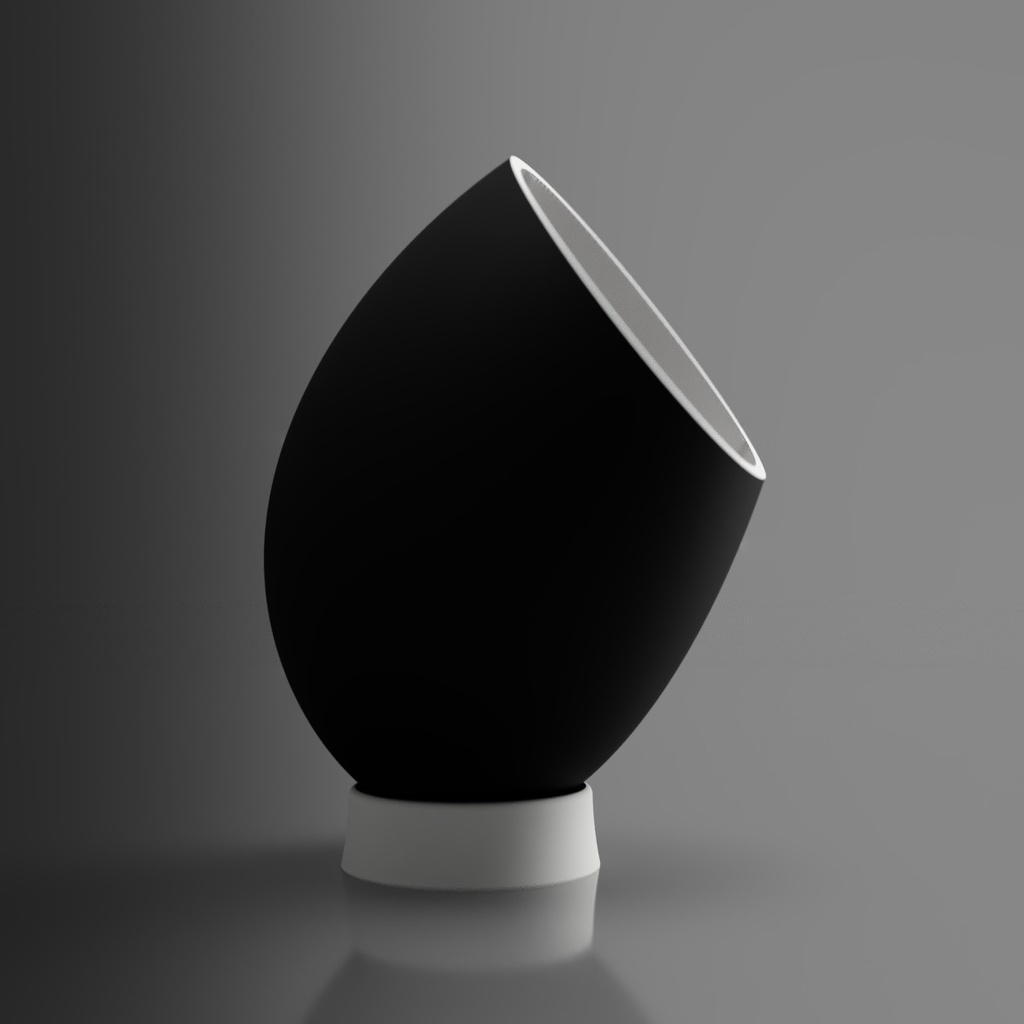
**Smart Object Project** I'm working on a school project that involves creating a smart object. The goal was to design an innovative device using wireless communication or sensors. I decided to focus on wireless communication, even though adding sensors is also an option. **Project Components** To bring this project to life, I needed the following components: - Arduino Nano (or any Arduino board with an SPI bus) - Wemos ESP32 (or any WiFi-enabled chip, like ESP8266) - 2x NRF24L01 Modules - Double-sided prototyping PCB - 1x Female DC Connector - Acrylic diffuser sheet **Mood Light Design** The mood light is a straightforward design consisting of five main components: - The outer shell - The inner ring (for mounting the LED strip) - The reflection chamber (for reflecting light to the outside) - Base Shell - Support from the shell Inside the lamp, you'll find an Arduino Nano, two NRF24L01 Modules, and nine WS2812b LEDs. These components are powered by a 5V adapter via a DC Connector located at the bottom of the outer shell. The base is built around a support generated by a slicer (I used Cura in my case). I wrapped an old sock around it and placed it inside the 3D printer Base Shell to minimize waste. **The Bridge** The bridge is also relatively simple, comprising two main components: - The inner shell (for mounting the components) - The outer shell (for aesthetics) The enclosure houses a PCB with a Wemos ESP32 and an NRF24L01 Module. The ESP is powered by the built-in Micro USB Connector. **Expandability** Since the design is clean and versatile, you can repurpose it as a module with a speaker inside, creating a sleek Bluetooth speaker.
With this file you will be able to print Esp32 / NRF24L01 Moodlight with your 3D printer. Click on the button and save the file on your computer to work, edit or customize your design. You can also find more 3D designs for printers on Esp32 / NRF24L01 Moodlight.