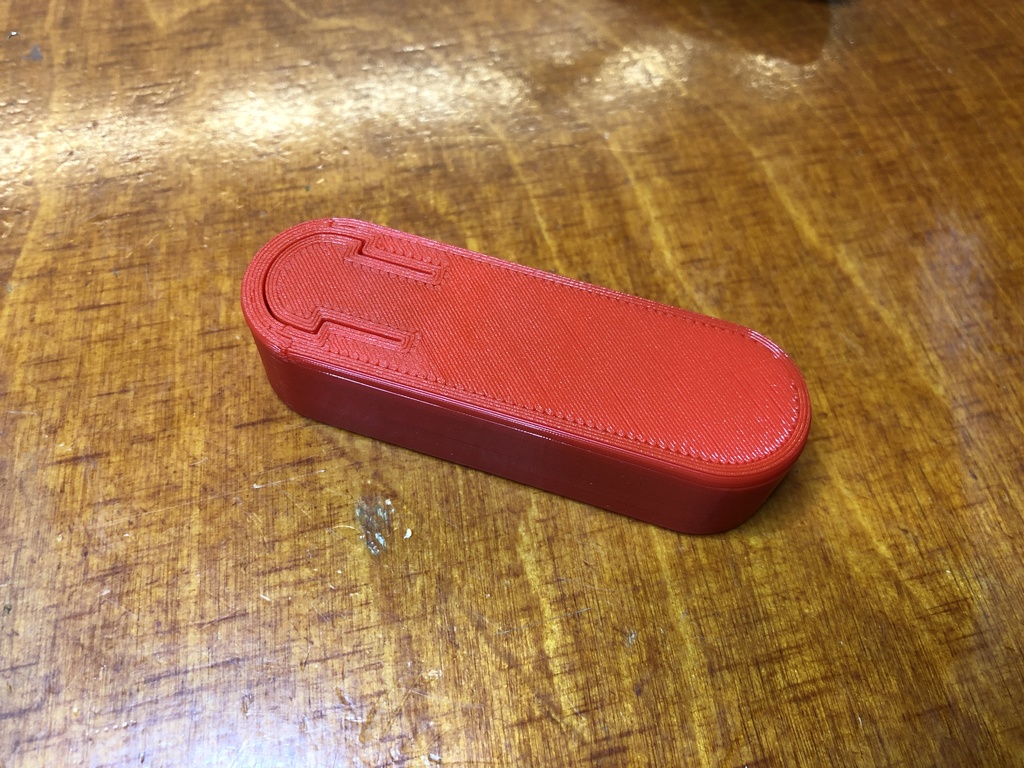
ESP8266 Dash Button with AAA Batteries
thingiverse
Well, I'm loving the ESP8266 dash buttons! I had a tool running on a pi to detect when one of them comes up and then my home automation server gets a request and one of my lamps turns on or off. Now the batteries are dead and the ESP8266 buttons don't work anymore. Now... I've got an ESP8266 dash button, and I won't explain here how you'll have to flash firmware, which one is best, and how it works. My code is self-written... Pretty simple. In Setup just do: * Connect to WiFi * Wait until WiFi connection is available * Send HTTP request to my Loxone Home Automation Server * ESP.deepSleep(); Underneath the coiled up copper wire you see in my pictures is a little bit of space so you can put there an ESP-01, an ESP-07 or an ESP-12. Whatever version you want if it has a reset connection. I used some 0.25mm² CCA copper wire and in a second one just CAT 7 Network Cable wires;). It is stiff enough to create some resistance when you put the batteries in this dash button. At the bottom end side are two holes which are both ends of a tunnel:). Push the cable through, give both ends a twist and you have negative of one battery connected to positive of the other battery.
With this file you will be able to print ESP8266 Dash Button with AAA Batteries with your 3D printer. Click on the button and save the file on your computer to work, edit or customize your design. You can also find more 3D designs for printers on ESP8266 Dash Button with AAA Batteries.
