Estes Pro Series II Star Orbiter Improvements for High Power
thingiverse
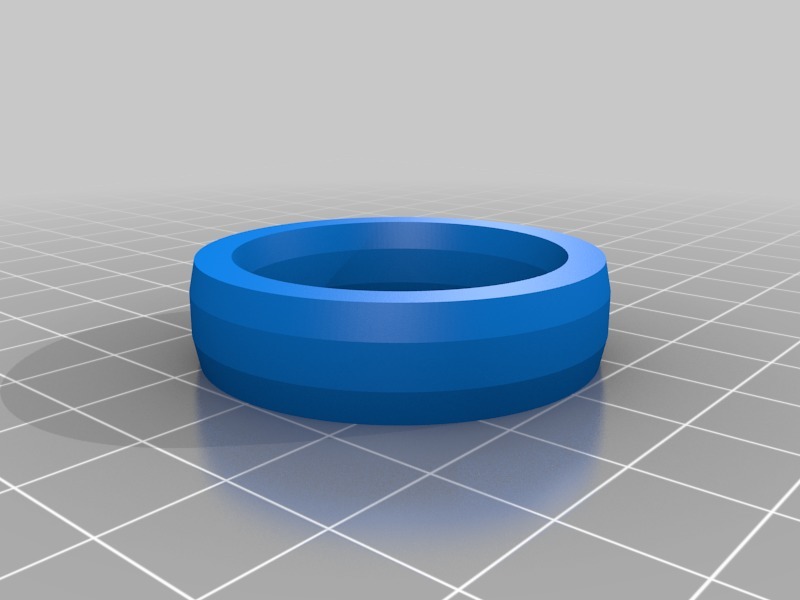
These models consist of additional parts I designed to upgrade this kit to a high power capable kit which I used for my NAR L1 certification. I've flown it several times on E-H motors, up to an AT H135 that puts it over 4000' AGL. Sims say another 500' if I flew without my gps tracker, but I'm not just about to try that in the sage we normally fly in. To build it as I did you will need: 1x centering ring with holes 2x centering rings 6x pocket splines Note that since these are all touching the motor tube and some are structural you will want to use PETG or ABS, not PLA. The centering rings replace the cardstock ones that come with the kit. Use the one with the holes at the top and thread your recovery harness anchor through it. I used a 6' length of 1/8" diameter kevlar line in a basic inverted V shape. Both ends of the line come in from the top, through those holes and are wrapped around the motor tube a few times, then epoxied in place. The middle of the line has a simple loop knot tied in it and is where the rest of the recovery harness attaches with a quick link. The other two centering rings go in place as normal at the top and bottom of the fin slots. The pocket splines have a curved side that should be placed against the motor mount tube, and a set of holes that face the fins. They are tacked in place with a bit of CA and should be set about 2.5 - 3x the thickness of a fin apart. They are not intended to be structural they merely form a pocket along with the body tube and motor mount tube into which you can place epoxy and then insert the fins. The objective is that these splines are about the same height as the centering rings to just barely graze the inside of the body tube. Note that you will need to trim to length (or scale on that axis before printing) to match what length you have between your centering rings. If you can't insert the prepped motor mount into the body tube due to one of them not seating flush you can trim the top edge with a knife blade after they are glued in place. Other non-printed changes needed for HPR These are the other changes I made to my kit that I highly encourage. 1. Paper the fins. I used typing paper and wood glue before installing them. Any decent strengthening method should work... I've also seen it done with a tip to tip papering after they were installed in place. 2. Upgrade to wood glue or epoxy... not white glue. I used wood glue for the coupler and epoxy for all the work around the motor tube and fins... but the fins could be done with wood glue as well. Only these 3D printed centering rings have to be epoxied, since wood glue doesn't bond to plastic well. 3. Use glue/epoxy "nails" on the fins and body tube, both on the inner and outer fillets. 4. Upgrade the recovery harmes to all kevlar line. I did a fairly standard Y harness by using 1/8" diameter anchor attached to the motor tube on both sides and a quick link at the top (it comes a few inches past the top of the body tube, then ran about 20' of a thinner line from the quicklink to the nose cone.
With this file you will be able to print Estes Pro Series II Star Orbiter Improvements for High Power with your 3D printer. Click on the button and save the file on your computer to work, edit or customize your design. You can also find more 3D designs for printers on Estes Pro Series II Star Orbiter Improvements for High Power.