Eureka Mignon Specialita Dial Knob
thingiverse
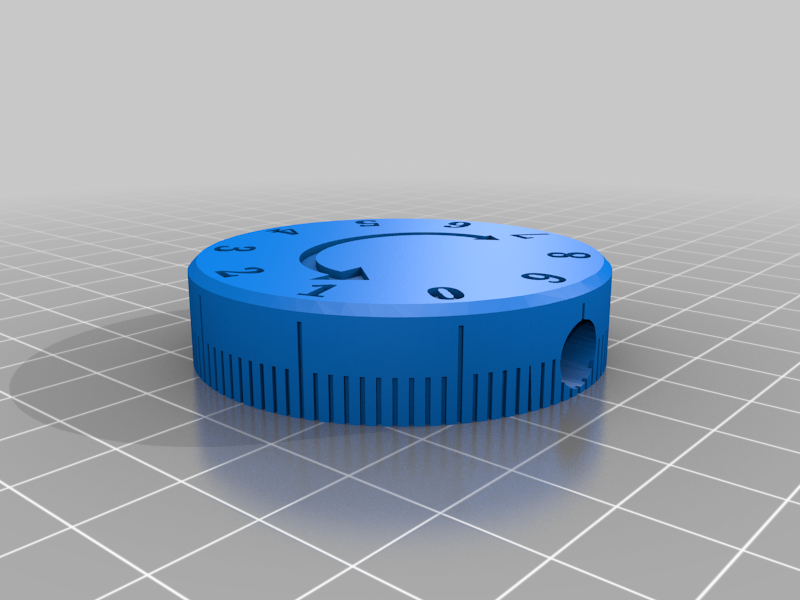
An upgraded version of this [original](https://www.thingiverse.com/thing:4786832), where the original required screwing through the model's material, which I didn't like. In this version there's a room for a nut instead and a bigger screw hole, alongside few other upgrades. Additional ingredients: M4 narrow (regular) nut (up to 3mm depth) M4 x 8 (8mm) hex screw A pin Procedure: 1. Put the nut in place (there's a whole below the new dial button), and slightly screw in the M4 X 8 screw into to the hole so the nut will remain in place. 2. Empty your Specialita's chamber, and adjust your grind setting WITHOUT any beans until you slightly hear the burr touching, and revert a bit. That would be the zero point. 3. Attach the pin to the grinder as shown in the photo. 4. Install the 3D printed dial on the original dial with the "0" mark align to the pin, then tighten the screw. It may fit and hold the original knob without a screw, but better to have one. The design itself has prevented any scratched from happening to the original dial. Larger arrow head means coarser grind, and vice versa.
With this file you will be able to print Eureka Mignon Specialita Dial Knob with your 3D printer. Click on the button and save the file on your computer to work, edit or customize your design. You can also find more 3D designs for printers on Eureka Mignon Specialita Dial Knob.