Eureka Specialita Adjustment Dial
thingiverse
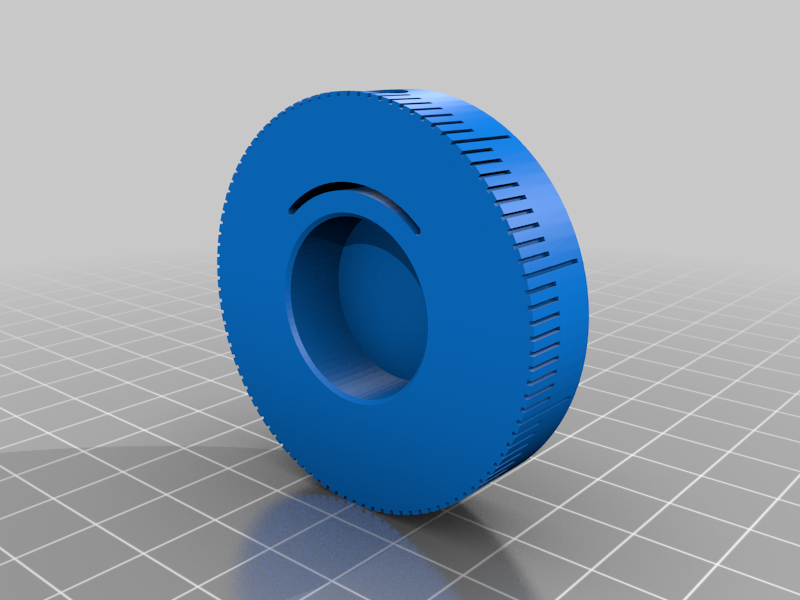
Marker adjustment dial for Eureka Mignon mk2. Easier for dialing in and setting. Repeatable. The scale lines are on the perimeter of the cylinder for easy reference to the point marker on Specialita. Additional item required: Cap screw M4 X 6mm. Procedure. Prepare the M4 X 6 capscrew or set screw and partially screw in to the hole on the 3D printed dial. After you clean you Eureka Mignon Specialita. With empty chamber, adjust your grind setting WITHOUT any beans until you can hear the burr touching. That would be the zero point. Then instal the 3D printed dial onto the original dial with the Zero mark align to the pointer on the SPecialita body without turning the dial at all. Then tighten the bolts to hold the dial. THe design itself has prevented any scratched from happening to the original dial. Now, you'll have a proper ZERO point where the burrs are touching. Enjoy.
With this file you will be able to print Eureka Specialita Adjustment Dial with your 3D printer. Click on the button and save the file on your computer to work, edit or customize your design. You can also find more 3D designs for printers on Eureka Specialita Adjustment Dial.