Eurochron EFBU811 radio controlled clock stand
prusaprinters
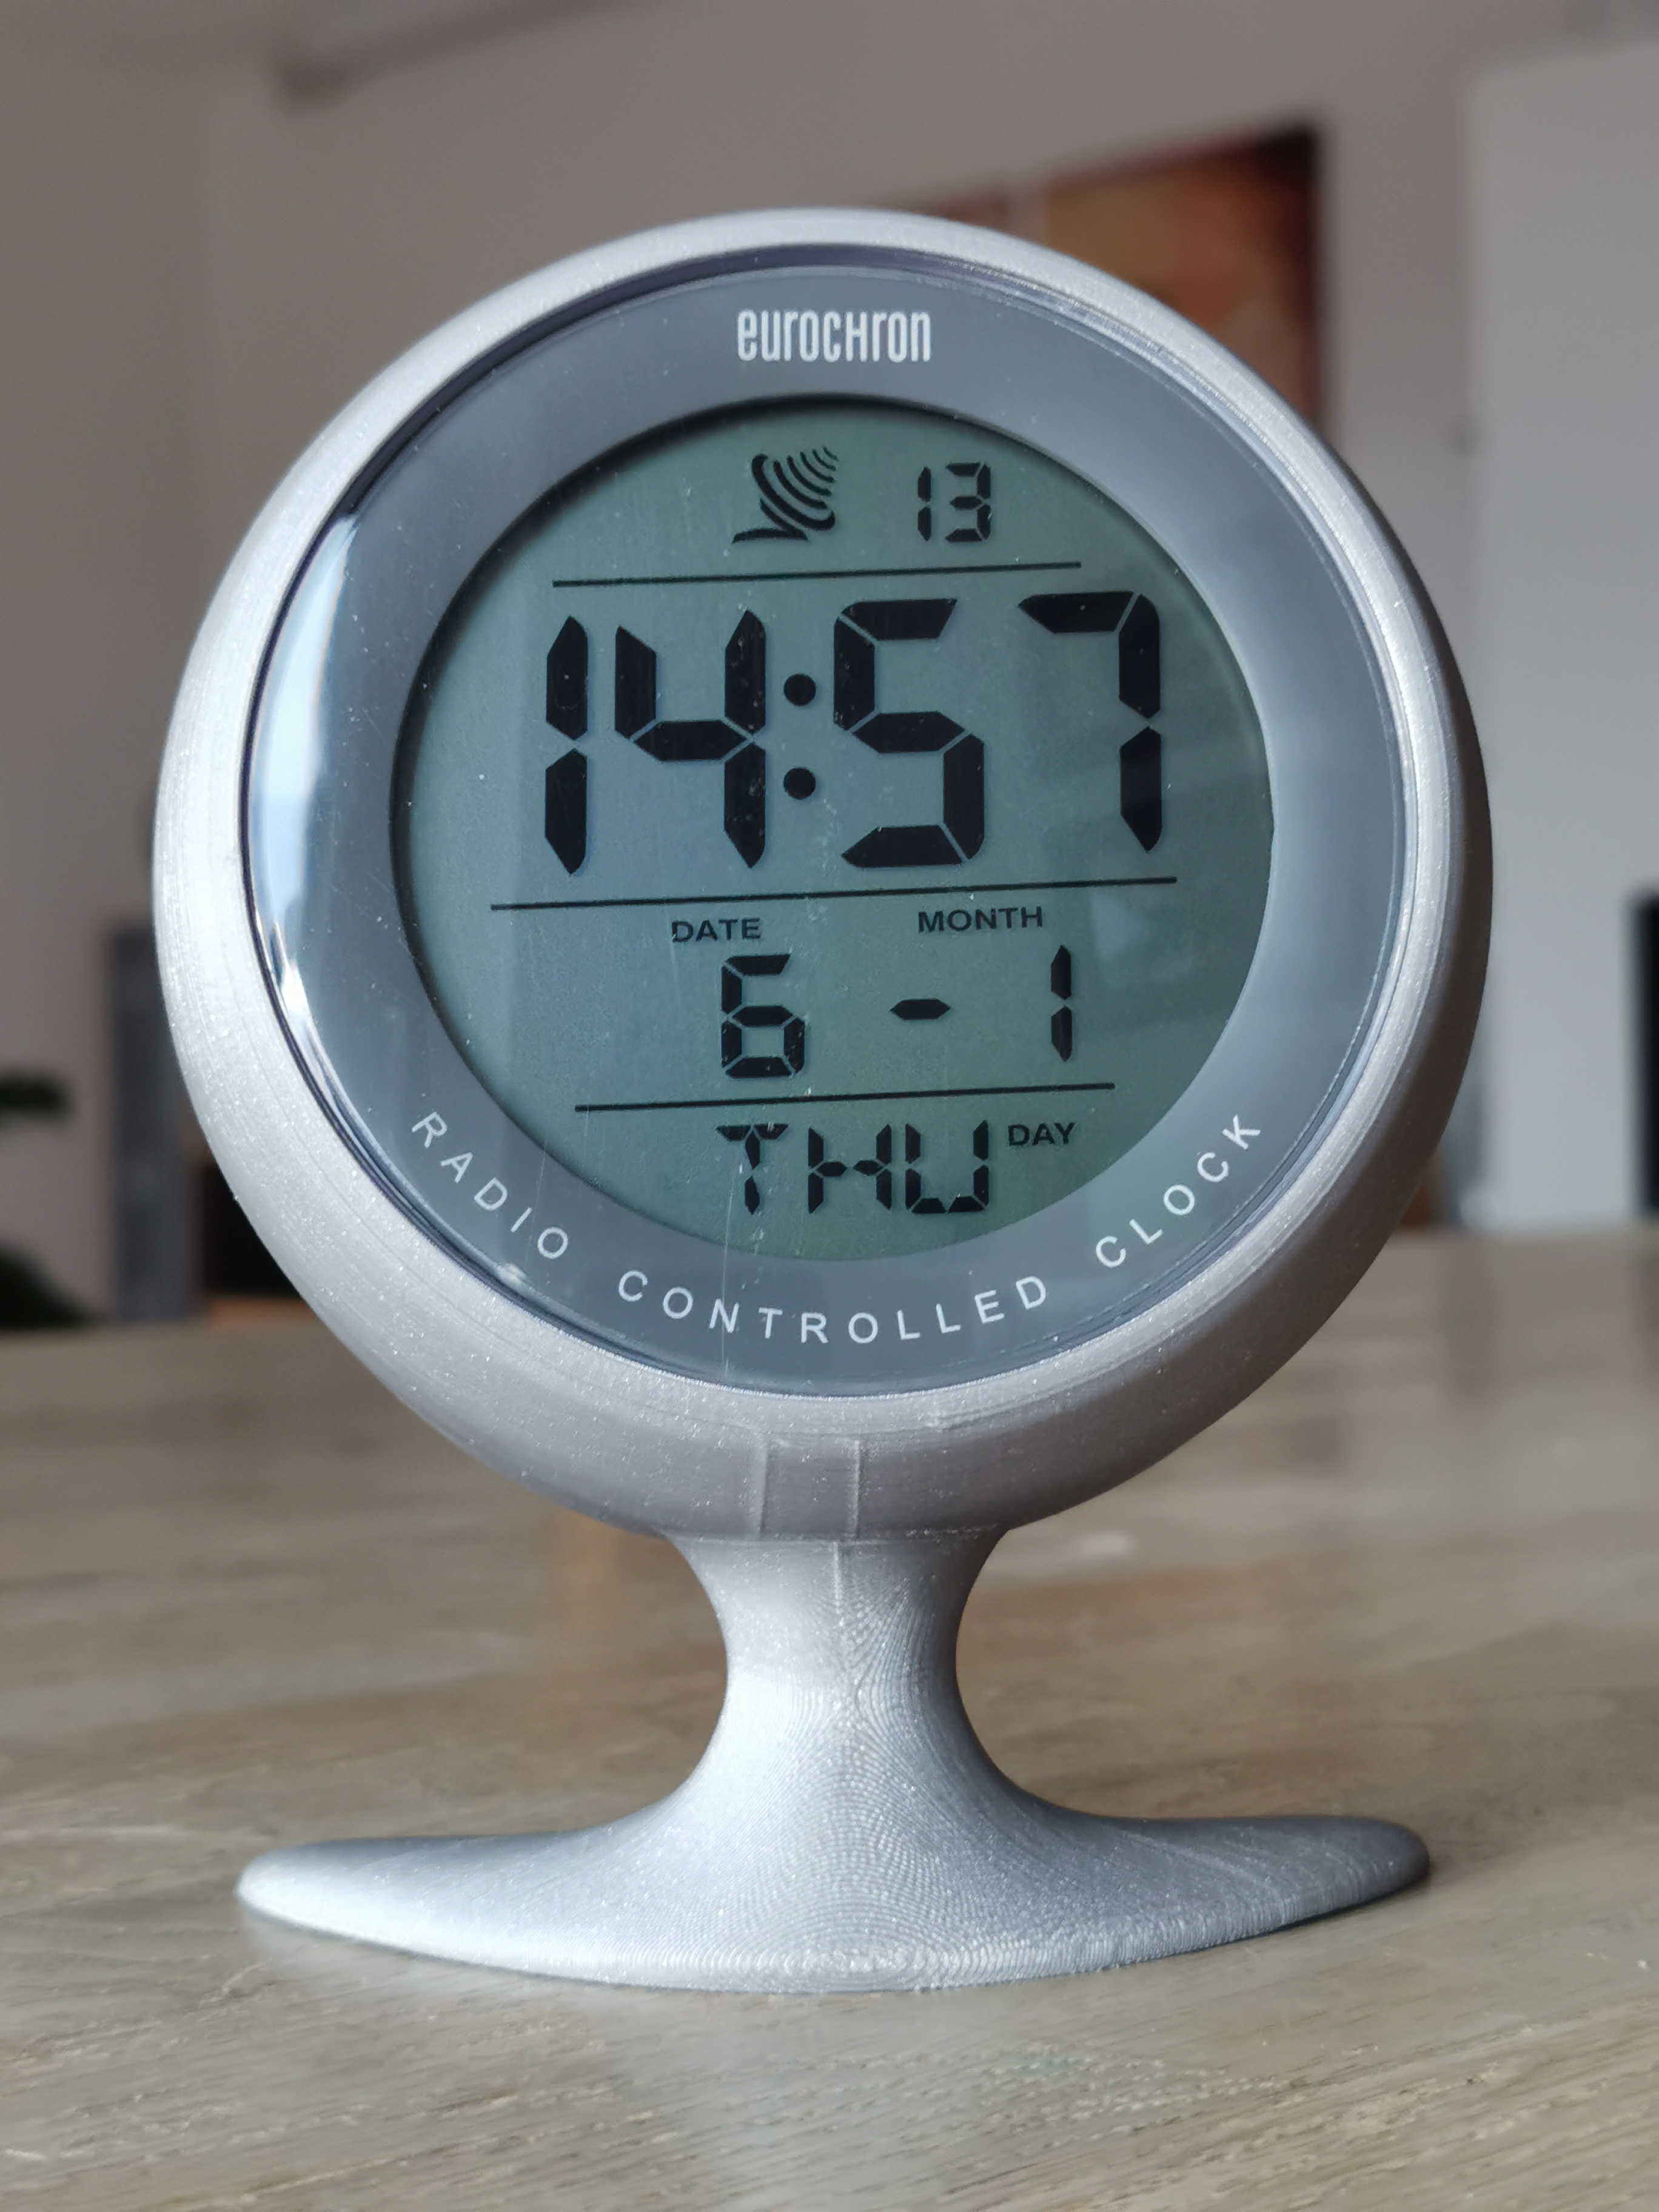
<p>The Eurochron EFBU811 radio controlled clock from Conrad Electronic is usually attached to smooth surfaces with a suction cup on its backside. The plastic screw broke so I decided to make a self standing housing. The clock can be just snapped in from the backside.</p><p>Due to the freeform shape, print preparation isn't very easy, but manageable! I used a combination of custom supports, automatic supports and variable layer thickness. For your convenience, I added the .3mf file for prusa slicer or you even directly go with the .gcode in your MK3S. Carefully remove supports as the structure is very thin in some areas. Using pliers might help ;-)</p><p>Assembly is very easy at the end: Just lay the stand onto a table, facing front side downwards and gently push the clock inside. You will need some pressure and make sure that it's not tilted. Onece it snapped in, you will be able to turn the clock inside the stand for correct alignment.</p><p> </p>
With this file you will be able to print Eurochron EFBU811 radio controlled clock stand with your 3D printer. Click on the button and save the file on your computer to work, edit or customize your design. You can also find more 3D designs for printers on Eurochron EFBU811 radio controlled clock stand.