Eurorack Vector Rails
thingiverse
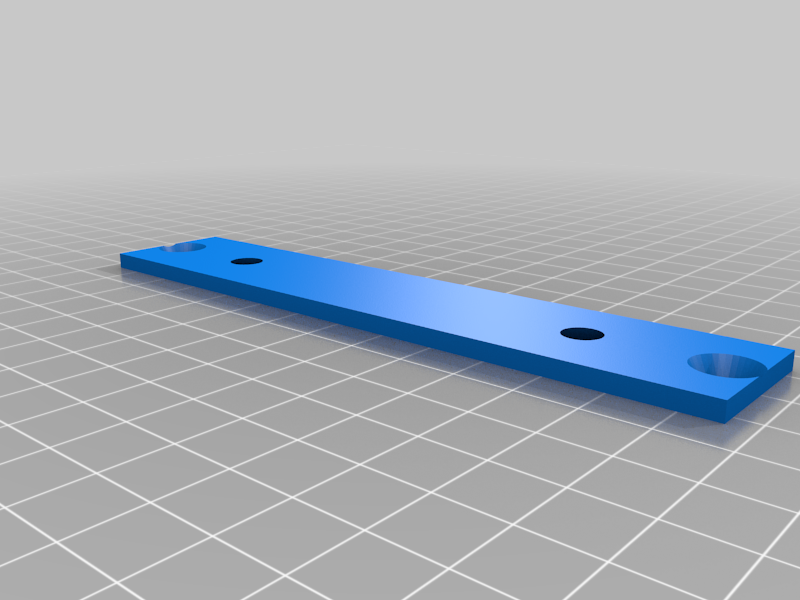
These are Vector Rails I made connectors so you can connect more than one rail together if you have a small printer. Or, your printer isn't big enough for the hp you are wanting to print. The support part is for the Full Rail. If you are printing a long rail and you think it will dip and/or flex, then you need to use full rail so you can use the connectors AND supports. Connectors and supports should be centered on joining seams. I suggest using Loctite Super Glue Ultragel Control at LEAST with the connectors. Connectors and Supports should be resized according to what you think they should be. Supports attach through the underside(obviously) but the "leg" needs to be long enough to touch the bottom of your case. Plan ahead, if you know you are going to have to print multiple rails to get the hp you need and you know what modules you have; print lengths of rails in a way that you KNOW the seams will be in the MIDDLE of a module(Will REALLY help reinforce rail stiffness). I included the Fusion 360 files in case you need to tweak anything. Simply speaking(support part aside) you only need to stretch or shrink the parts on the Z axis ONLY to achieve most size changes you need and can easily do this adjustment in your slicer. EDIT: ADDED 3U AND 1U MOUNTING BRACKETS
With this file you will be able to print Eurorack Vector Rails with your 3D printer. Click on the button and save the file on your computer to work, edit or customize your design. You can also find more 3D designs for printers on Eurorack Vector Rails.