Exercise axe
sketchfab
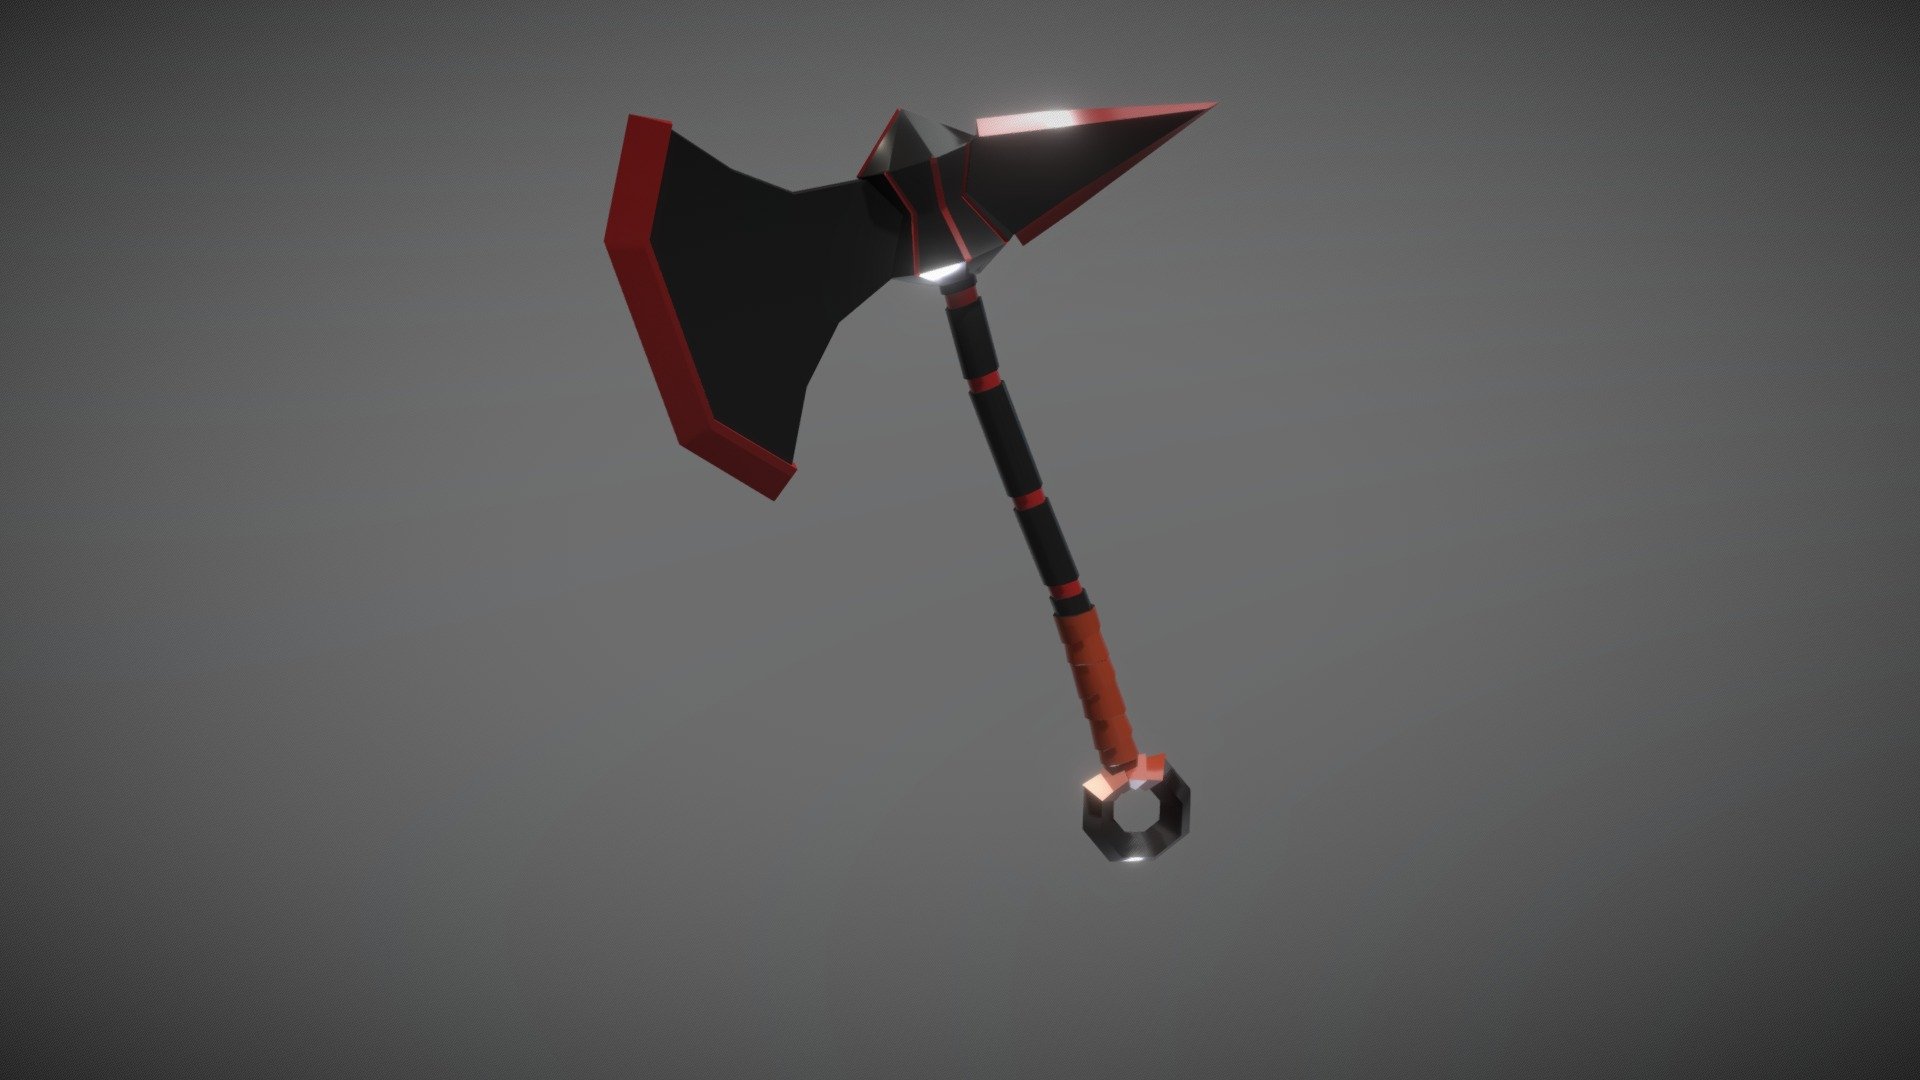
Crafting an exercise axe model in Blender involves a series of deliberate steps. First, launch Blender and select the "Empty" option from the dropdown menu to create a new project. Next, navigate to the 3D view and press the 'A' key to activate object mode. Now, click on the "Cube" button at the top left corner of the screen to generate a basic cube shape. With the cube selected, go to the properties panel and adjust the size and position to create a sturdy axe body. Moving forward, add a new mesh by pressing the 'Ctrl + A' keys and selecting the "Mesh" option from the dropdown menu. Select the new mesh and scale it up to the desired size using the 'S' key while holding down the 'Shift' button. Repeat this process to create additional meshes for the axe handle, axe head, and other components. Once all the components are created, navigate to the "Object Mode" panel and select the "Merge" option to combine them into a single object. Next, apply any necessary materials to give your exercise axe a realistic appearance. Finally, export the model as an FBX file and import it into your preferred 3D modeling software for further refinement.
With this file you will be able to print Exercise axe with your 3D printer. Click on the button and save the file on your computer to work, edit or customize your design. You can also find more 3D designs for printers on Exercise axe.