EZ Tiles
thingiverse
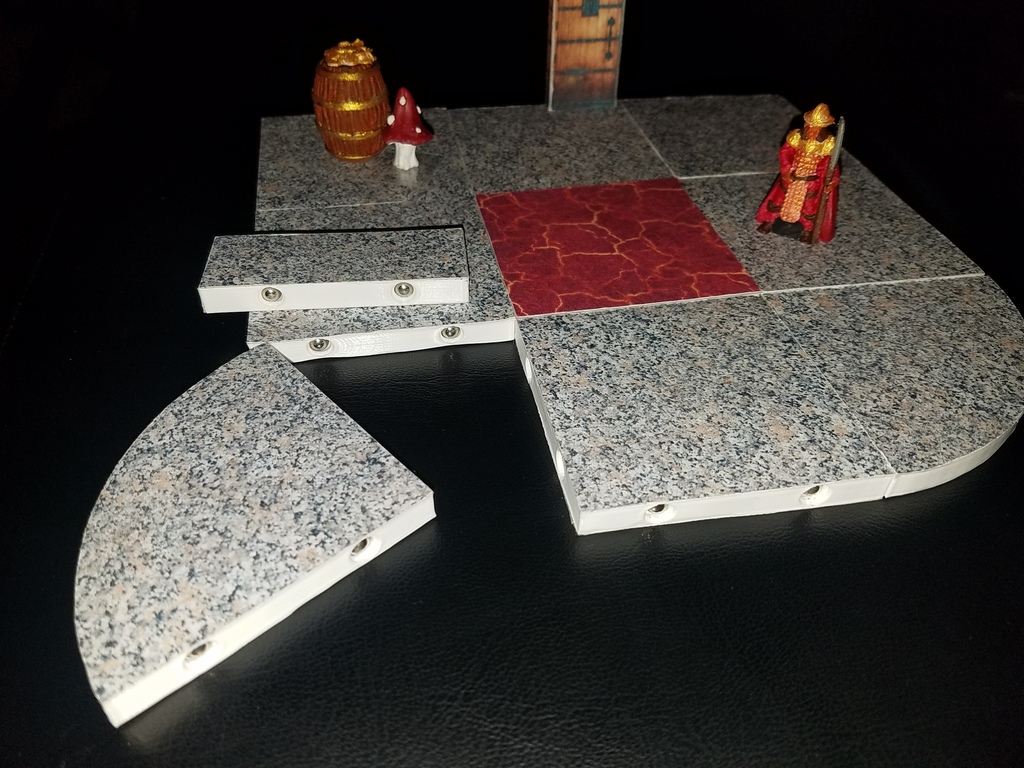
EZ Tiles! 1) 3D print tile. 2) Press fit 5mm sphere magnets. 3) Print and cut-out texture. 4) Use double stick tape to attach texture to tile. These have a number of benefits. If you attach the textures with tape, they are easy to remove and replace, meaning that you can completely update your tile set to a new look with an evenings work, or make a one-off tile in 5 minutes. The tiles are two-sided, so one set is actually two sets. Walls are separate pieces and can be attached on top, or to the outside of a floor tile. Dungeon features like doors and traps can be mounted on a "clip-on" tile that can also be attached on top, or to the outside of a floor tile. (Like the door in the pictures) Tiles/walls/clip-ons stack flat and stick together magnetically for storage. OpenScad file can be used to adjust press fit magnet tolerances and to make other shapes/sizes of tile.
With this file you will be able to print EZ Tiles with your 3D printer. Click on the button and save the file on your computer to work, edit or customize your design. You can also find more 3D designs for printers on EZ Tiles.