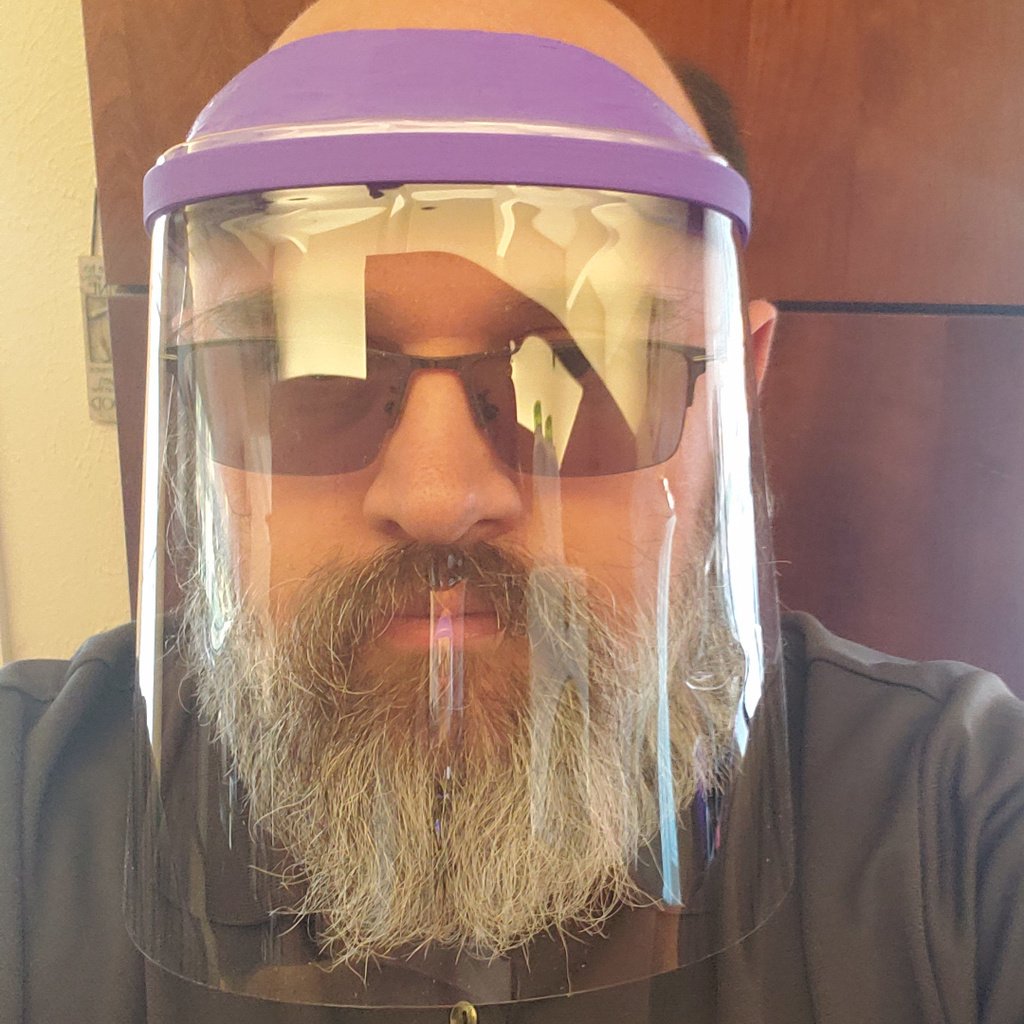
Face Shield Visor with Bed Adhesion Tabs
thingiverse
This text appears to be a lengthy description of 3D printing settings for creating face shields during the COVID-19 pandemic. It includes detailed specifications for both 0.4mm and 0.6mm nozzle print settings, as well as general guidelines for printer and material choices. Some key points from this text include: * The author has optimized their 0.4mm nozzle print settings to complete a single face shield in between 1.5 and 1.75 hours. * They have also developed print settings for a 0.6mm nozzle, which allows them to print two face shields in 1.6 hours. * The author has included a disclaimer stating that their remixed and modified prototype 3D model has not been tested by any laboratories and is not approved by any regulatory agency. Overall, this text provides detailed information on 3D printing settings for creating face shields during the COVID-19 pandemic, along with some general guidelines for printer and material choices.
With this file you will be able to print Face Shield Visor with Bed Adhesion Tabs with your 3D printer. Click on the button and save the file on your computer to work, edit or customize your design. You can also find more 3D designs for printers on Face Shield Visor with Bed Adhesion Tabs.