FaceCube: Copy Real Life with a Kinect and 3D Printer
thingiverse
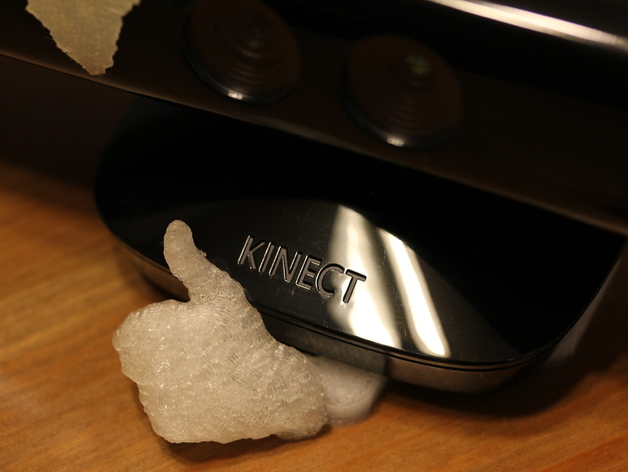
This project is my open-source creation of solid models from real-life objects using Python libraries like libfreenect, pygame, NumPy, MeshLab, and OpenSCAD. It's documented on my blog, but I'll summarize here. The project originated from the inspiration of a published work showing only a description and pictures. FaceCube allows you to create unique items like carbonite-frozen self-portraits, face-on-gear objects, or personalized paperweights. The process involves running the facecube.py script, adjusting depth threshold and segmenting objects using arrow keys. Objects can be saved as PLY format point clouds, which are then opened in MeshLab to create STL files. These STL files are imported into OpenSCAD or Blender for further modification and 3D printing. The code is hosted on GitHub, works on Ubuntu 10.10, and requires recent versions of pygame, numpy, scipy, MeshLab, and Blender.
With this file you will be able to print FaceCube: Copy Real Life with a Kinect and 3D Printer with your 3D printer. Click on the button and save the file on your computer to work, edit or customize your design. You can also find more 3D designs for printers on FaceCube: Copy Real Life with a Kinect and 3D Printer.