Fallout Liberator
thingiverse
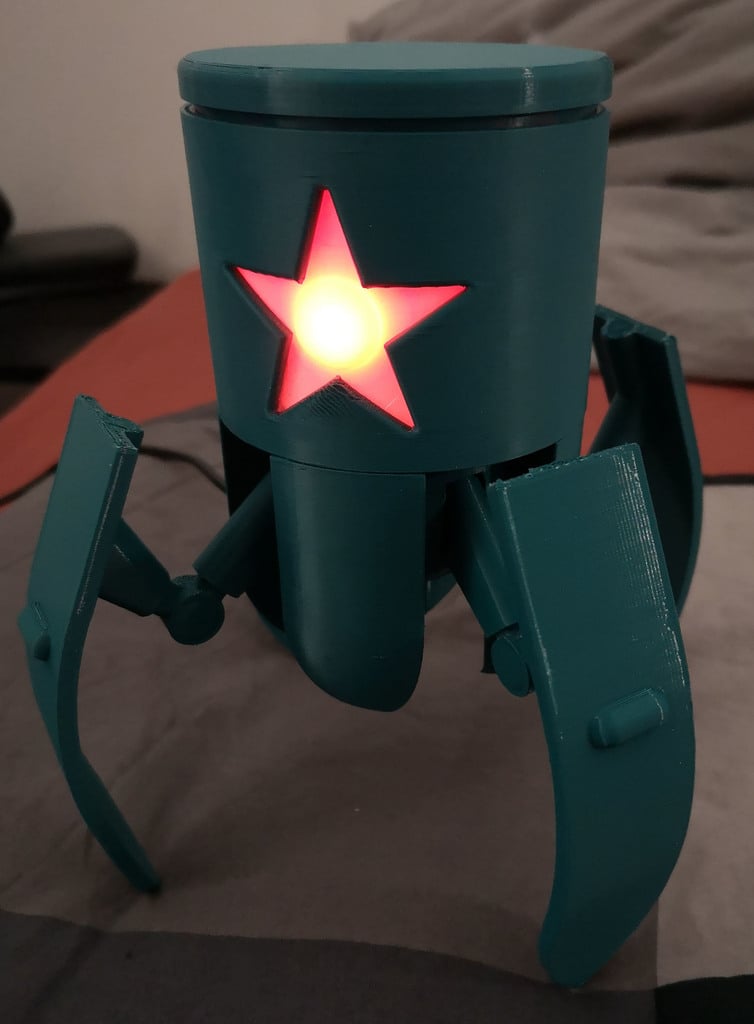
Simple RGB-Lamp-Conversion of the original thing: https://www.thingiverse.com/thing:3209347 You need to print every part once (except the source ;)). I recommend to use a dark filament, to prevent leaking lights. Infill amount doesn't really matter, I made mine with 1%. The file "head.stl" should be printed with white filament (or maybe translucent) and 100% infill for the best visual effect. Additional you need to print "Liberator_v2_Leg.stl" from the original thing four times (I recommend 50% infill + print in 98% size for perfect fit). Only "upper_body.stl" and "Liberator_v2_Leg.stl" need a bit support. Upper_body, lower_body and eye need to be glued, the rest should stick by itself. If you dont care about mutch supports,you may print upper and lower_body as one part. For 100% scale this can be lit up with only one WS2812 LED glued to the stand behind the star. On one off my pictures you can see possible solution to use more LEDs. I recommend control via Wemos D1 mini and WLed firmware, but thats up to you. For every one who has no plan on electronics, programming and this stuff, this tutorial may be a good start to light this up https://www.instructables.com/How-to-Use-Wled-RGB-Controller/ If you don't want to paint it, I used Formfutura rPla in Turkish Blue, its relatively close to the original color.
With this file you will be able to print Fallout Liberator with your 3D printer. Click on the button and save the file on your computer to work, edit or customize your design. You can also find more 3D designs for printers on Fallout Liberator.