Fan Duct for - LulzBot TAZ Dual Extruder V3 Tool Head
prusaprinters
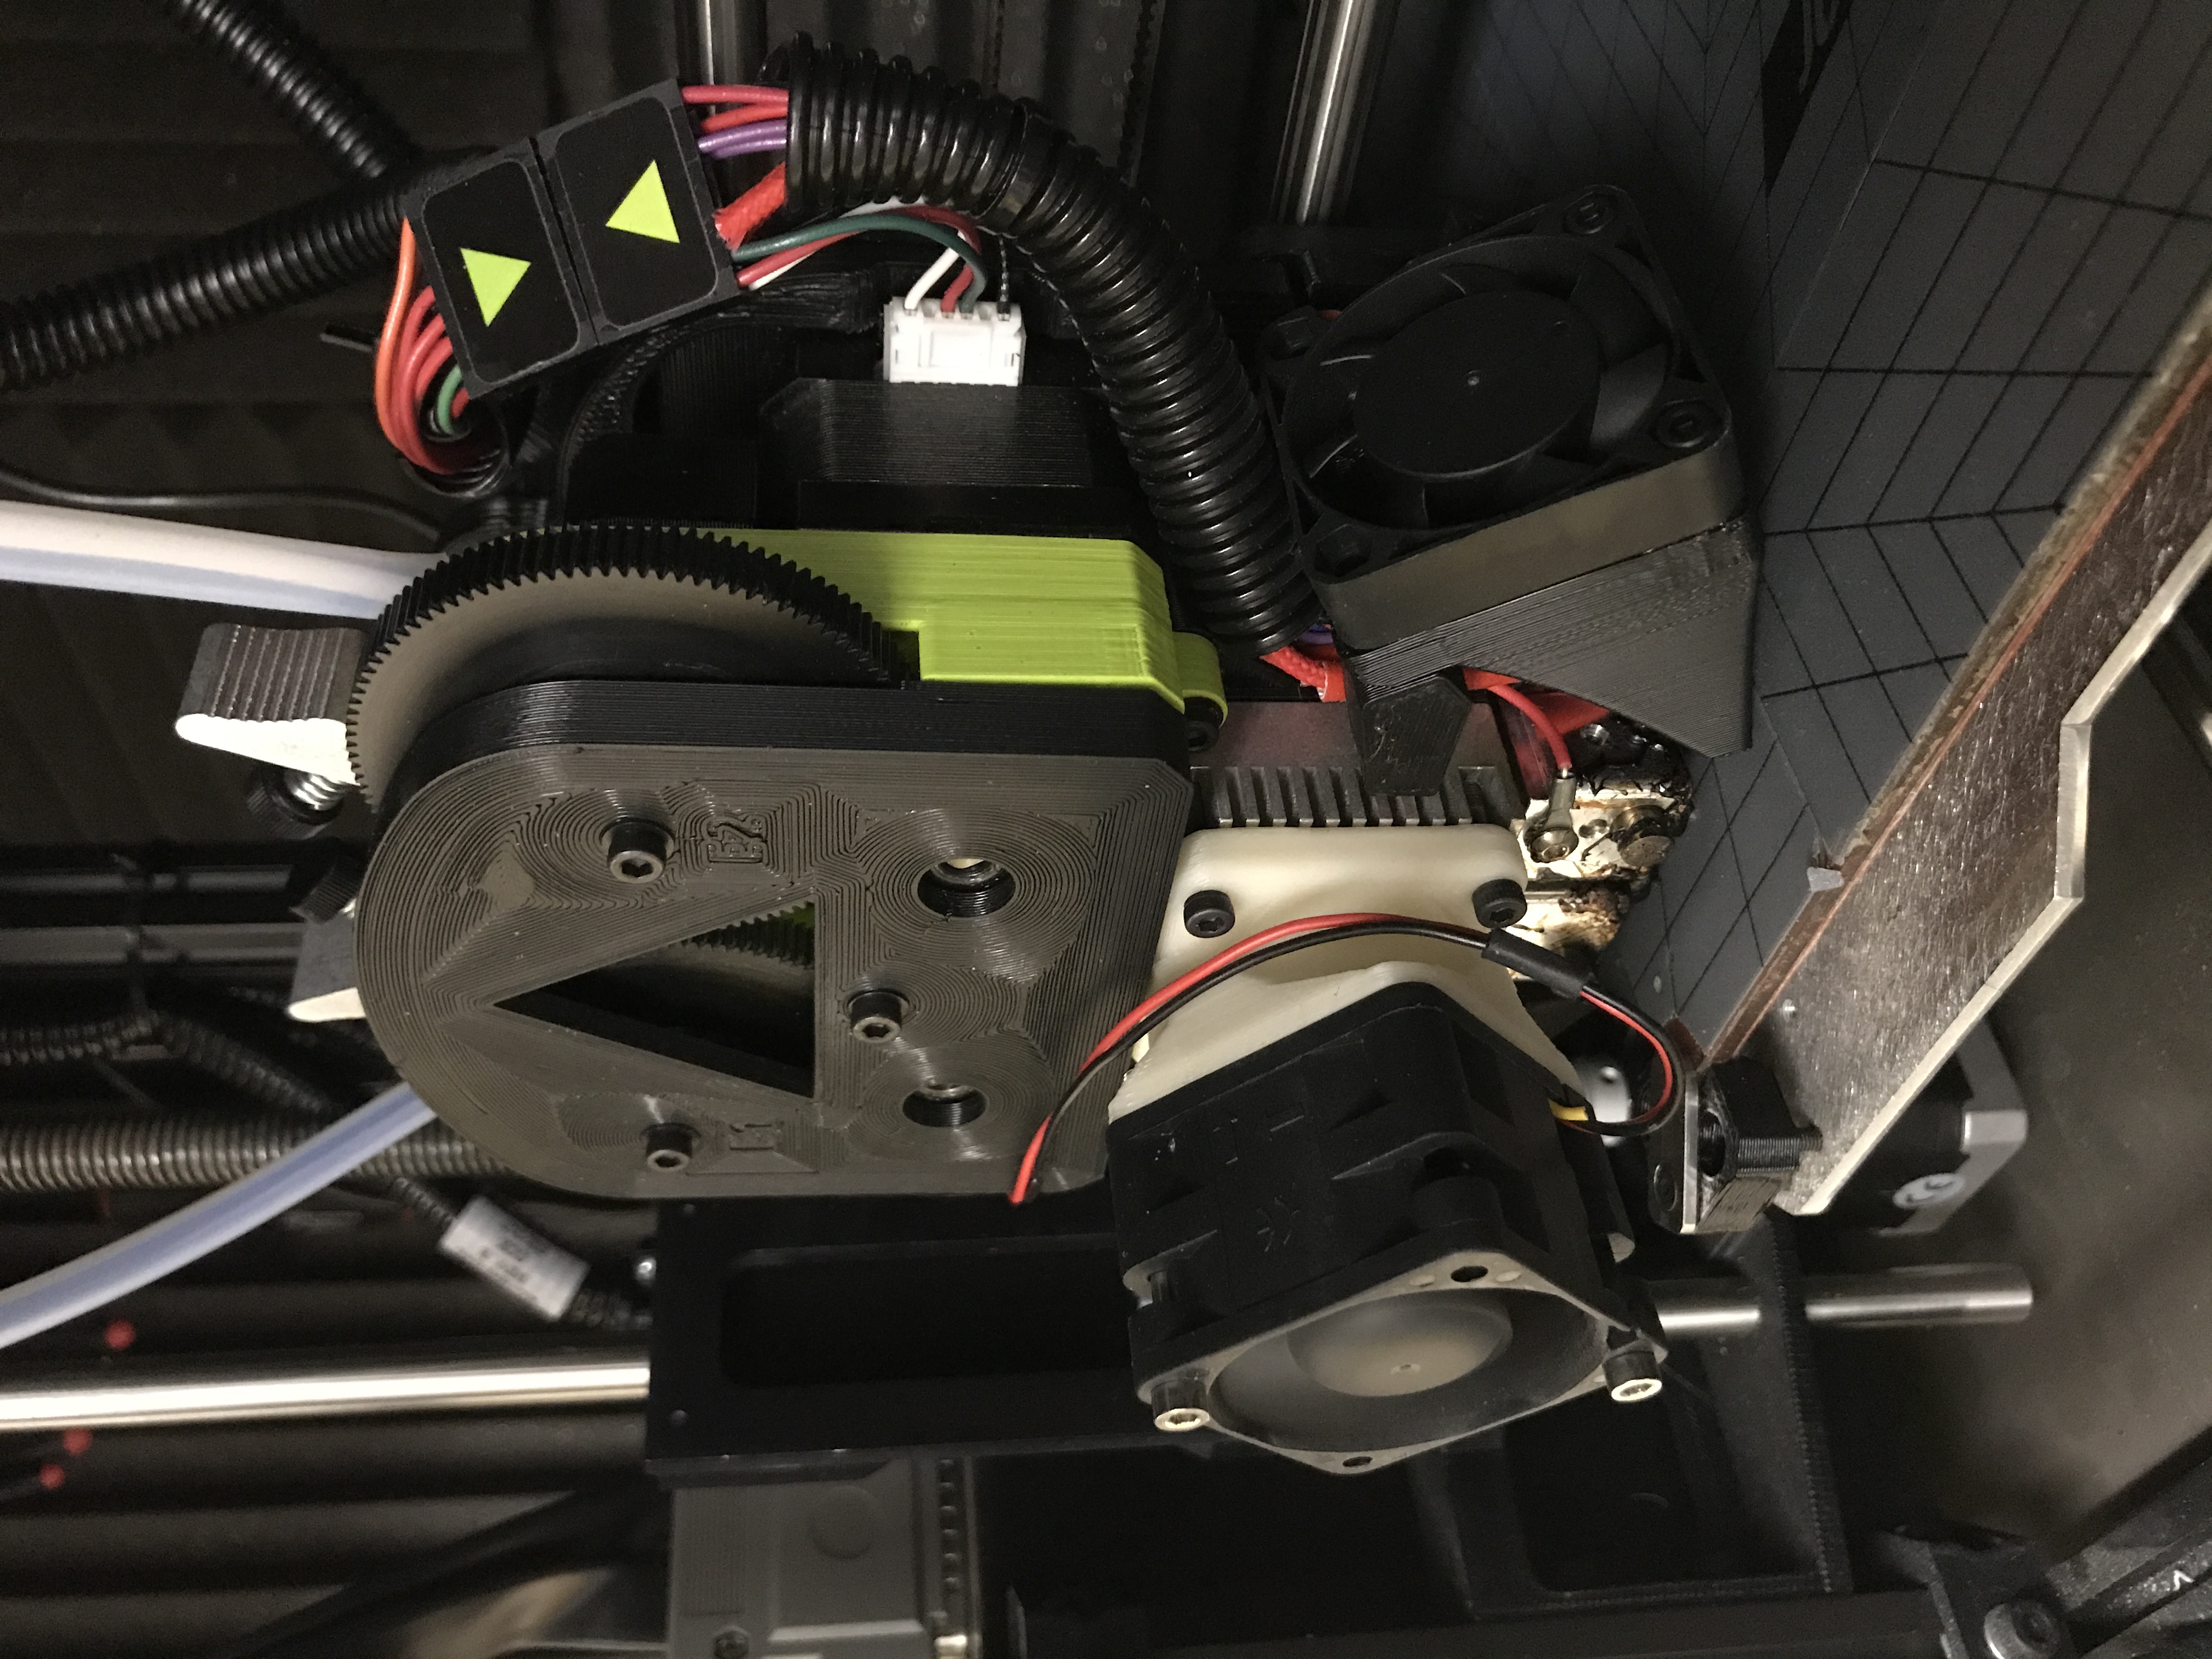
<p>The Lulzbot Taz Dual Extruder V3 is a great tool head. And as long as you use the Brands of fillament that they suggest you are going to be ok. However, if you want to use PLA from other brands the stock 5v cooling fan on top of the heat sink isn't good enough because it doesn't remove the heat from the critical areas fast enough. This allows heat to creep and cause an extruder jam.</p> <h3>Print instructions</h3><p>Unassociated tags: heat creep</p> <h3>Category: 3D Printer Parts Print Settings</h3> <p><strong>Printer Brand:</strong> LulzBot</p> <p><strong>Printer:</strong> Mini 2</p> <p><strong>Rafts:</strong> Doesn't Matter</p> <p><strong>Supports:</strong> No</p> <p><strong>Resolution:</strong> .2 MM</p> <p><strong>Infill:</strong> 20 %</p> <h3><strong>Filament:</strong> Hatchbox ABS Black How does this mod work?</h3> <p>If you look at this picture you can see that the tubes that hold the filament are located closer to the center of the heat sink. So that is where the heat will come from.</p> <p>The stock fan blows air into this heat sink in the shape of a circle. Meaning most of the air hits the outsides of the fins that are not that hot to begin with and then the air escapes out the sides. The center of the heat sink where it is hottest only gets a little air at the bottom and the top. In the picture the red zones are where the heat will be and where we want to prevent it from staying. The black area is a dead zone where the fan motor sits. So there is virtually no air flow here. The blue zone shows where the fan will blow the most air. A lot of air power just escapes out the sides without doing any good.</p> <p>This fan duct will focus all the air to enter the center of the heat sink causing all the air and with it the heat to move safely out to the sides. This even enables us to use two filaments with different heat requirements without causing any heat cross contamination. (ie. PLA at 205c and ABS at 235c.)</p> <h3> Testing Results</h3> <p><strong>Successful Tests:</strong></p> <p>Single Extrusion<br/> Several materials, PLA, ABS, PVA from several brands at different temperatures.<br/> Enclosure closed so the environment was warm.<br/> High CFM fan with 7.5 V power</p> <p>Dual Extrusion<br/> PLA and PVA both set to 205c. Hatchbox brand<br/> Each one cooling to 175 while idle then heating back to 205 while in use.<br/> Enclosure closed so the environment was warm.<br/> High CFM fan with 7.5 V power</p> <p>Dual Extrusion<br/> PLA and PVA both set to 205c. Hatchbox brand<br/> Each one cooling to 175 while idle then heating back to 205 while in use.<br/> Enclosure closed so the environment was warm.<br/> High CFM Fan on stock 5V power.</p> <p>Dual Extrusion<br/> PLA and PVA both set to 205c. Hatchbox brand<br/> Each one cooling to 175 while idle then heating back to 205 while in use.<br/> Enclosure Open for room temperature environment.<br/> Stock Fan on 5V power.</p> <p><strong>Failed Tests :( Heat Creep resulting in an extruder jam</strong></p> <p>Dual Extrusion<br/> PLA and PVA both set to 205c. Hatchbox brand<br/> Each one cooling to 175 while idle then heating back to 205 while in use.<br/> Enclosure closed so the environment was warm. (But it worked at room temperature. See above)<br/> Stock Fan on 5V power.</p> <h3> How to Build Your Own</h3> <p><strong>Credits</strong></p> <p>I give mad props to Elerosse who designed the first version of a fan duct that was intended to solve this problem. He has a good description on why his design should work. His design has worked for him. It did not work for me maybe because the brand of PLA I am using is more susceptible to heat creep or it may be because my TAZ is encased in a small sound dampening space that also traps a lot of heat. In any case I decided to try to design my own fan duct to try to solve the problem. His Fan duct is here. <a href="https://www.thingiverse.com/thing:3098955">https://www.thingiverse.com/thing:3098955</a></p> <p>Props also go to magdong for pointing out that a 5V high CFM fan would work better than the 12V version I originally suggested.</p> <p><strong>What do you need?</strong></p> <p>2x 3m screws that are long enough to hold your fan into place. If you are using the stock fan then you will need screws that are between 10mm and 15mm<br/> If you are using an upgraded fan (40x40x28mm) then you need 30mm screws.</p> <p>(Optional) Upgraded Fan (Recommended) I say this is optional because I have tested using the stock fan and I can get it to work in many situations. It did fail however in situations where there was just too much heat for it to keep up with the cooling. See the above Test Results for more information. With the upgraded fan I have had much better results even in situations with more heat.</p> <p>A High CFM fan. Thank you to magdong for suggesting a better choice of high CFM fan. In the comments magdong suggested the... 40x40x28mm Sanyo Denki Ace 40, P/N 109P0405H302 (Digikey Part Number 1688-1072-ND)<br/> <a href="https://www.digikey.com/product-detail/en/109P0405H302/1688-1072-ND">https://www.digikey.com/product-detail/en/109P0405H302/1688-1072-ND</a></p> <p>Here is the link to the one I bought and am using. Please note this is a 12 volt fan that I am using on the stock 5 volt source. This is the one I used during the tests. https://aax-us-east.amazon-adsystem.com/x/c/QmwI3ayY5b55LfK15pyMoawAAAFnDcm5FwEAAAFKAc9fm5E/https://www.amazon.com/gp/product/B073TT83ZN/ref=as\_at/?creativeASIN=B073TT83ZN&linkCode=w61&imprToken=O8RZFxW.5sSTap79rB82Xw&slotNum=0&ie=UTF8&psc=1&tag=tv-auto-20</p> <p>(Optional) separate power supply. (Not needed for most situations) In my tests the upgraded 12V fan on the stock 5 Volt Power supply moved enough air to prevent a heat creep extruder jam in all but the most extreme situations. So I think most of you will be fine just using the stock 5V power. When I was testing this setup I tested the upgraded fan with the stock 5V power. An external 7.5 volt that moved a lot of air but kept the fan quite enough to live with. And a 12 volt that moved an insane amount of air and sounded like a leaf blower.</p> <p><strong>Print and assembly instructions</strong></p> <p>I printed mine using PLA at .2mm. I really don't think it will matter much what you use as long as it can hold the screw threads.</p> <p>Screw your fan onto the wide mouth end so it will blow air into the funnel. The holes are 3.3 mm so there should be enough plastic inside the holes for the screws to grab into. If not then you will need to add some nuts to the back to hold the screws into place.</p> <p>When you mount this to the heat sink it is EXTREMELY important to position it so the cooling vent is lined up vertically. Otherwise you will suffer from more heat creep than before and you will experience more frequent extruder jams.</p> <h3> If you like this design...</h3> <p>... please click the like or collect buttons. If you love this design please consider tipping the designer.</p> <p>Thank You</p> <p>.</p>
With this file you will be able to print Fan Duct for - LulzBot TAZ Dual Extruder V3 Tool Head with your 3D printer. Click on the button and save the file on your computer to work, edit or customize your design. You can also find more 3D designs for printers on Fan Duct for - LulzBot TAZ Dual Extruder V3 Tool Head.