FDL-2 Muzzle for AmmoCounter IR Beam
thingiverse
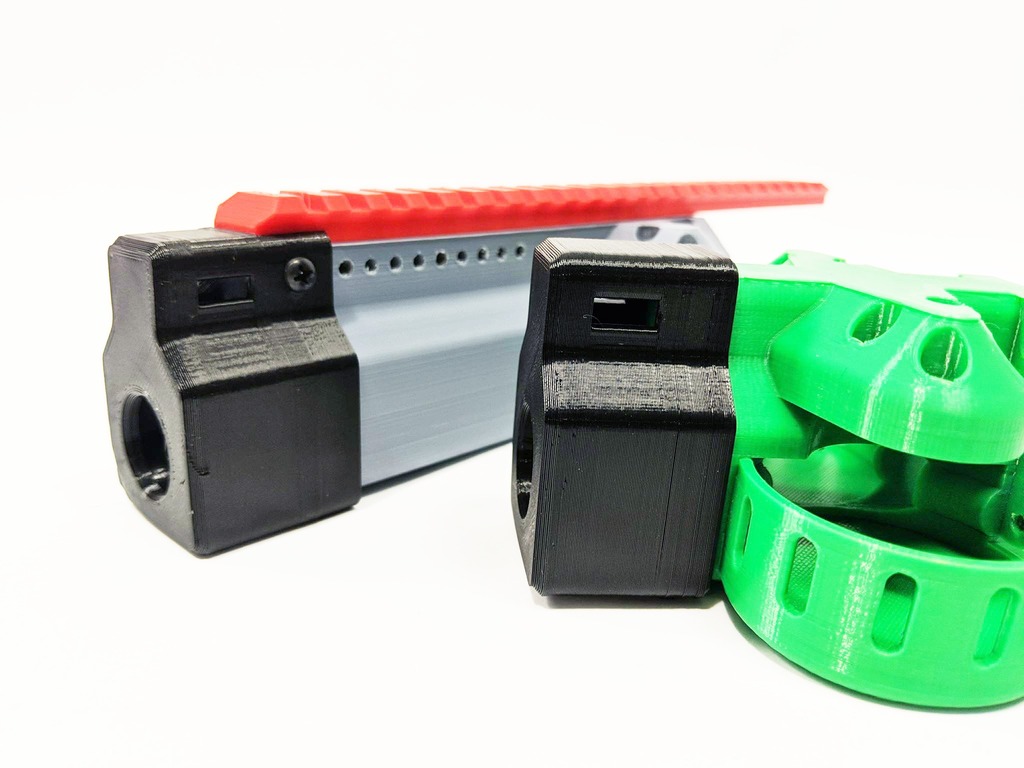
Connect your AmmoCounter to your FDL-2, FDL-2X or FDL-2V! Works great with the Universal Kit V3.0 -Available at [AmmoCounter.com](https://ammocounter.com) #####Requirements The muzzle must be printed in a dark filament I recommend black. You can paint the outside of the muzzle any color you'd like. The FDL-2 and FDL-2X requires (2) 3/4" 6-32 machine screws. The FDL-2X requires (2) 3/8" 6-32 machine screws. #####FDL-2 and FLD-2X Installation: 1. Download the fdl-2x-ir.stl and print. 2. Route the IR lead through opening in the top of the muzzle and install the AmmoCounter IR beam. (See photo for IR cable orientation) 3. Remove the 2 screws in front of the barrel cap. 4. Push the muzzle on to the front of the blaster. 5. Replace the 2 screws in front of the barrel cap with long 3/4" 6-32's screws. #####FDL-2V Installation *Note this installation requires 2 screws similar to the ones used on your FDL. 1. Download the fdl-2V-ir.stl and print. 2. Route the IR lead through opening in the top of the muzzle and install the AmmoCounter IR beam. (See photo for IR cable orientation) 3. Push the muzzle on to the front of the blaster. (You may have to adjust your picatinny/foregrip) 4. Add 2 screws to the holes in the top of the main barrel. [FDL-2 on Thingiverse](https://www.thingiverse.com/thing:1830185)
With this file you will be able to print FDL-2 Muzzle for AmmoCounter IR Beam with your 3D printer. Click on the button and save the file on your computer to work, edit or customize your design. You can also find more 3D designs for printers on FDL-2 Muzzle for AmmoCounter IR Beam.