Feederpi -The Automatic Aquarium Feeder
thingiverse
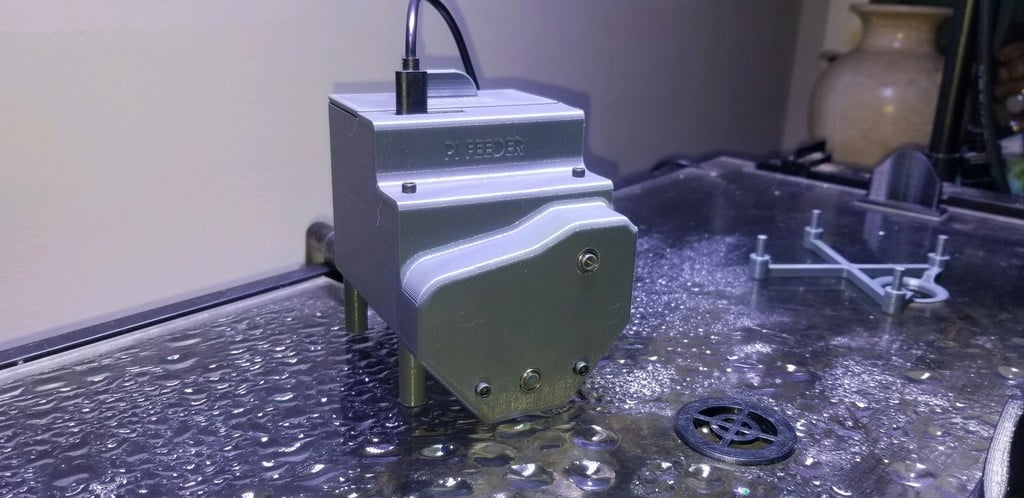
Automatic fish feeder utilizing an auger drive transports food from built-in storage tank to unit's mouth. Works with both pellets and flakes, powered by USB cable providing 5V and 2A to Pi. Auger system varies feed amount (one pinch of food to three pinches of food) depending on position at start of program. Raspberry PI Zero runs feed program inside the unit. Assemble by printing parts (PLA), purchasing required add-ons/hardware, and assembling together. SECTION VIEW PDF IN THING FILES TAB FOR ASSEMBLY DETAILS *Highlights:* Large capacity All controlled and powered from Pi Single power source; 5V/2A Single servo Varying feed amount *BOM: * 1X PI Zero (Or Pi Zero W for easier build) 4X Shielded Ball Bearings 5mm x 8mm x 2.5mm - Ebay purchase 1X 9g Servo 360 Degrees Continuous Rotation Variable Speed Bi-directional - Ebay Purchase Use provided servo hardware to mount and install printed drive pulley. 1X GT2 20T 6mm Width 5mm Bore Pulley Toothed - Ebay Purchase 1X GT2 150 Tooth Belt, 6mm wide - Ebay Purchase 1X GT2 Idler Pulley Toothed 3mm Bore 2X M3x0.5 Bolt, 35mm length 6X M3x0.5 Bolt, 8mm length 4X M3x0.5 Bolt, 12mm length 1X Micro B USB Cable-Length varies based on application *How to program:* 1.) Flash Jessie lite to your PI. Boot up, SSH into pi, enable VNC, connect to the internet, install desktop environment. Download VNC to your computer of choice to interface with pi, login to Feederpi desktop. 2.) Open your terminal and create a script. 3.) Add the following text to your freshly created script: import RPi.GPIO as GPIO import time GPIO.setmode(GPIO.BCM) GPIO.setup(2, GPIO.OUT) #I use GPIO pin 2; Refer to Pi GPIO pin chart for your pin num GPIO.setwarnings(False) p = GPIO.PWM(2, 100) p.start(5) print "start" p.ChangeDutyCycle(2.5) time.sleep(.2) GPIO.cleanup() 4.) Install Cron on your pi. 5.) Add the new script to your Cron and set the Cronjob schedule to your liking. Mine is set to run twice a day, 10 A.M. and 9 P.M. 6.) Done! *How to mount to tank:* Provided is a fixed mounting base made for a cutout (1.18" Hole) in your aquarium's cover. I will also be adding a variety of different mounting options as I continue to support this project from the feedback of others.
With this file you will be able to print Feederpi -The Automatic Aquarium Feeder with your 3D printer. Click on the button and save the file on your computer to work, edit or customize your design. You can also find more 3D designs for printers on Feederpi -The Automatic Aquarium Feeder .