Festool MFT Clamp - Modified Components
prusaprinters
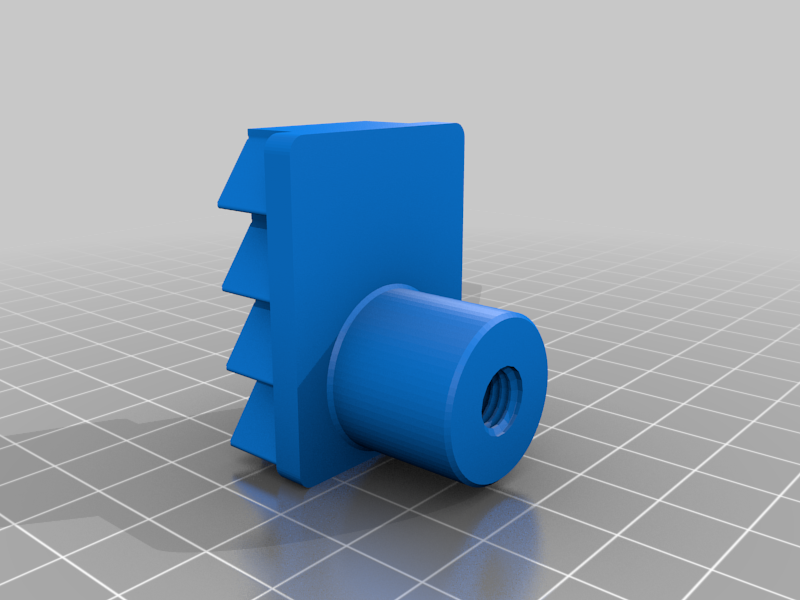
<p>I modified Einstellblock.Part.1_Rev.2 and also Exzenterspanner.Part.2 by adding a M8 through thread and also shortened the dog length from 25 to 17mm so these pieces can be secured to the MFT top using a M8 knob (or M8 bolt and flat washer) from underneath.</p> <h3>Print Settings</h3> <p><strong>Printer Brand:</strong></p> <p>Prusa</p> <p class="detail-setting printer"><strong>Printer: </strong> <div><p>I3 MK3S</p></div> <p><strong>Rafts:</strong></p> <p>No</p> <p class="detail-setting supports"><strong>Supports: </strong> <div><p>No</p></div> <p><strong>Resolution:</strong></p> <p>.25</p> <p class="detail-setting infill"><strong>Infill: </strong> <div><p>40%</p></div> <p><strong>Filament:</strong> Hatchbox PLA 1.75 Silver</p> <p><br/> <p class="detail-setting notes"><strong>Notes: </strong></p> </p><div><p>I had infill at 40% but it does not matter because I set perimeters at 10 which causes the Exzenterspanner.Part.2 piece to print solid and the Einstellblock to print nearly solid which makes them both very strong. Because of the M8 thread in the center of each piece and the reduced length of the dog the amount of filament used is nearly the same and print times are reduced by at least 15 minutes for each piece.</p></div> </p></p></p> Category: Hand Tools
With this file you will be able to print Festool MFT Clamp - Modified Components with your 3D printer. Click on the button and save the file on your computer to work, edit or customize your design. You can also find more 3D designs for printers on Festool MFT Clamp - Modified Components.