Fiero climate control relocation for double DIN radio
thingiverse
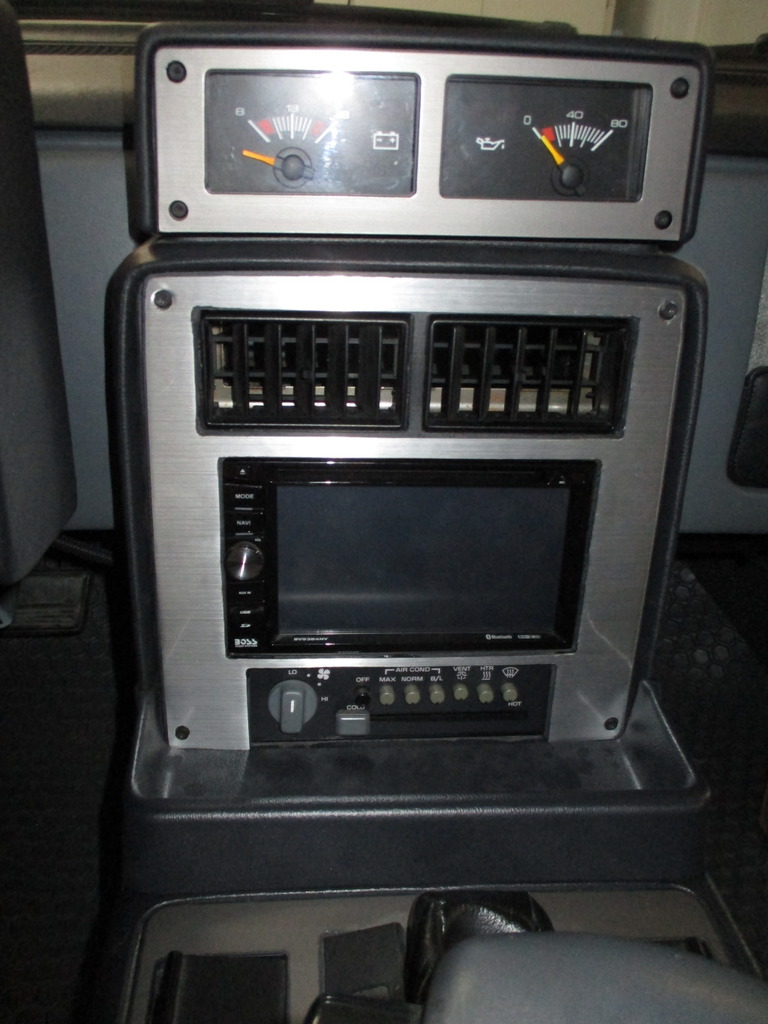
This allows the installation of a double DIN radio in the Fiero dash while maintaining the factory climate controls, by relocating those controls to the bottom of the dash. I find I don't fiddle with the HVAC nearly as much as the radio, so I wanted to swap their positions. I know a Fiero is supposed to be non-ergonomic, but sometimes the need for modern gadgetry takes precedence. You will need to do a certain amount of Dremel work to your dash skeleton, both at the top where the climate controls mount and at the bottom. It can be done without removing the skeleton, but if you're wiring in an amp or the like you may choose to disassemble the dash and center console and remove the skeleton. This is particularly applicable if your skeleton is cracked or damaged as many are. There's more info on Pennocks, including an option to print a new skeleton @ http://www.fiero.nl/forum/Forum1/HTML/099141.html I chose a slightly different route for mounting and such, but certainly based my work on Windex's pictures. Shout out to those who go before us! The brackets go on each side of the climate control and screw into existing holes. Bracketry.scad and left/right.stl should be mostly self-evident. Set print=true and part="left" or "right" to print individual parts, or part="all" and print=false to model the whole thing. The faceplate is more complicated. I split it into two layers, one a smidge smaller than the other to match the factory routed edge and with larger screw holes to match the countersinks. Each has slightly ellptical top and sides to emulate the original piece. It's also split into two (set slice="top" or "bottom") to make the pieces fit into smaller printers. There's then alignment notches in each for the top and bottom pieces, and finally a plug to align the two layers. Take care to size and/or file these properly, and the four pieces really can pass as one. My particular car has the brushed-aluminum look dash, and as on the Pennocks thread I used the faux stainless contact "paper" from Amazon. Curiously, it's sold as wallpaper and is more of a plastic sheet than paper. Note that while the type I got was nicely adhesive, it's very thin and the plastic underneath must be VERY flat, as any imperfection from the print surface will show through. I found that cutting the outside edge and and inside straights was best done with a fresh razor blade. The inside corners and the holes were easier with a soldering iron, which melted right through the sheet and gave it a pretty crisp edge. It's not perfect, but folks who don't know Fieros wouldn't give it a second look, and I find the control placement infinitely more convenient.
With this file you will be able to print Fiero climate control relocation for double DIN radio with your 3D printer. Click on the button and save the file on your computer to work, edit or customize your design. You can also find more 3D designs for printers on Fiero climate control relocation for double DIN radio.