Filament Cutter-Chop Chop
myminifactory
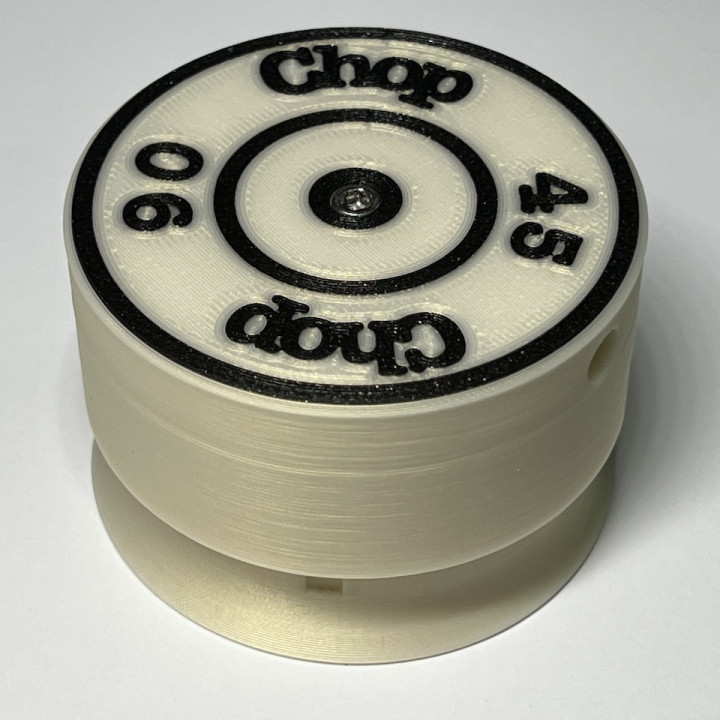
Child friendly serviceable filament cutter designed to keep little fingers out. 45 degree cutter on one end, and a 90 degree cutter on the other. For assembly you will need; 1 M3x30mm Fastener 2 M3x10mm Fasteners 1 M3 Nylock Nut, or, M3 nut 1 Spring 20mmx8mm 2 Snap-off Blades 20mmx9x0.5mm Pictures form part of the instructions, pay close attention to them and you will not have any problems. Make sure the blades are installed right to the bottom of the slots, use pliers for safety in this step and make sure they are orintated as they are in the picture. Once you’re happy you have them installed correctly, insert the M3 fasteners for both blades and lock them in place, do not over tighten them as they only need to hold the blades in place. Insert the M3x30mm fastener into the top part of the cutter and push or screw it in until the head is flush with the top surface. Place the spring in the spring seat in the bottom section of the cutter. Now grab both halves and carefully align and join them together, they should be a snug fit but still be able to move up and down freely. Now grab your M3 nylock nut or plain M3 nut and get it ready. Grab both halves of the cutter and depress them until it bottoms out, now place the M3 fastener into the bottom hole and screw the M3x30mm fastener until you have screwed into the nut, the bolt only needs to be flush with the nut, you can always adjust it afterwards. To empty the waste tray, simply unscrew the M3x30mm screw until the M3 nut drops out of the bottom, seperate the waste bin from the cutter, discard the cuttings and reinstallation is the reversal of above. Voila, You’re done. Happy Chop Chop
With this file you will be able to print Filament Cutter-Chop Chop with your 3D printer. Click on the button and save the file on your computer to work, edit or customize your design. You can also find more 3D designs for printers on Filament Cutter-Chop Chop.