Filament Drybox
prusaprinters
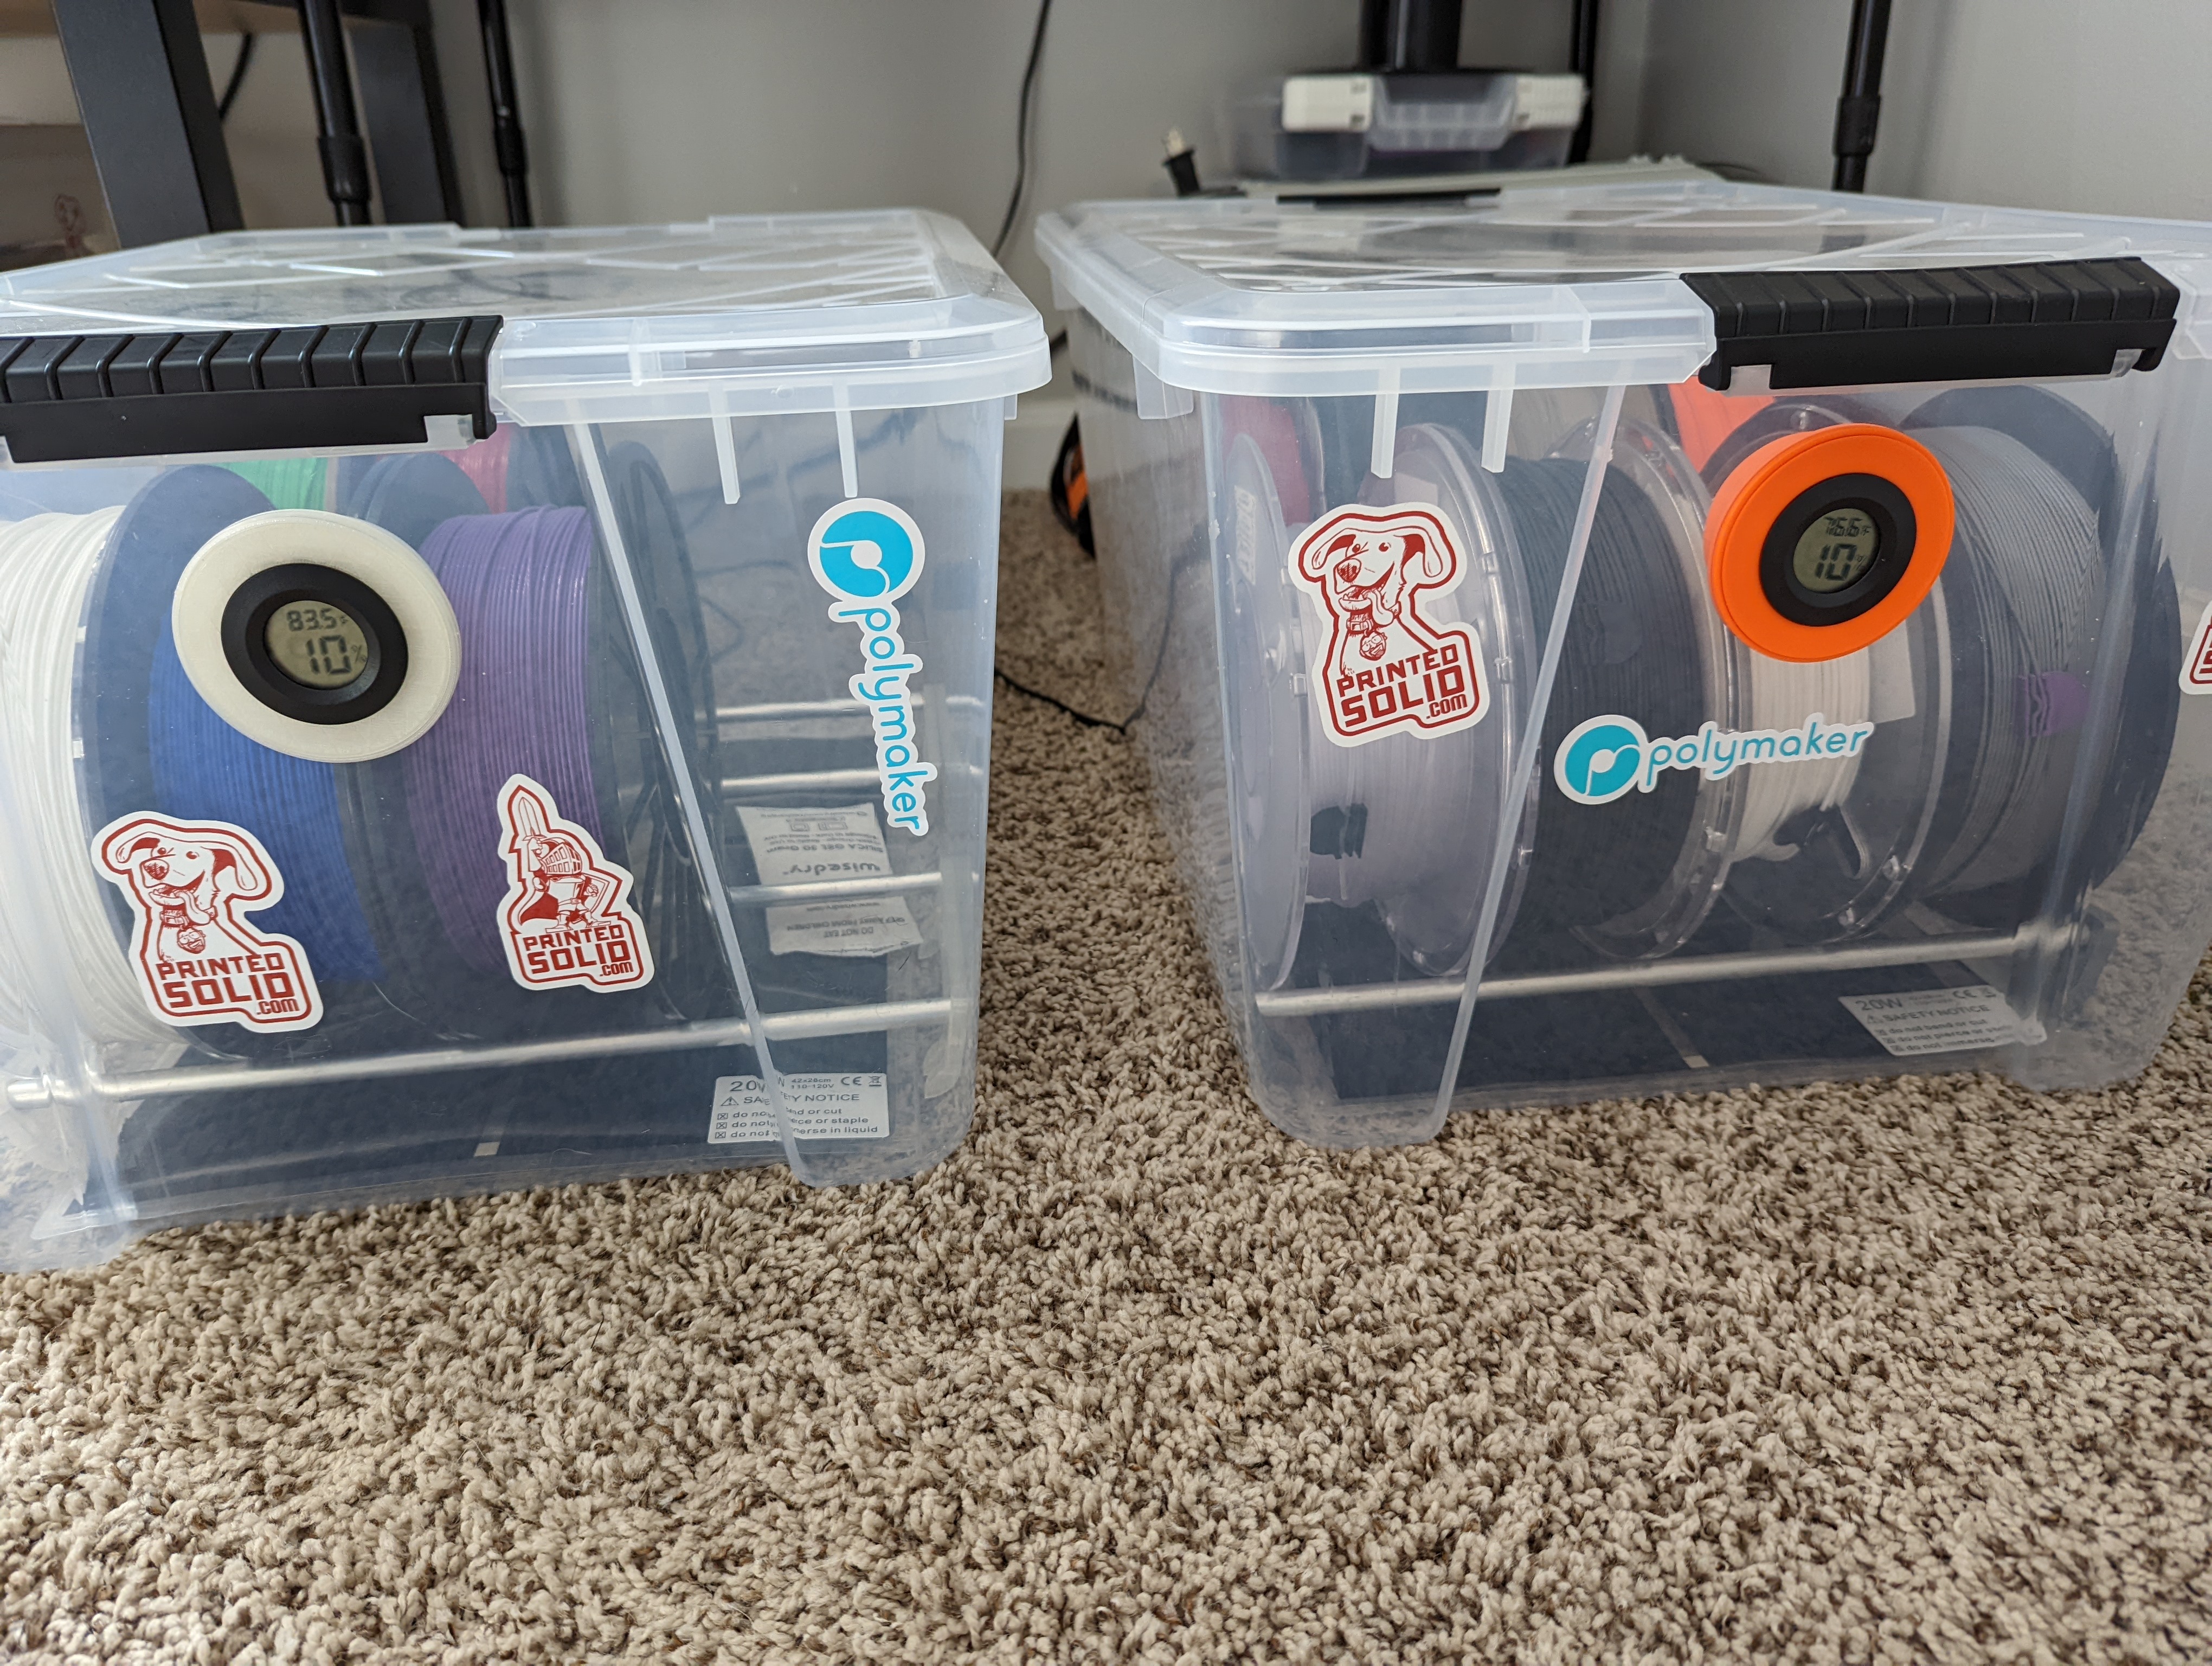
<p>UPDATE 4/12/22 - I've modified the design slightly to make the holder thicker, I was having some slippage of the aluminum bars when moving the boxes. This gives me deeper wells to hold the bars. I also extended the feet a bit to make them more stable. These changes do not change the bar lengths.</p><p> </p><p>This is my first published design.</p><p>I designed this after a blog I found a while back that used some Ikea bins. These bins pictured are from a <a href="https://www.costcobusinessdelivery.com/iris-storage-container-with-lid%2C-clear%2C-11-gallon%2C-3-ct.product.11943392.html">Costco 3-pack Iris storage bin</a>. I was able to get the angle correct so that when using some <a href="https://www.homedepot.com/p/Everbilt-3-8-in-x-36-in-Aluminum-Round-Rod-801657/204273962">3/8 in. Aluminum Round Rod</a> it would support/hold itself up.</p><p>I cut the bars to about 320mm each (measure your box just in case) cut with a hacksaw and I left the burs for gripping into the holes of the feet.</p><p>I designed these legs before really knowing how to optimize for supportless printing. You might be able to get away without them, but the printing angle is steep. Orient them so that the outside of the legs is the bottom.</p><p>For the <a href="https://www.amazon.com/gp/product/B097PW5C94/ref=ppx_yo_dt_b_asin_title_o05_s00?ie=UTF8&psc=1">hygrometer</a> (3 pack on Amazon) holder, I used <a href="https://www.thingiverse.com/thing:3097889">https://www.thingiverse.com/thing:3097889</a></p><p>For heating the containers, I picked up a <a href="https://www.amazon.com/dp/B08KCP83W1/ref=cm_sw_em_r_mt_dp_YZ6WN78SE47G80EKK821?_encoding=UTF8&psc=1">two-pack of Reptile Heating Pads</a> (they are cheaper on Ali)</p><p>For the wire management, I used some <a href="https://www.amazon.com/gp/product/B083HQ8K29/ref=ppx_yo_dt_b_asin_title_o04_s02?ie=UTF8&th=1">Nylon Cable Glands</a> (9mm I believe) I needed to disassemble the heating pad's controller and desolder the connecting, run the cable through the container, and solder it back together. You can get away with cutting the wire and soldering the wire instead (make sure polarity is correct when reconnecting).</p><p><a href="https://www.amazon.com/gp/product/B0781BN1BZ/ref=ppx_yo_dt_b_asin_title_o04_s00?ie=UTF8&psc=1">50 Gram Rechargeable Silica Gel Desiccant</a> - for drying material.</p><p>I have the heating pads set to about 50% and they have been able to easily maintain over 80 degrees inside the containers with a room temp of 65 degrees. They also sit at about 10% humidity in a room of about 40%. I have had them set up for about 2-3 months now with zero damage to any materials in the containers. When I pull a spool out, it's <i>pleasantly warm</i>.</p><p>I am including the .3mf file for easy modifications.</p>
With this file you will be able to print Filament Drybox with your 3D printer. Click on the button and save the file on your computer to work, edit or customize your design. You can also find more 3D designs for printers on Filament Drybox.