Filament slot for LACK enclosure v2
prusaprinters
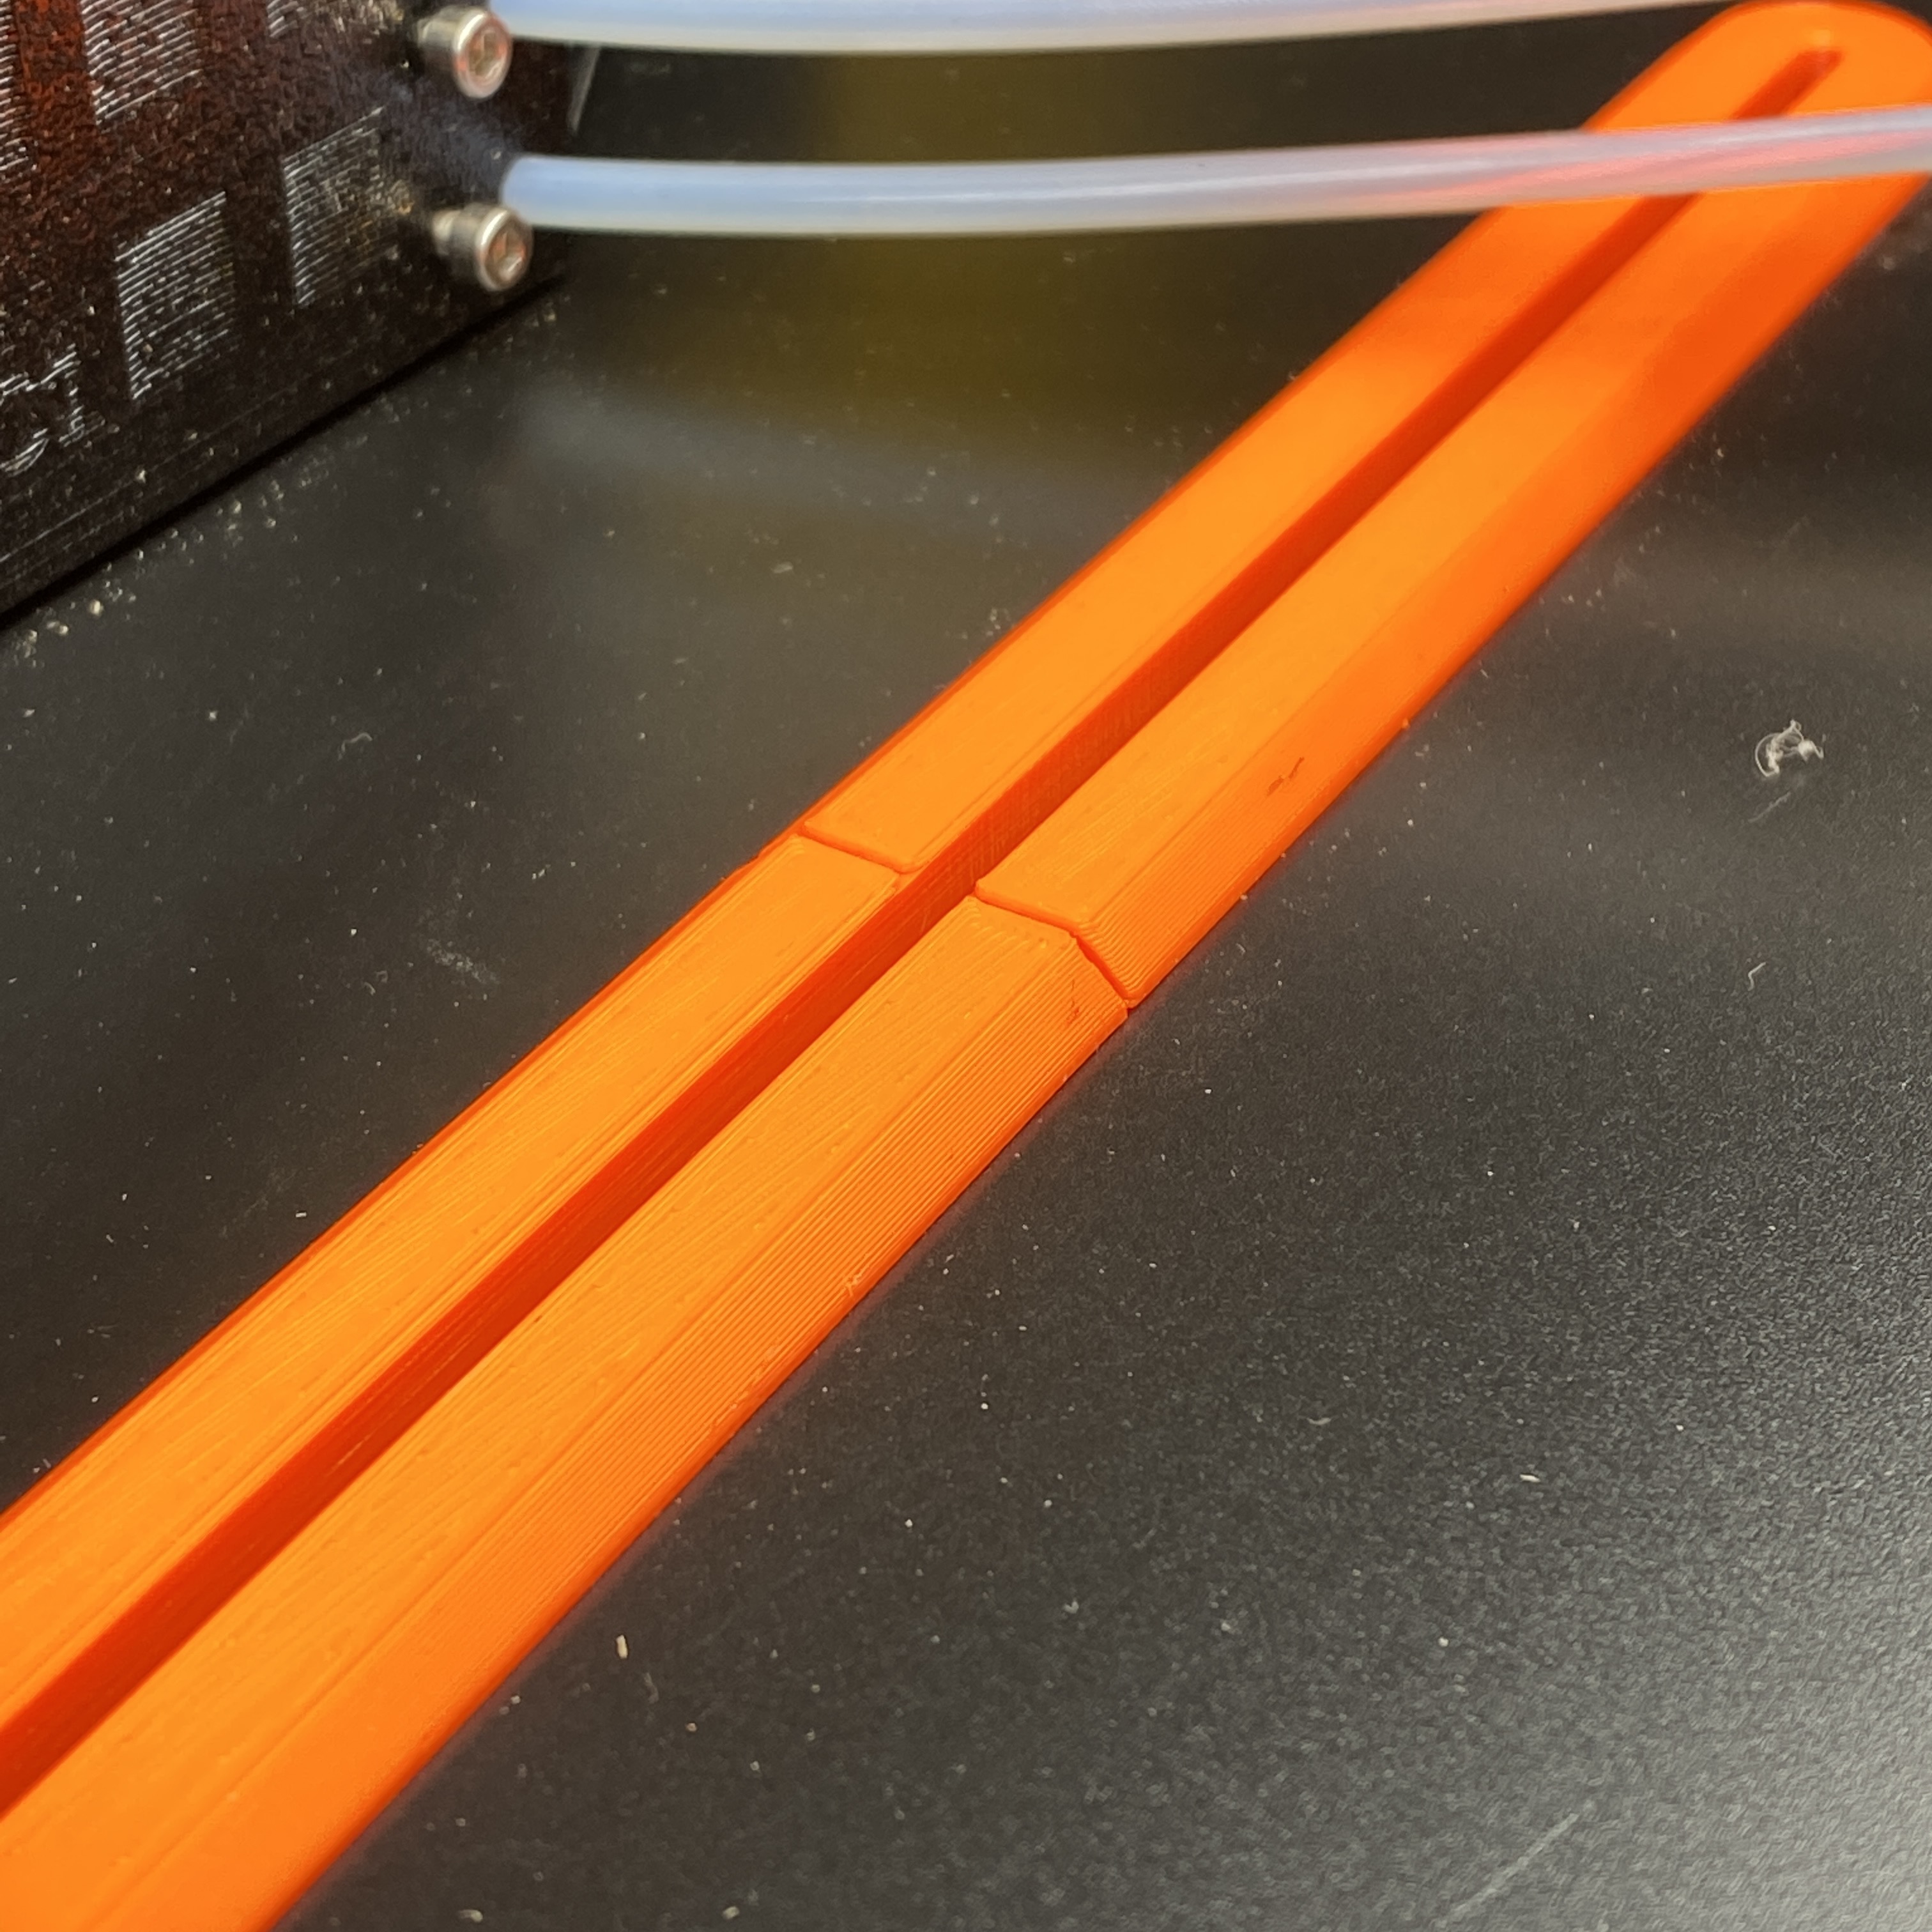
<p>Useful if you have the LACK enclosure v2 but not the MMU.</p><p>I finished building the <a href="https://www.prusaprinters.org/prints/3673">LACK enclosure v2</a> and was looking for a nice way to get the filament inside without going through the back (I do have the MMU2 but it's still sitting unassembled in its box). I hit upon <a href="https://www.prusaprinters.org/prints/34334-ikea-lack-enclosure-filament-slot">poulanker's design</a>, which looked great, printed it --- and then realized it's for the old enclosure, not v2.</p><p>Oh well, Fusion 360 to the rescue. This version now has a much shorter "stem" and fits the LACK v2. Due to the cutout in the lid, it was necessary to reverse the orientation of "slot" and "lock", relative to the original design.</p><p> </p><p>Full disclosure: I'm not using this anymore. The LACK table is a giant resonator, and the grinding noise of the filament scratching against plastic just wore me out. I came up with a different approach: a conduit for a small piece of PTFE tube that kills all noise: <a href="https://www.prusaprinters.org/prints/51457-ptfe-filament-conduit-for-lack-enclosure">https://www.prusaprinters.org/prints/51457-ptfe-filament-conduit-for-lack-enclosure</a></p><p><strong>If you like what I'm doing…</strong><br><strong> </strong><br>…consider <a href="https://www.buymeacoffee.com/mix579">buying me a coffee</a>.<br><br><img src="https://media.prusaprinters.org/media/prints/35053/rich_content/1a370a7b-cbf9-43fd-927e-979a843d803f/image.png#%7B%22uuid%22%3A%223d10f028-4c6b-406d-8294-7dac5c380665%22%2C%22w%22%3A170%2C%22h%22%3A37%7D" alt="orange_img.webp"></p><h3> </h3><h3>Print instructions</h3><p>I used Prusament Orange PETG, 0.2mm layer height, and 20% infill. No supports needed if you print the parts with the large flat side downwards oriented.</p><p>You will need to print 2 copies of slide_lock.stl. All three parts fit on the print bed if you rotate them by about 40 degrees.</p><p>Assembly is very similar to the original design, just upside down:</p><ul><li>Remove any small filament residue that may have been left in the groves and test that the two sliding lock profiles slide smoothly in the groves on the slot insert. It's a bit tricky to get them properly lined up. Squeezing them slightly sideways while sliding them on helps.</li><li>With a pencil draw a center line from the front to the back edge of the lid. Mark off 270 mm from the front edge. From that point, mark positions for two holes 125 mm to each side, so they're 250 mm apart.</li><li>With a small drill bit, drill two pilot holes through the lid. Then enlarge the holes with a 10 mm (3/8 in) drill.</li><li>Draw tangent lines between the holes. With a jigsaw, cut along these lines.</li><li>Clean the slot and insert the slot_insert_remix part from below.</li><li>Lock it in place by sliding the two "slide_lock" parts from each side on top. It's a bit tricky to get them properly lined up. Squeezing them slightly sideways while sliding them on helps.</li></ul>
With this file you will be able to print Filament slot for LACK enclosure v2 with your 3D printer. Click on the button and save the file on your computer to work, edit or customize your design. You can also find more 3D designs for printers on Filament slot for LACK enclosure v2.