Filament Swap G-code and Instructions
thingiverse
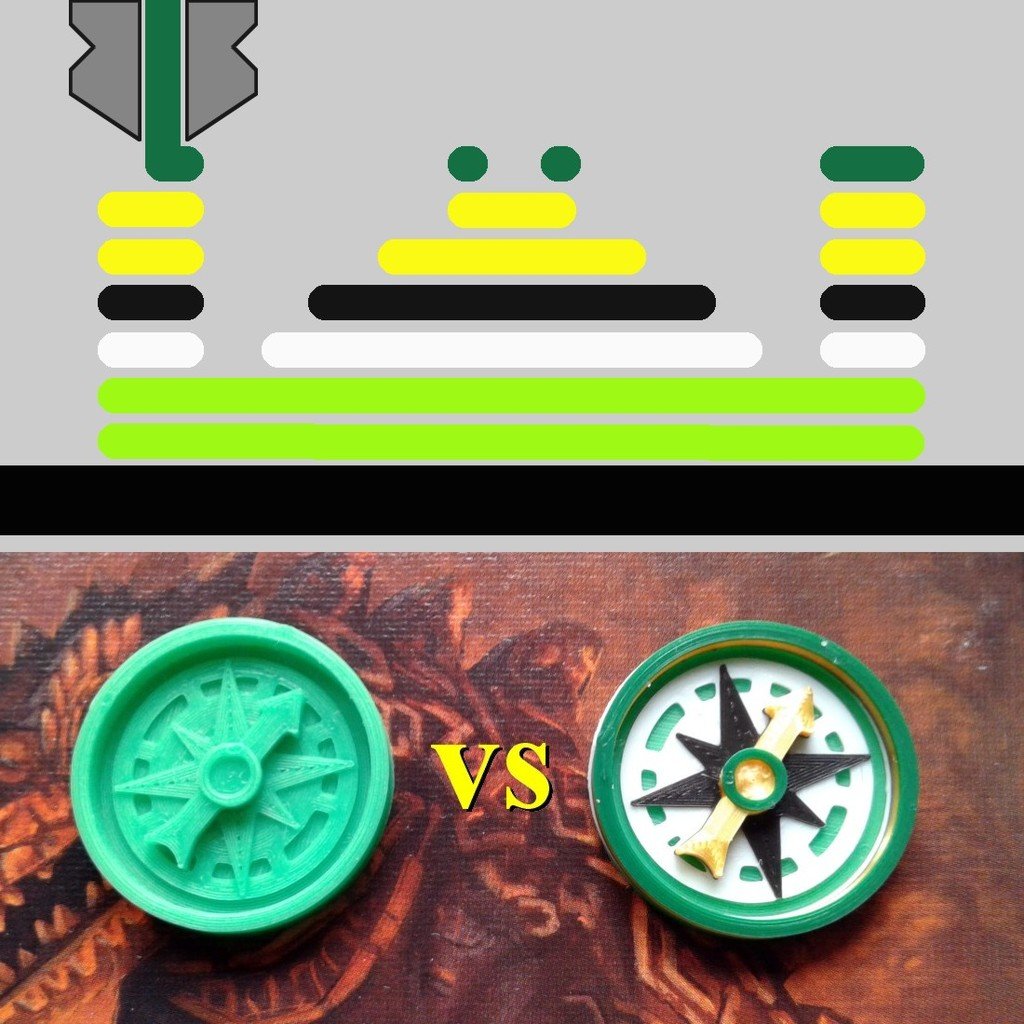
Swapping filament colors mid-print will produce 3D creations with real visual pizzazz. Included here are detailed instructions in PDF format explaining how to carry out a filament swap, along with annotated G-code inserts you can adapt to your specific printer and nozzle system. Some simple initial tuning of retraction distances will be necessary to make the swaps clean, but once that is done filament swaps can become a routine part of your 3D printing! A .STL file for a simple cylinder is included for tuning retraction distances. [The example shown in the cover illustration is a print of Virral's compass for the board game Lost Ruins of Arnak.] EDIT 10/08/23: There can be a problem with the new filament layer ending up randomly offset along the x-axis, sometimes by up to a millimeter or more relative to the rest of the piece. The diagnosis is that the G28 command does the x-axis first, followed by the y-axis, and then the z-axis, and in the process of zeroing the z-axis the x-axis position of the nozzle sometimes gets displaced. The problem was solved by executing the normal G28 command, doing a slight displacement of the nozzle from the origin, and then re-zeroing the y-axis, followed by the x-axis. These instructions also must be inserted into the Start G-code for the slicer so that the first layer is positioned correctly! In Cura, the Start G-code is found at “Settings -> Printer -> Manage Printers -> Machine Settings”.
With this file you will be able to print Filament Swap G-code and Instructions with your 3D printer. Click on the button and save the file on your computer to work, edit or customize your design. You can also find more 3D designs for printers on Filament Swap G-code and Instructions.