Filawinder Cardboard Spool
thingiverse
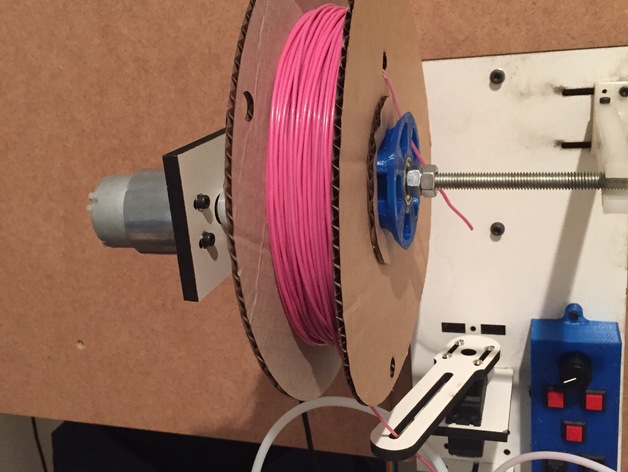
With my new Filastruder and filawinder in hand I have quickly filled the couple of empty plastic spools I've been saving, I also wanted some smaller spools for 250G runs of filament for some custom colours. I designed these to be simple to make with materials at hand that would fit the filawinder spooler and wont bind on the servo arm. It is close on the first position so you may need to move back one notch. By using the same sides and varying the spool drum width (90mm postal tube) you can have 250G, 500G,1Kg spools, or even bigger if you like. Measurements: End diameter = 200mm Centre hole Diameter = 40mm Drum Diameter = 90mm I designed around a 90mm postal tube cut into the following lengths: 25mm = 250G 50mm = 500G 90mm = 1Kg I've done the calculations for PLA and ABS for 1.75mm filament not for 3mm I strongly suggest to cut out the additional reinforcing pieces as well. These strengthen the spool hole considerably and should allow for multiple reuse on the filawinder. NOTE: DO NOT put in oven or heated dehydrator to dry filament once on spool as hotglue will come unstuck. I totally forgot about the hotglue and found out the hard way doh! See photo above, it was easy to repair though and didn't have to re-spool phew! How I Designed This Using the following calculators I calculated drum capacity based on my spool specs: http://www.ingersollrandproducts.com/lifting/winches/drum.htm From which the recommended working drum capacity (in meters) is used to calculate filament weight in either ABS/PLA http://ideee.3deee.ch/?page_id=816 Some additional headroom has been allowed for as you'll see if you do the calculations yourself. You can see by the photo of the spool on the scale how the capacity is (250g), this was taken after taring with an empty spool Assembly 1) Cutout x2 sides and highly recommend the x2 reinforcing pieces. 2) Cut length of 90mm postal tube to suite: 250g = 25mm 500g = 50mm 1Kg = 90mm 3) use a hot-glue gun to apply glue to one end of the postal tube and align with the centre marking on the first side. 4) Repeat for the second side, I found it easier to lie the 2nd side piece flat and apply glue to tube then look through centre to align as I apply pressure. You have a couple of seconds before the hot-glue sets to quickly align as best as you can. NOTE: I make sure the filament securing holes are opposite but is not that important. 5) optionally glue and align the two reinforcing piece, one to each side. NOTE: the engrave line goes on the inside Cutting Sides I used a laser diode engraver (embazer) to cut the cardboard but can be easily handcut or use a proper laser cutter to save time and give you the accuracy. The centre line of the side pieces should be an engrave only cut as this is an alignment locator mark to aid gluing for assembly. Emblazer settings for 3mm cardboard: Engrave Cut Centre Line: 3500mm/min 100% 1 pass Cut Through rest: 1000mm/min 100% 8 passes Tube I handcut the tube by first marking with a compass set to the correct width from one end. I used a hacksaw and slowly turned the cylinder as I made small cuts along the line. This allowed me to get nice square ends without collapsing the cardboard tube. If you have an easier way please share Material and Tools needed Tools Laser Cutter (easy) or knife/scissors (harder) Hacksaw (fine tooth) Compass to mark cut off Hot Glue gun. Material 3mm Cardboard 90mm Postal Tube
With this file you will be able to print Filawinder Cardboard Spool with your 3D printer. Click on the button and save the file on your computer to work, edit or customize your design. You can also find more 3D designs for printers on Filawinder Cardboard Spool.