Filleted parametric wade's projector ceiling mount
thingiverse
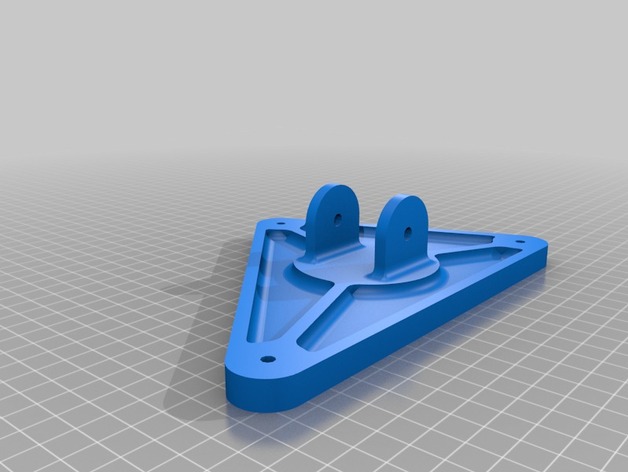
This is a custom-made version of Wade's projector ceiling mount, featuring smaller holes (M5 with 0.3mm clearance) and filleted arms that enhance its overall appearance. This revised design incorporates the fillet.scad module from ClothBotCreations on GitHub, which creates precise and visually appealing fillets for the swivel piece. The projector plate has been re-designed specifically for the BenQ W1070+, and is fully parametric to accommodate different projectors with known screw hole coordinates in millimeters. Recent updates have addressed structural concerns. Initially, the new filleted swivel piece broke when compressed inwards using a single hand. An additional set of swivel pieces were printed to evaluate if the fillets improved the design's durability. After testing, both sets showed comparable breakage points under equivalent force, leading to speculation that widening the swivel base could be the key to increased stability. The updated interface between the swivel piece and ceiling plate now has a reinforced design to provide enhanced structural support. To resolve concerns regarding projector plate flexing along its center axis, some reinforcing stiffeners were incorporated to boost overall strength. Important: Projector-specific requirements must be considered. Models like BenQ W1070+ have air intake openings at their bottom side near where the plate attaches. In such cases, ensuring adequate breathing space with standoffs or spacers, e.g., those from thingiverse (Thing 1391946), is crucial for preventing projector damage. Bill of Materials: - projector-plate.stl (projector-specific) - swivel.stl - ceiling-plate.stl - ProjectorUniversal2.stl from Thingiverse: 4146 - M5x50 screw x2 - M5x20 screw x1 - M4 nylock nuts x3 - M4 screws as needed for the projector's thickness (5mm) - M4 washers x3 - M5 washers x11 - 4 to 12 M5 screws and washers Steps to assemble: Thread swivel piece onto ceiling plate in order: 1. M5 nylock nut 2. M5 washer 3. Ceiling plate 4. M5 washer 5. Swivel 6. M5 washer 7. M5 screw
With this file you will be able to print Filleted parametric wade's projector ceiling mount with your 3D printer. Click on the button and save the file on your computer to work, edit or customize your design. You can also find more 3D designs for printers on Filleted parametric wade's projector ceiling mount.