Finger Tab for Barebow Archery
thingiverse
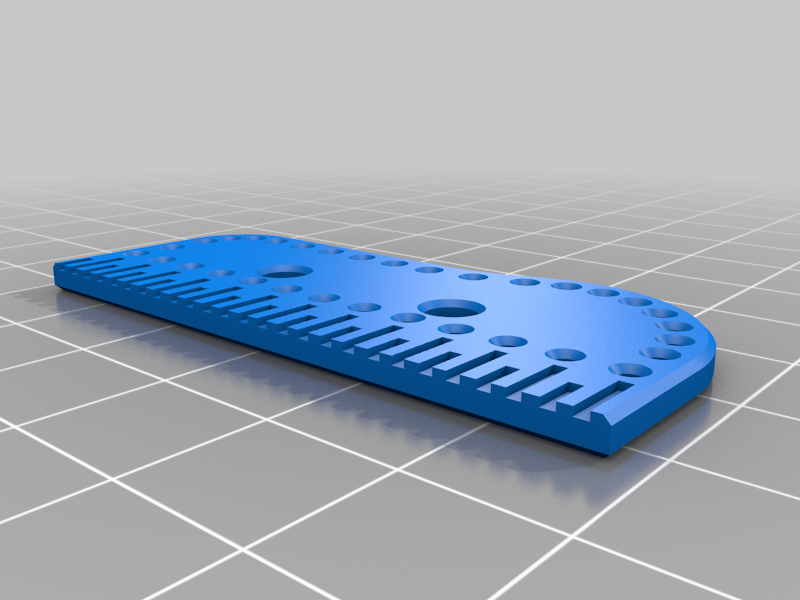
3D printed insert for DIY leather finger tab for barebow archery. Ideally print in two colors (by changing to a new filament color for the last several layers). The model is provided in six variants: right hand and left hand versions of 3 different sizes. If you want to rescale the model, choose a smaller model and scale it up, rather than scaling a larger model down. If you scale down, you are risking to make the lines too narrow, and they will not print well. Also, the holes for stitching will become too small. After printing, use a 1.5 mm (or 1/16") drill bit to clean up the stitch holes. Use an awl, two needles and a waxed thread to stitch the scale to the leather part. Trim the leather part to your own shape of the fingers. Search for a video "trim finger tab". [More information, as well as download of Fusion 360 and STEP files.](https://arcady.genkin.ca/2023/08/diy-leather-barebow-archery-finger-tab-with-3d-printed-scale/)
With this file you will be able to print Finger Tab for Barebow Archery with your 3D printer. Click on the button and save the file on your computer to work, edit or customize your design. You can also find more 3D designs for printers on Finger Tab for Barebow Archery.