First Layer Calibration Prusa i3 MK3/s/+
prusaprinters
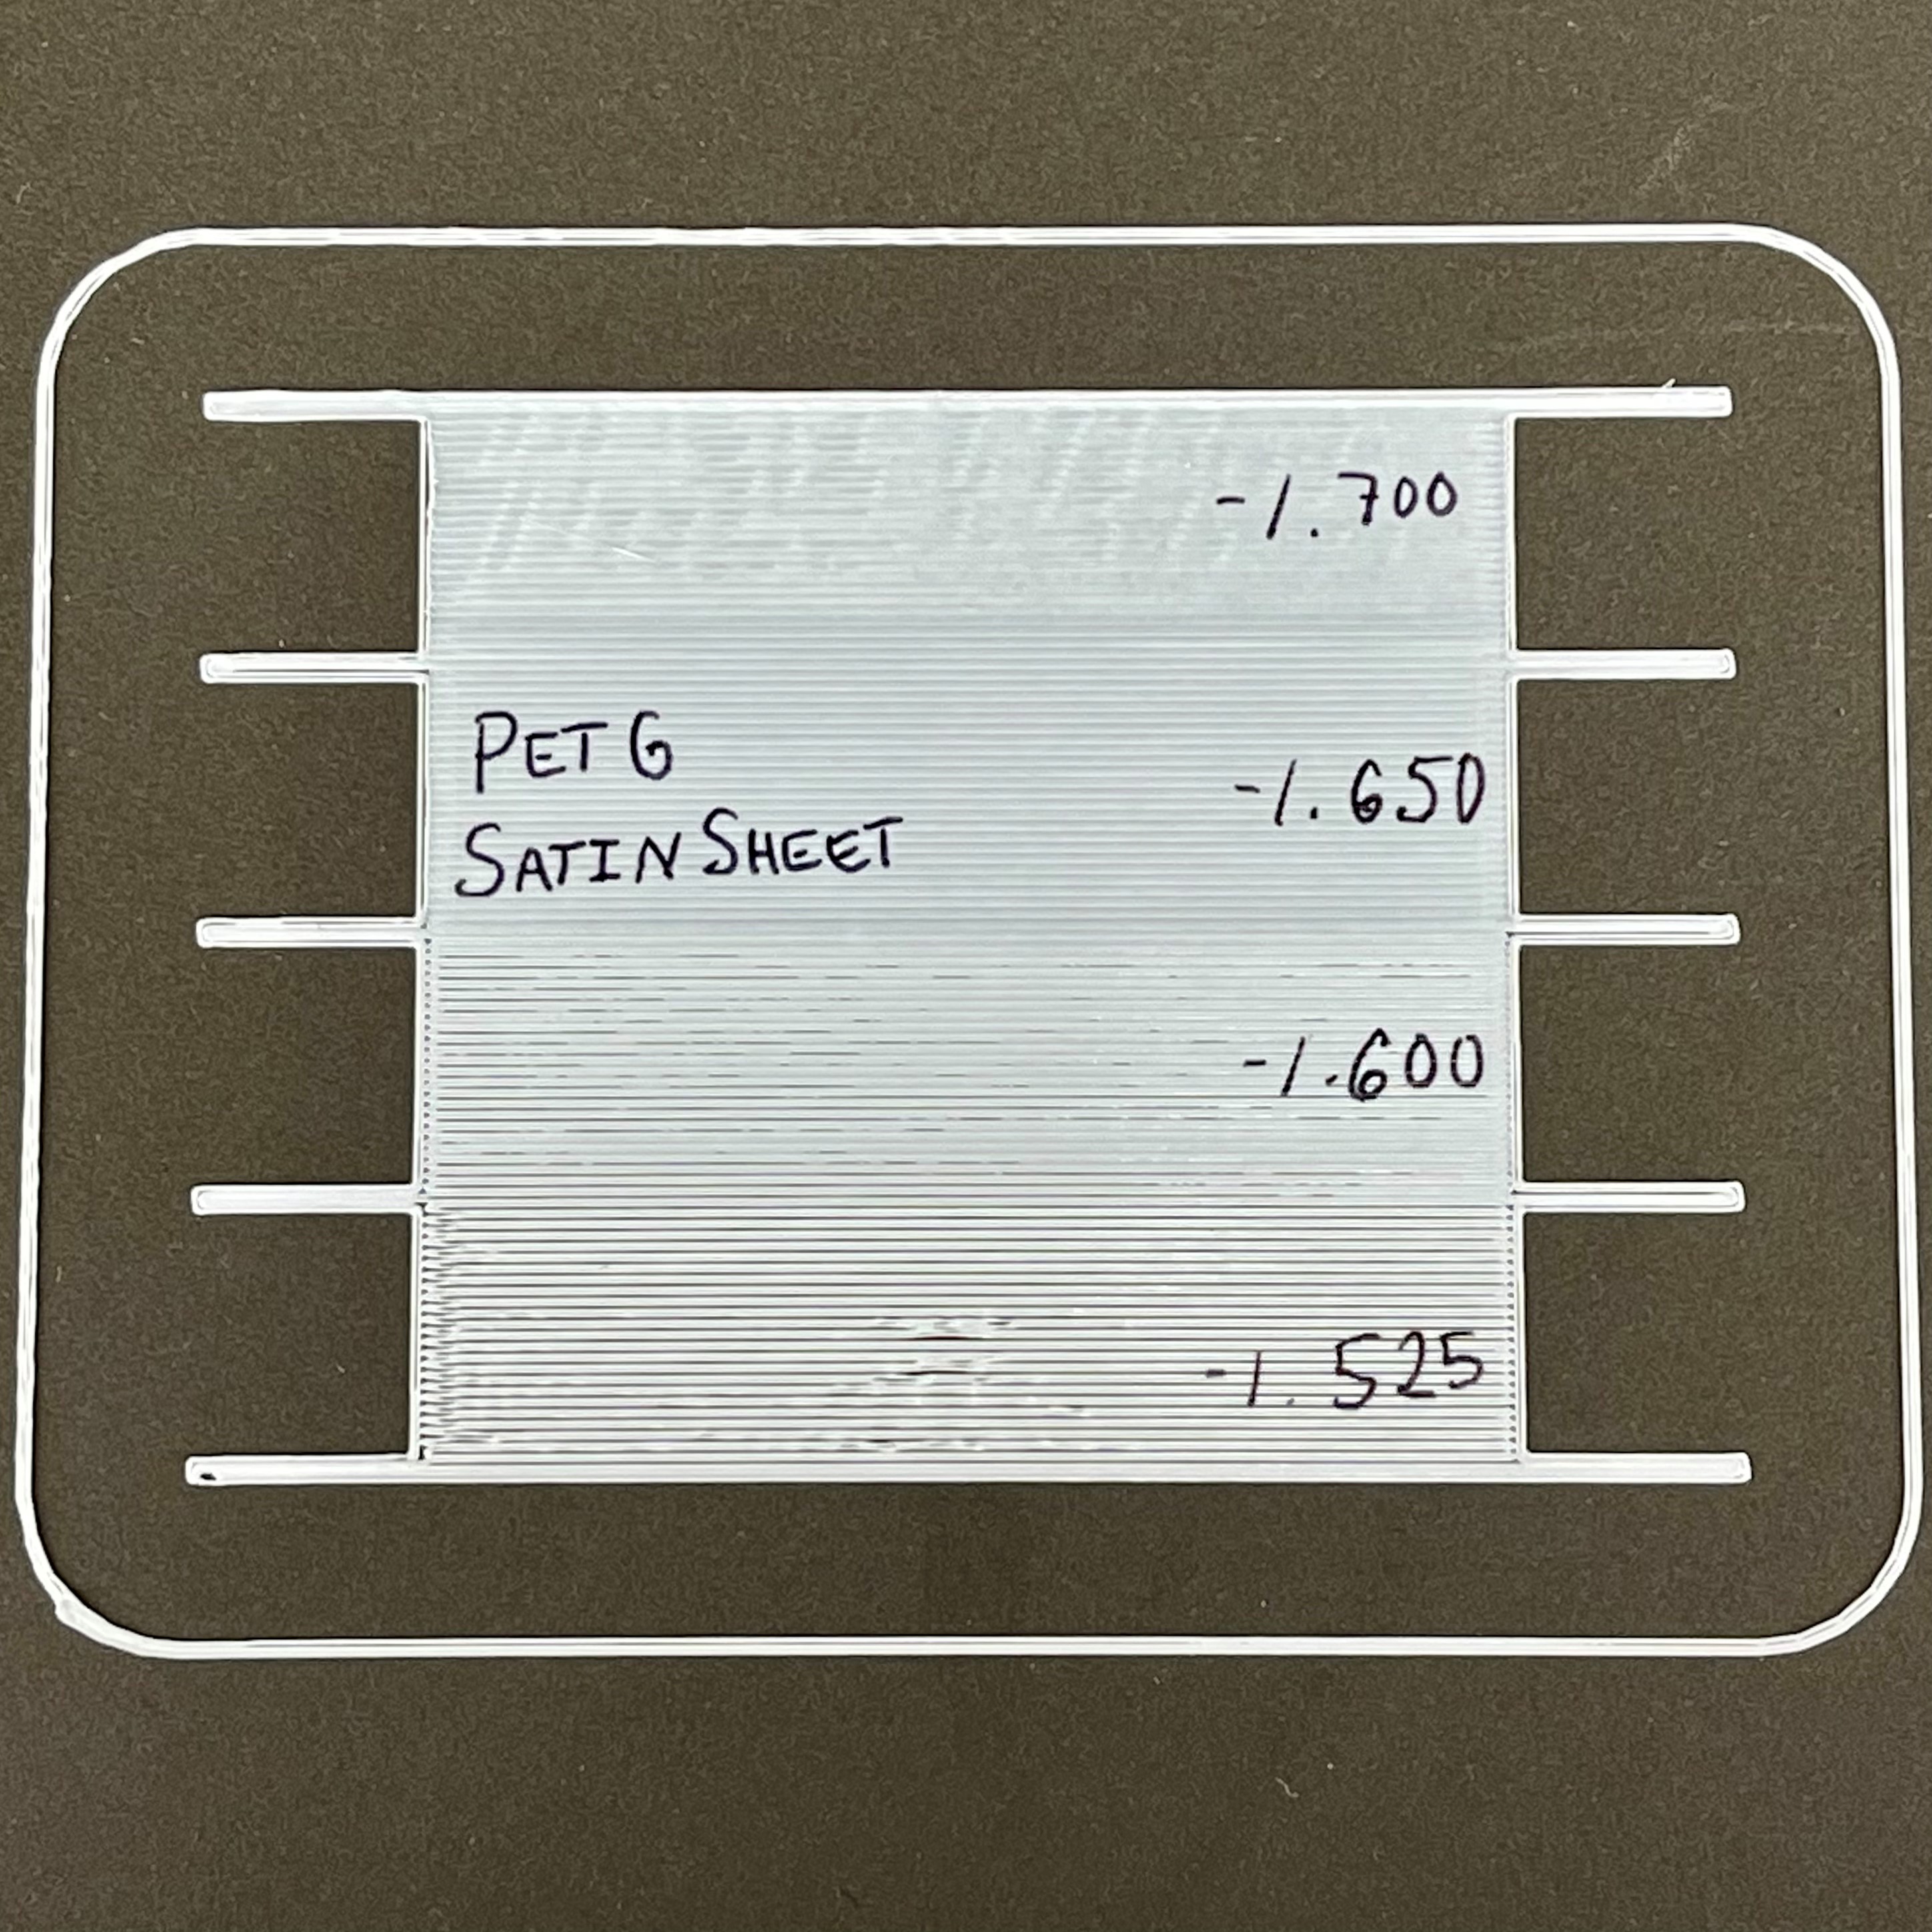
<p><strong>Updated Jan 3rd 2022:</strong> Now has tabs to allow travel farther to the sides, makes it easier to write on the values (added on both sides for righties and lefties). Also splits the grid into 4 distinct sections. Added 3mf and gcode for PC Blend.</p><p> </p><p>Thank you to GKMAKEIT for the original. I remixed this to add materials and some small features.</p><p>I found this so incredibly helpful at getting the perfect first layer setup, so I improved on it! </p><p> </p><p>See the original author's video below, or follow this step by step guide:</p><ol><li><strong>Clean your build plate</strong> and set the correct sheet your are using</li><li>Run the print GCODE and start with a Z-offset that is at least above the bed</li><li>As the printer extrudes the skirt, get the Live-Z down so at least the material is sticking to the bed. While printing perimeter, just get a decent line. Don't worry about gaps. Remove any material that doesn't adhere to the bed.</li><li>Give it about 10 passes on each Z-offset, then adjust down or up accordingly. I Use 0.05mm then 0.025mm adjustments typically.</li><li>I Suggest writing the live Z for each section on the side with a sharpie so you can refer back to the print.</li><li>Once the print is over, you can take it carefully off the bed and hold it up to the light to get a better view of the layer lines (very helpful with dark materials)</li></ol><p><a href="https://rumble.com/vb9fxr-3d-printer-first-layer-calibration-process.html">https://rumble.com/vb9fxr-3d-printer-first-layer-calibration-process.html</a></p>
With this file you will be able to print First Layer Calibration Prusa i3 MK3/s/+ with your 3D printer. Click on the button and save the file on your computer to work, edit or customize your design. You can also find more 3D designs for printers on First Layer Calibration Prusa i3 MK3/s/+.