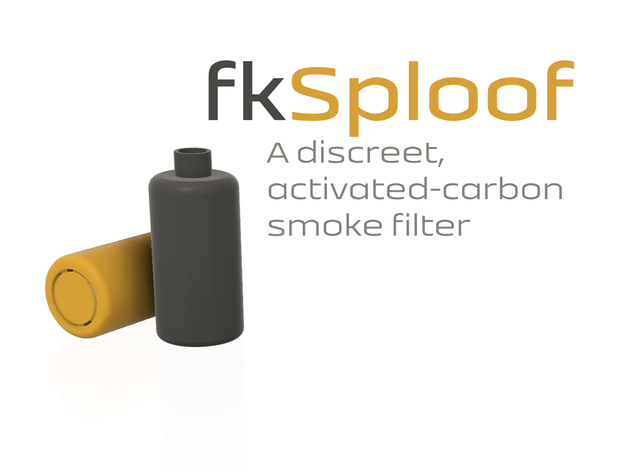
fkSploof - Activated Carbon Sploof | Discreet Smoke Filter
prusaprinters
<h3>UPDATES</h3><blockquote><h3>2022-01-20</h3><blockquote><p>Released <strong>EXT_CHAMBER RC2</strong></p></blockquote><h3>2022-01-19</h3><blockquote><p><strong>Update 02</strong><br>I. Tweaked <strong>EXT_CHAMBER</strong> and versioned first RC.<br>II. Moved old experimental models to archive.<br>III. Used the sploof ;)</p><p><strong>Update 01</strong><br>Added <strong>EXT_CHAMBER V4</strong>, no longer needs thread adapter, should be easier to print overall.</p></blockquote><h3>2022-01-09</h3><blockquote><p><strong>Update 03</strong><br>Moved <strong>EXT_CHAMBER</strong> <strong>V1</strong> and <strong>V2</strong> to archive. Released <strong>V3</strong>. Air vents near threading re-positioned further away.</p><p><strong>Update 02</strong><br>Added alternative <strong>EXT_CHAMBER</strong> model. Might be easier to print, but should keep the threads cleaner and I've moved the troublesome air vents inward. I haven't tried to print this version myself. It may be best to wait, I'll be tweaking this design more.</p><p><strong>Update 01</strong><br>Add experimental models to extend sploof body with an extra charcoal chamber. Print <strong>EXT_CHAMBER</strong> with the thread on the top, and <strong>EXT_THREAD</strong> with the text facing up, or the 14mm (littler) threading at the top. Printing the chamber I had a bit of adhesion issues because of the tiny air slits, as a tip, in Cura set <code><strong>Initial Layer Speed</strong></code> to about <code>10-15mm/s</code> and set <code><strong>Number of Slower Layers</strong></code> to <code>1.8mm /</code> <code><strong>Layer Height</strong></code>.</p></blockquote><h3>2022-01-07</h3><blockquote><p>Body model has been updated to allow easier filter install. Outer dimensions are the same, so you will not have to reprint the cap. I've also added an STL called <strong>TIP_PLUG</strong> that can be threaded in place of the drip tip to keep charcoal from falling out while traveling with it, when gifting it to someone, or for, ya know, whatever.</p><p><i><strong>NOTES</strong>: Print TIP_PLUG with threads at the top, head facing down. The same as the drip tip shown in the additional notes.</i></p></blockquote><h3>2021-12-07</h3><blockquote><p>For those of you who have previously printed this before Dec 7, 2021, I have designed a nicer looking cap, and have made the WIDE version the recommended version to print. Going forward, all redesigns and tweaks will be based from this model. P.S. The <strong>fkSploof_HistoricalArchive.zip is only the older STLs</strong>, but kept for historical purposes. If you are interested in printing this design, I would not use those files from that zip.</p></blockquote></blockquote><h3>ABOUT</h3><p>This is my custom designed sploof that I am sure is not an original idea. That being said, I was not happy with the offerings on Thingiverse/Prusaprints, and decided to make my own, in a style that is more than just a straight pipe with charcoal pellets. This style should minimize the the footprint while increasing the amount of volume, (or surface area) of filter.</p><h3><strong>ADDITIONAL PARTS</strong> <i>(Used in featured makes)</i></h3><ul><li><a href="https://fking.gay/u/3w97n6b">DuPont 3 Way Odor Control Carbon Filter</a></li><li><a href="https://fking.gay/u/JwSpB7j">Aqua-Tech Activated Carbon Aquarium Pellets</a></li></ul><p><i>Feel free to substitute your own equivalent parts</i></p><h3><i><strong>Check the additional notes under assembly guide</strong></i></h3><p> </p><h3>ASSEMBLY</h3><p>Assuming you are using my shopping list, you'll first need to cut your filter to size, just throw away the hard plastic grid the DuPont filter came with, we will not be using it here, sorry Earth. Your filter should be cut to 16mm in length and about 60mm in height. After cutting to size, I was able to start with getting a corner wedged in, and then using a plastic knife to work the filter down both walls of the body. You don't want to pack it to hard, so if you are getting resistance in one area, try working on getting it down in some other part before returning, air has to be able to pass through this, if you find it too hard to blow air through,you can remove 5-10mm of the filter height, and try again. The pellets add almost no resistance, so your kink would be here.</p><p>After you've somewhat successfully wedged your filter down the walls, you can also try and cutting one to size for the inside of the cap. I was able to do so by placing the cap down on the filter and just cutting the filter around the shape of the cap, then cutting an X in the center of it by folding in half and cutting it twice. You should be able to manipulate the filter around the threads on the cap. I was able to anyways. Screw in the cap. You can choose to glue the threading or not, I'd glue it if you are gifting it to someone, otherwise it can be reusable.</p><p>Turn the unit over, and start adding your pellets through the top, tap the body a little bit to get the pellets to settle as you are adding more. Stop when you get just under the start of the thread line for the drip tip. Cut another piece of filter to fit the exact space of the thread hole, and then screw the drip tip in, again, to glue or not is up to you.</p><h5>There you go! Your own discreet smoke trap! I've actually been amazed at how well this works, but I haven't used other designed sploofs from here, so you'll have to let me know how other's compare.</h5><p> </p><h3>IMPORTANT</h3><p>This design already has made a slight reduction on the threading for easy-fitting. Horizontal expansion adjustments should not be needed.</p><p>Rotate both CAP.stl and BODY.stl 180 degrees on the build plate. The cap should be printed with the threaded portion on top. The body should be printed with the threads for the drip tip being on top, and the threads for the cap touching the build plate. Drip tip should be printed with threads at the top.</p><h4>CORRECT ALIGNMENT</h4><p><img src="https://i.imgur.com/7Z6cIDN.png" alt="Which surfaces to align to build plate"></p><h4>INCORRECT ALIGNMENT</h4><p><img src="https://i.imgur.com/abPR6zD.png" alt="Incorrect surfaces to align to build plate"></p><h3>OTHER NOTES</h3><ul><li><i>Slicing Tolerance</i> should be set to <i>Exclusive</i> under experimental Cura settings</li><li>You should be able to print at 0.2mm layer height and threading should still work</li><li>Print at moderate speeds; my print of all three pieces on the build plate took 10hrs and 28mins. <i>(I've since tuned my settings and have been able to get it closer to the 5-6hr mark.)</i></li><li>I'd recommend printing with 100% infill to give the sploof more weight, I think it feels nicer in hand.</li></ul>
With this file you will be able to print fkSploof - Activated Carbon Sploof | Discreet Smoke Filter with your 3D printer. Click on the button and save the file on your computer to work, edit or customize your design. You can also find more 3D designs for printers on fkSploof - Activated Carbon Sploof | Discreet Smoke Filter.