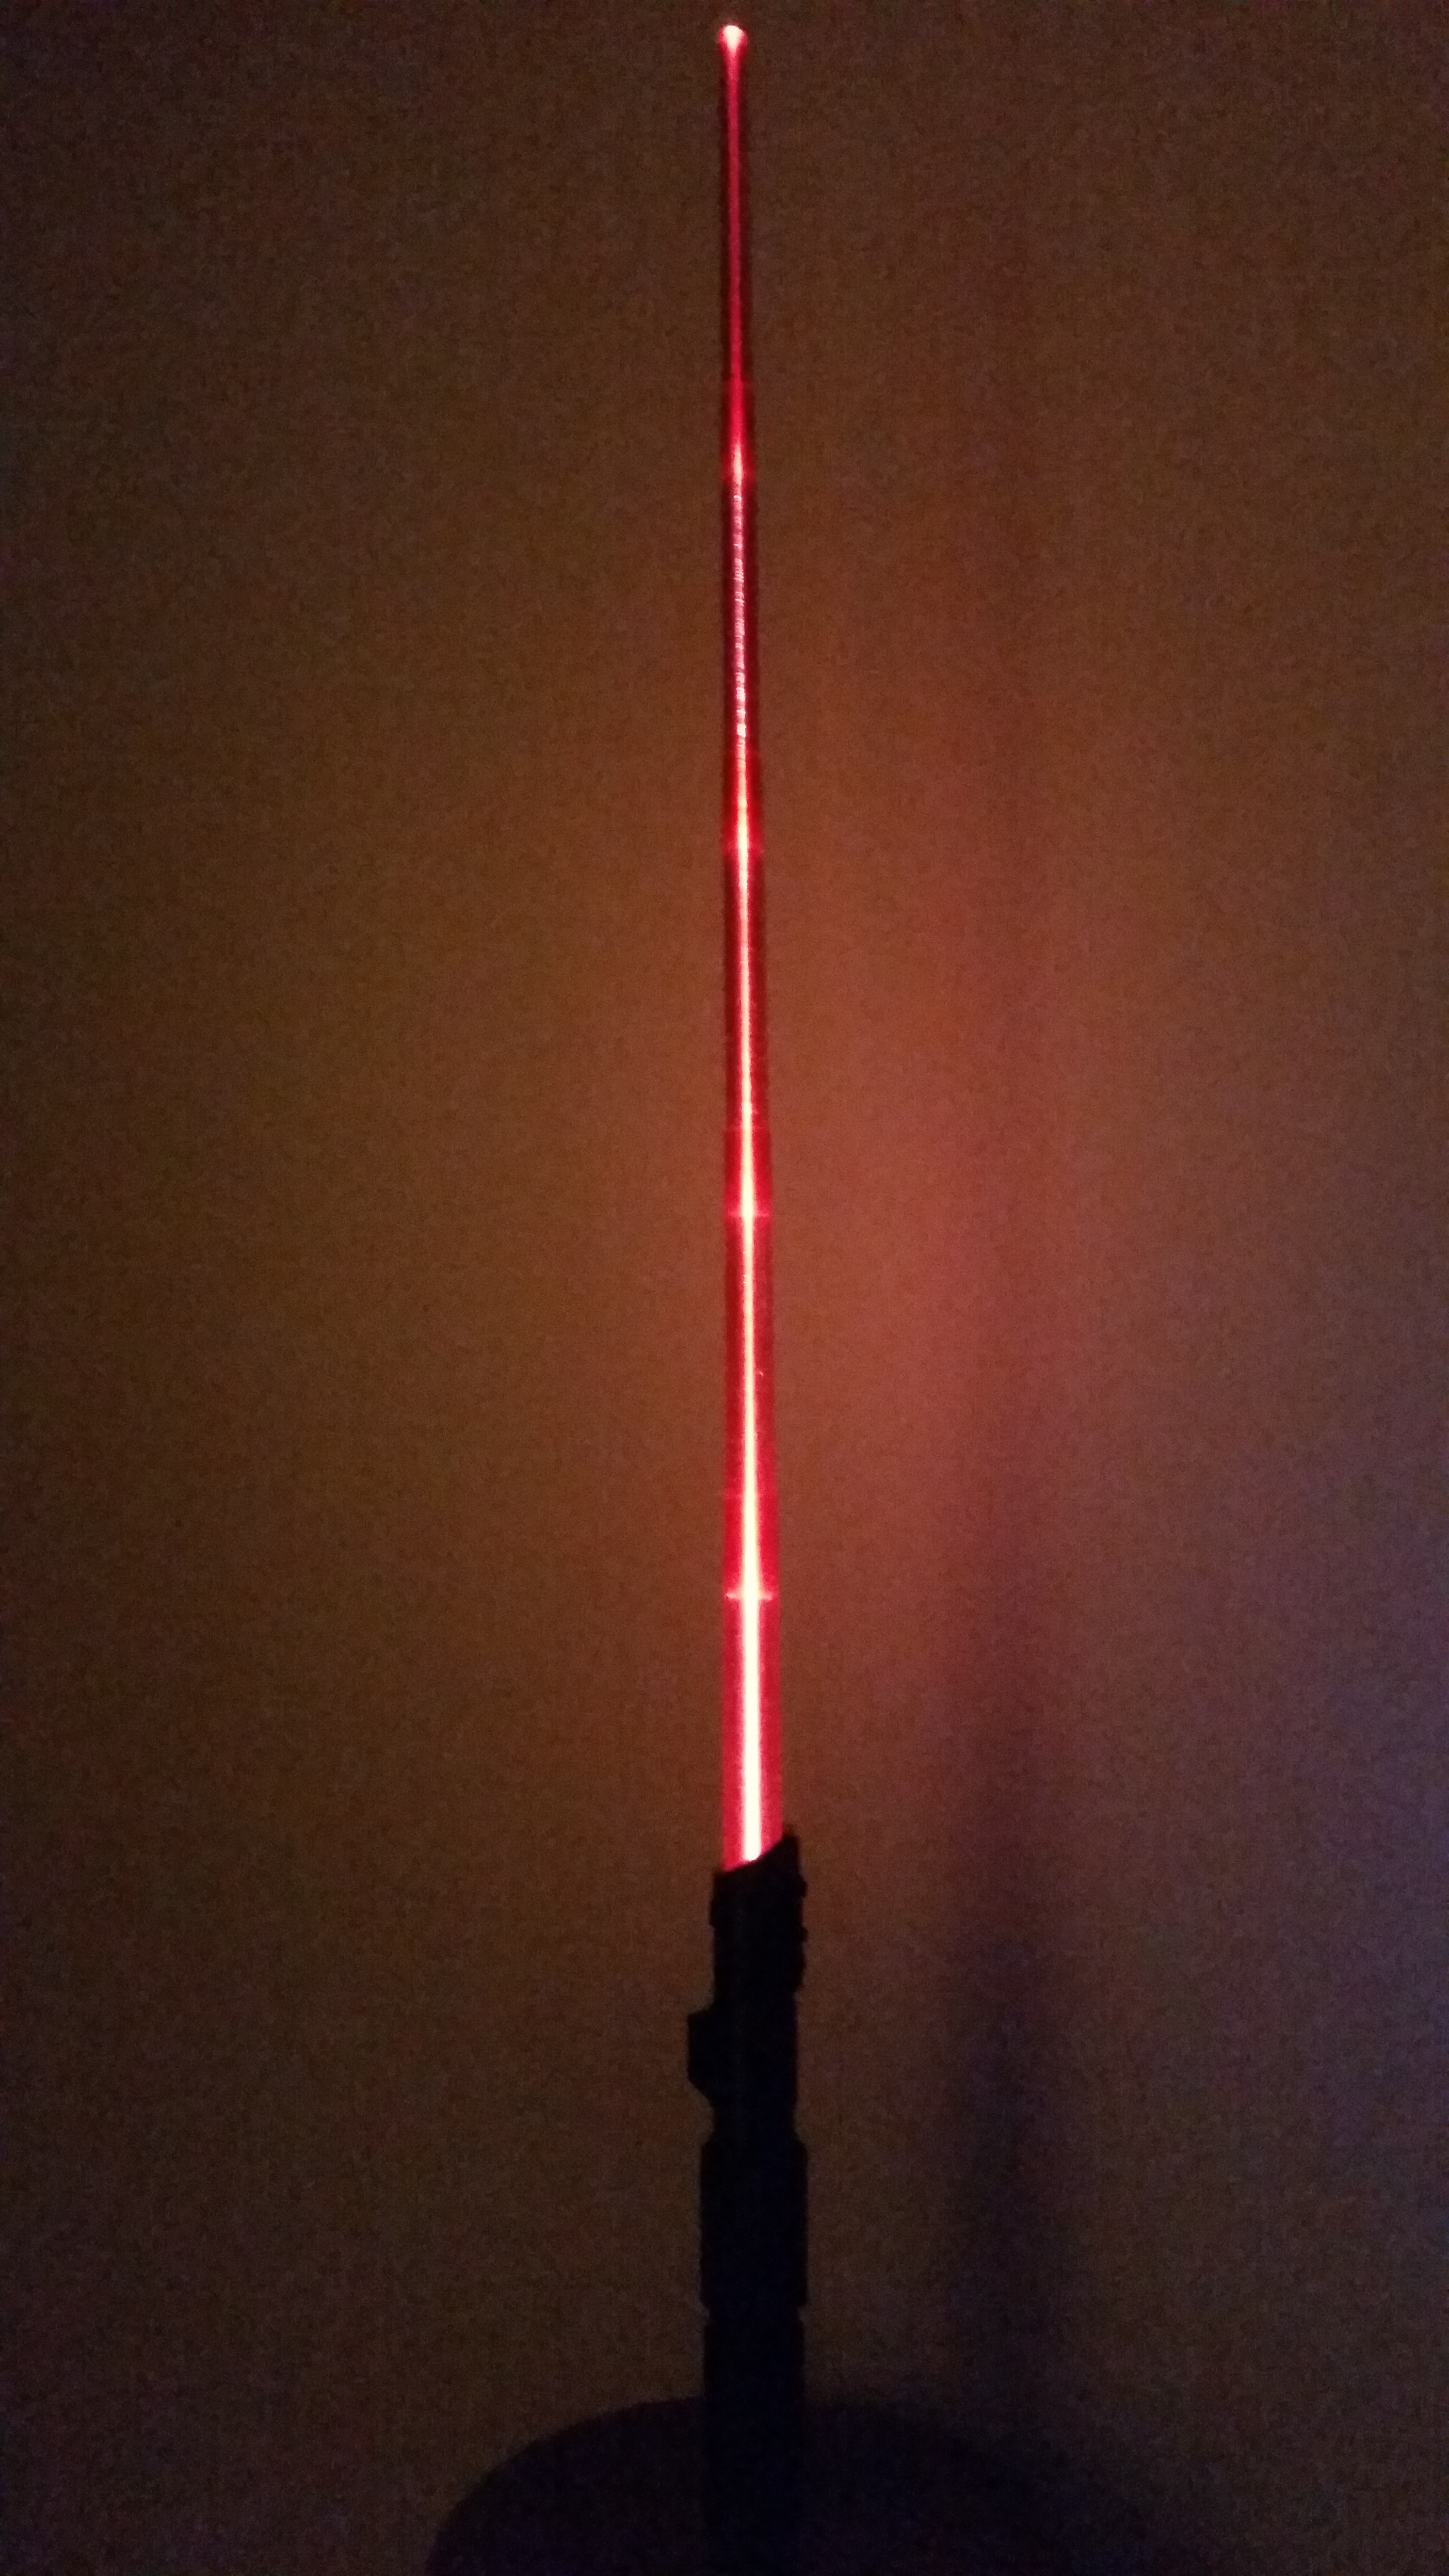
Flashlight mod for the Collapsing Sith Lightsaber
prusaprinters
<p>A rechargeable flashlight cap, to be used with 3dprintingworld's <a href="https://www.prusaprinters.org/prints/3722-collapsing-sith-lightsaber-removable-blade">Collapsing Sith Lightsaber (Removable Blade)</a>.<br>The light automatically switches on when drawing the blade.</p><p>To bring balance to the force I made this version for the Sith Lightsaber.</p><p>Also needed:<br>– <a href="https://www.aliexpress.com/item/5pcs-lot-black-small-micro-switch-camera-switch-reset-detection-stroke-limit-miniature-3-foot-straight/32968198983.html">Subminiature Microswitch (TS0101F020P)</a><br>– <a href="https://www.aliexpress.com/item/1005001695837009.html">YAGE Mini LED Flashlight (YG-3829)</a></p><p><a href="https://debug.net.br/3D/LightsaberCap-Sith.FCStd">FreeCAD source file</a></p><p><strong>Warning: It has been reported that this flashlight may overcharge if left charging for extended periods. Be in the safe side and don't left it charging unattended.</strong></p><h3>Print instructions</h3><p><strong>Print Settings</strong></p><p>– Layer height: 0.2mm<br>– Supports: no<br>– For the blade I recommend translucid PETG in spiral vase mode with 0.85mm extrusion width.<br>– This version uses the full sized blade from: <a href="https://www.prusaprinters.org/prints/3721-collapsing-lightsaber-removable-blade">https://www.prusaprinters.org/prints/3721-collapsing-lightsaber-removable-blade</a></p><p><strong>Preassembly</strong></p><p>– Print all the parts, including the blade from 3dprintingworld's <a href="https://www.prusaprinters.org/prints/3721-collapsing-lightsaber-removable-blade">Lightsaber</a> and the hilt from <a href="https://www.prusaprinters.org/prints/3722-collapsing-sith-lightsaber-removable-blade">Sith Lightsaber</a><br>– Disassemble the flashlight, you will need every part that is inside, including the glass and reflector(most important piece).<br>– Unsolder the on/off switch from the board (the wires from the microswitch will be directly soldered there later).<br>– Solder new longer wires on LED board.<br>– Unsolder the battery connector from the charging board (the battery cables will be soldered directly later to save space)<br>– Prepare the microswith soldering cables on the C and NC pins (not the middle pin). Use thin wires for this one, I'm using 30AWG wrapping wire.</p><figure class="image"><img src="https://media.printables.com/media/prints/5330/images/34319_a5270bbe-ea00-4d77-ba25-e6e3fe593c83/thumbs/cover/300x300/png/microswitch.png" alt="Microswitch"></figure><p><br>Bend the microswitch legs like the picture above (mind the side). The middle leg can be cut out or bent.</p><figure class="image"><img src="https://media.printables.com/media/prints/5330/images/34320_0e2e7acb-7712-47b0-833a-d36d18258adf/thumbs/cover/640x480/jpg/reflectorholderassembly.jpg" alt="Reflector Holder"></figure><p><br>Finished Reflector Holder LED Assembly (without the reflector)</p><p>Solder the wires like in the picture above, then insert the board with the shorter side first and then then rotate it passing the cables through the holes.</p><p><strong>Assembling</strong></p><p>1) Insert the microswitch on it's slot passing it's cables to the bottom side (double check the correct switch position before pushing it in). The switch is somewhat sensible from being pressed from it's lever, so use a screwdriver to push the switch from under the lever. The switch should snap in place.<br>2) Push in the flashlight glass on the lightsaber cap until it's locked in place.<br>3) Insert the reflector, which will also help hold the glass in place. (The red color of the blade may become pinkish because of the bright white LED light. If that happens, put a red transparent plastic between the reflector and the glass to filter the light)<br>4) Insert the assembled reflector holder (with LED) and rotate it to lock (use some silicon grease if it's difficult to rotate). Check if the led is correctly centered inside the reflector (it should be).<br>5) Solder every thing to the charging board, insert it with the battery and close with the charging cap.<br>6) Insert the blade into the hilt, close with the cap and test it. The light should be off when the blade is inside the hilt.</p>
With this file you will be able to print Flashlight mod for the Collapsing Sith Lightsaber with your 3D printer. Click on the button and save the file on your computer to work, edit or customize your design. You can also find more 3D designs for printers on Flashlight mod for the Collapsing Sith Lightsaber.
