FlexMesh 1.0 -- Flexible Chainmail Mesh
thingiverse
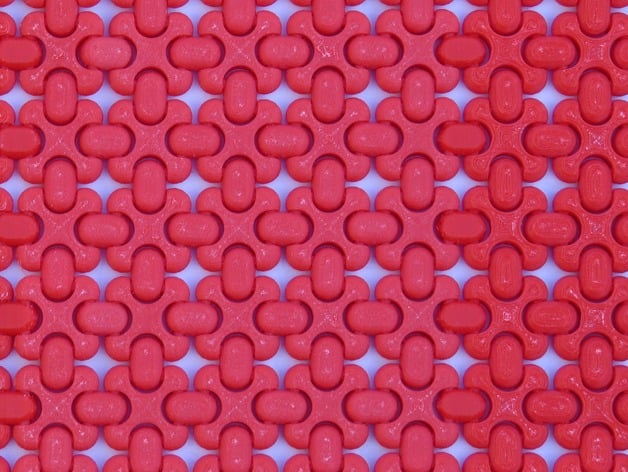
Update: Check out FlexMesh 2.0, taking FlexMesh to unprecedented heights. FlexMesh unlocks fresh approaches when designing for modern 3D printers, defying conventional design methods. With carefully chosen geometry, plastic parts printed with flexible designs can prove resilient, strong and remarkably durable. Flattened shapes can be easily folded to create tall objects, while towering forms can be reduced to expansive flat panels. Although your printer's build area is 2D in nature, the true extent of its potential remains limitless - a testament to the unfettered 3D capabilities that await creative visionaries. Unshackle your creativity by suggesting alternative solutions to overcoming today's 3D printing limitations. Notable updates: - Makerbot slicers now successfully handle single-layer mesh patterns. - TriSphere offers another adaptable and dynamic flexible mesh design for enthusiasts to explore. --- MakerBot and Simplify3D slicing tools have yielded promising results when used in conjunction with these intricate shapes. Printing experiments utilized FlashForge machines, leveraging ABS materials, with precision layer height settings at 0.2mm and shell reinforcements. Record-breaking prints of up to 8.5 feet long attest to the boundless possibilities hidden within this flexible framework. Adaptable and high-strength joints, produced using versatile filament such as Octave or Zen Toolworks, hold considerable appeal. Users have successfully employed Simplify3D slicers with impressive print dimensions. Detailed CAD drawings and plans, highlighting key shapes, can be found here - carefully optimized for user ease of use and versatility in combining various designs. A systematic pattern dictates a regular repeating distance of 25mm for main shapes ('sub'), accompanied by layer layers measuring 7mm. FlexMesh prints may sometimes necessitate extra handling steps. Large and multi-layer projects, printed with makerbot slicing tool sets still require considerable additional support from superhelfd simpliify 3d's auto-hand supports in cases involving big part supports on a per object bases below ever shortsub unit being currently work-inprogress by simplfiy3ds staff however maker bot team will look to have makers' version up within couple week later on when completed. FlexMesh parts rotate smoothly following their final assembly and initial cool-down phases. Users requiring to disconnect layered segments are well advised using an ordinary plier tool wiggling into gaps. Pegs may also prove a simple effective method for binding adjacent units by the peg can remain inside while a larger than required size remains lodged to create perfect solid fixations of one sub layer to the main mesh units together - effectively bridging all horizontal distance separating elements while holding together well even on very tall models. Snips may serve perfectly to tidy-up leftover fragments. Remember to always provide new modifications and feedback in pursuit of continually optimizing this amazing mesh!
With this file you will be able to print FlexMesh 1.0 -- Flexible Chainmail Mesh with your 3D printer. Click on the button and save the file on your computer to work, edit or customize your design. You can also find more 3D designs for printers on FlexMesh 1.0 -- Flexible Chainmail Mesh.