Flexy-Form Insole - Customizable
thingiverse
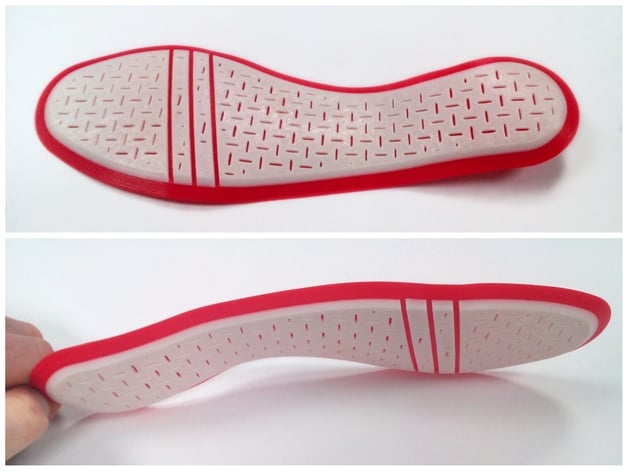
I offer a CAD tool that allows the podiatry profession to implement custom insoles directly at the point of care, no scanner required. Simply take measurements, input values into OpenSCAD or Customizer, export the model, print flat, and heat form to fit. This tool utilizes open source CAD (OpenSCAD), making it freely accessible. Users can customize the insole profile to match internal shoe sizes precisely. The thermoformable surface can be molded in hot water and reshaped multiple times. It's also available with a Filaflex and PLA Composite. Print using a single nozzle, allowing for material changes at varying heights. Integrated hinge lines allow for smooth flexibility. Please note that I'm providing information only; this is not medically certified, and users must exercise caution. However, people worldwide often wear makeshift footwear made from wood or car tires. Builder beware. The onus lies with the user to create their own custom insoles. Edit 10/06/2016: This has largely been superseded by software available at http://www.gensole.com. You can also visit www.gyrobot.co.uk and https://www.facebook.com/gyrobotuk for more information.
With this file you will be able to print Flexy-Form Insole - Customizable with your 3D printer. Click on the button and save the file on your computer to work, edit or customize your design. You can also find more 3D designs for printers on Flexy-Form Insole - Customizable.