Flip Lock Paddle board dolly
thingiverse
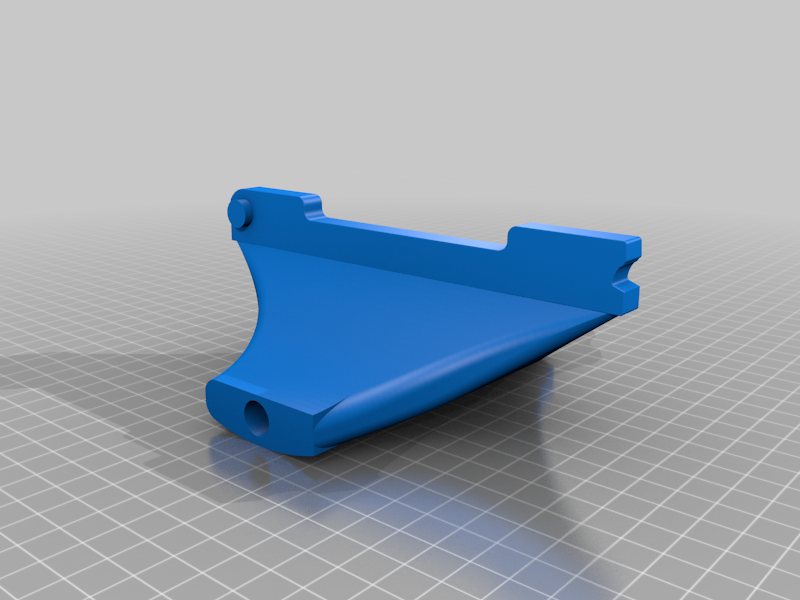
Disclaimer: This hasn't been tested further than the end of the driveway and only on the iRocker 9ft Nautical board. Use at your own risk, but let me know if you experience issues and I'll do my best to fix the design. Update on clearance issues: (for reference I'm about 6ft tall) 2022 9' Nautical board - I can hold the nose just below my chest before the tail touches 2021 10'6" iRocker Cruiser - I can hold the nose to my chest 2020 11'6' Nautical - I can hold the nose above my head. I'm pretty sure this model has the fins set further back the the other two boards. My daughter just got her first paddle board, but I'm not super keen to have to carry all my gear and her board at the same time. So I needed an easy way for her to maneuver her board from the car to the water without having to mess with big cradles and dollys. I came up with this adapter that snaps into the main fin pocket, and is still small enough to carry on an adventure. I wanted it to have fairly big wheels so that it can manage different surface types. Its currently designed to not have any metal parts and require minimal assembly. That way it's inexpensive and, hopefully, fairly durable. There are some particulars to pay attention to while printing that I will detail below. You will need the following items to complete this project: 1 - Filament of your choice (I've used PLA and PETG) 1 - TPU filament (I used Sainsmart TPU) 1 - 10mmODx8mmID carbon rod cut to fit, but you'll need at least 150mm. Printing parts: Dolly - Flip part onto the fin interface and set high infill for the interface and a few mm into the main part to strengthen the "spine". Layer height - 0.3mm Perimeters - 2 Layers - Top: 4 Bottom: 4 Infill - I used 80% for the "spine" then dropped to 20% for the remainder. Supports: Yes Raft : I didn't need it, but you might. Wheels x 2 - I printed mine with Sainsmart TPU. I believe its 95A shore hardness. Layer height - 0.2mm Perimeters - 2 Layers - Top: 4 Bottom: 4 Infill - 20% The wheels have a little give to them, but are plenty capable of supporting the weight of the board. Axle plug x 2 - Depending on the tolerance of your printer and your carbon, you may need to scale these very slightly. Layer height - 0.2mm Perimeters - 2 Layers - Top: 4 Bottom: 4 Infill - 100% Raft - 2 Layers 1.5mm expansion for bed adhesion Assembly: Print all parts Slide wheels on the axle and axle into the dolly Jam/glue the axle caps into the axle Leave the wheels unglued so that they can spin independently when the board is being turned.
With this file you will be able to print Flip Lock Paddle board dolly with your 3D printer. Click on the button and save the file on your computer to work, edit or customize your design. You can also find more 3D designs for printers on Flip Lock Paddle board dolly.