Flossing Tool
prusaprinters
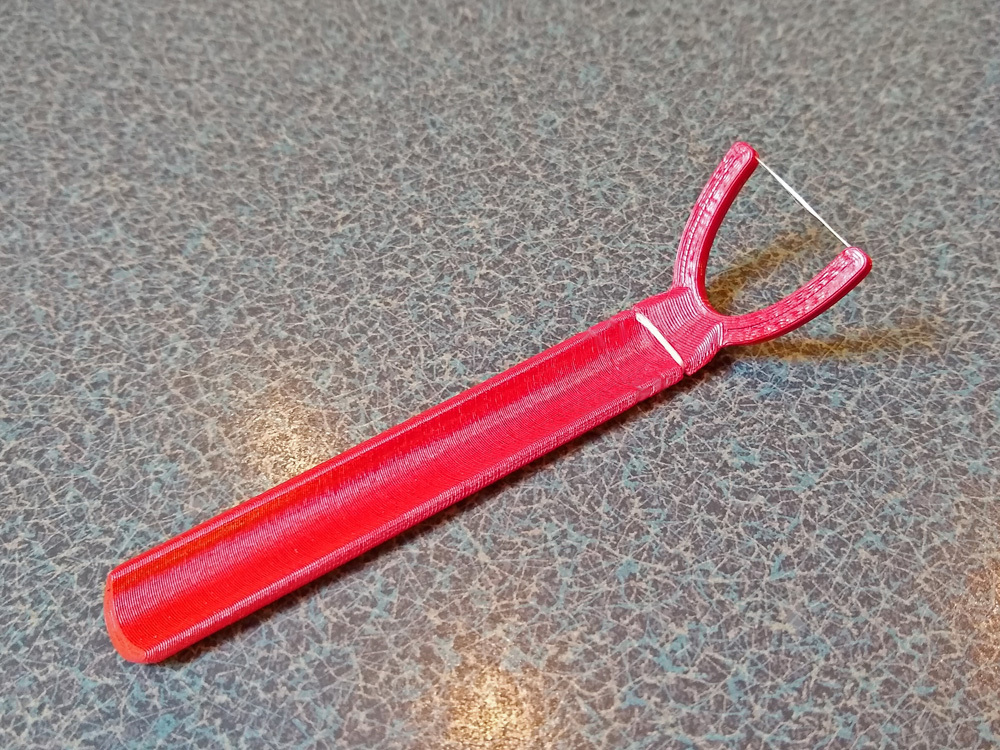
<p>This easy-to-to-print flossing tool is angled downward to make it easy to reach your back teeth. Uses about 8" of floss per use.</p> <p><strong>Printing</strong></p> <p>This model has built-in supports so do not turn on your slicer's support option. To make the supports and other small gaps print properly, use a layer thickness of exactly 0.2mm.</p> <p>Also use a line width of 0.4" for most efficient printing.</p> <p>This is printed with PLA. I would recommend using clear (unpigmented) PLA to avoid any issues with possibly harmful pigments. (Sadly, I've run out at this time.)</p> <p><strong>Post Printing</strong></p> <p>There is a tiny 1 layer support in the notches at the end of the fork. You will need to clean these out with a razor blade or Xacto knife. To load with floss, start by creating one wrap through the side notches. Then lace the floss though the channel in the fork and back to the handle, wrapping it another time or two through the side notches.</p> <h3>Print Settings</h3> <p><strong>Printer Brand:</strong></p> <p>MakerGear</p> <p class="detail-setting printer"><strong>Printer: </strong> <div><p>MakerGear M2</p></div> <p><strong>Rafts:</strong></p> <p>No</p> <p class="detail-setting supports"><strong>Supports: </strong> <div><p>No</p></div> <p><strong>Resolution:</strong></p> <p>0.2mm</p> <p class="detail-setting infill"><strong>Infill: </strong> <div><p>20%</p></div> <p><strong>Filament:</strong> Inland PLA</p> </p></p></p> Category: Bathroom
With this file you will be able to print Flossing Tool with your 3D printer. Click on the button and save the file on your computer to work, edit or customize your design. You can also find more 3D designs for printers on Flossing Tool.