Flow Calibration Cube 60x60x15
prusaprinters
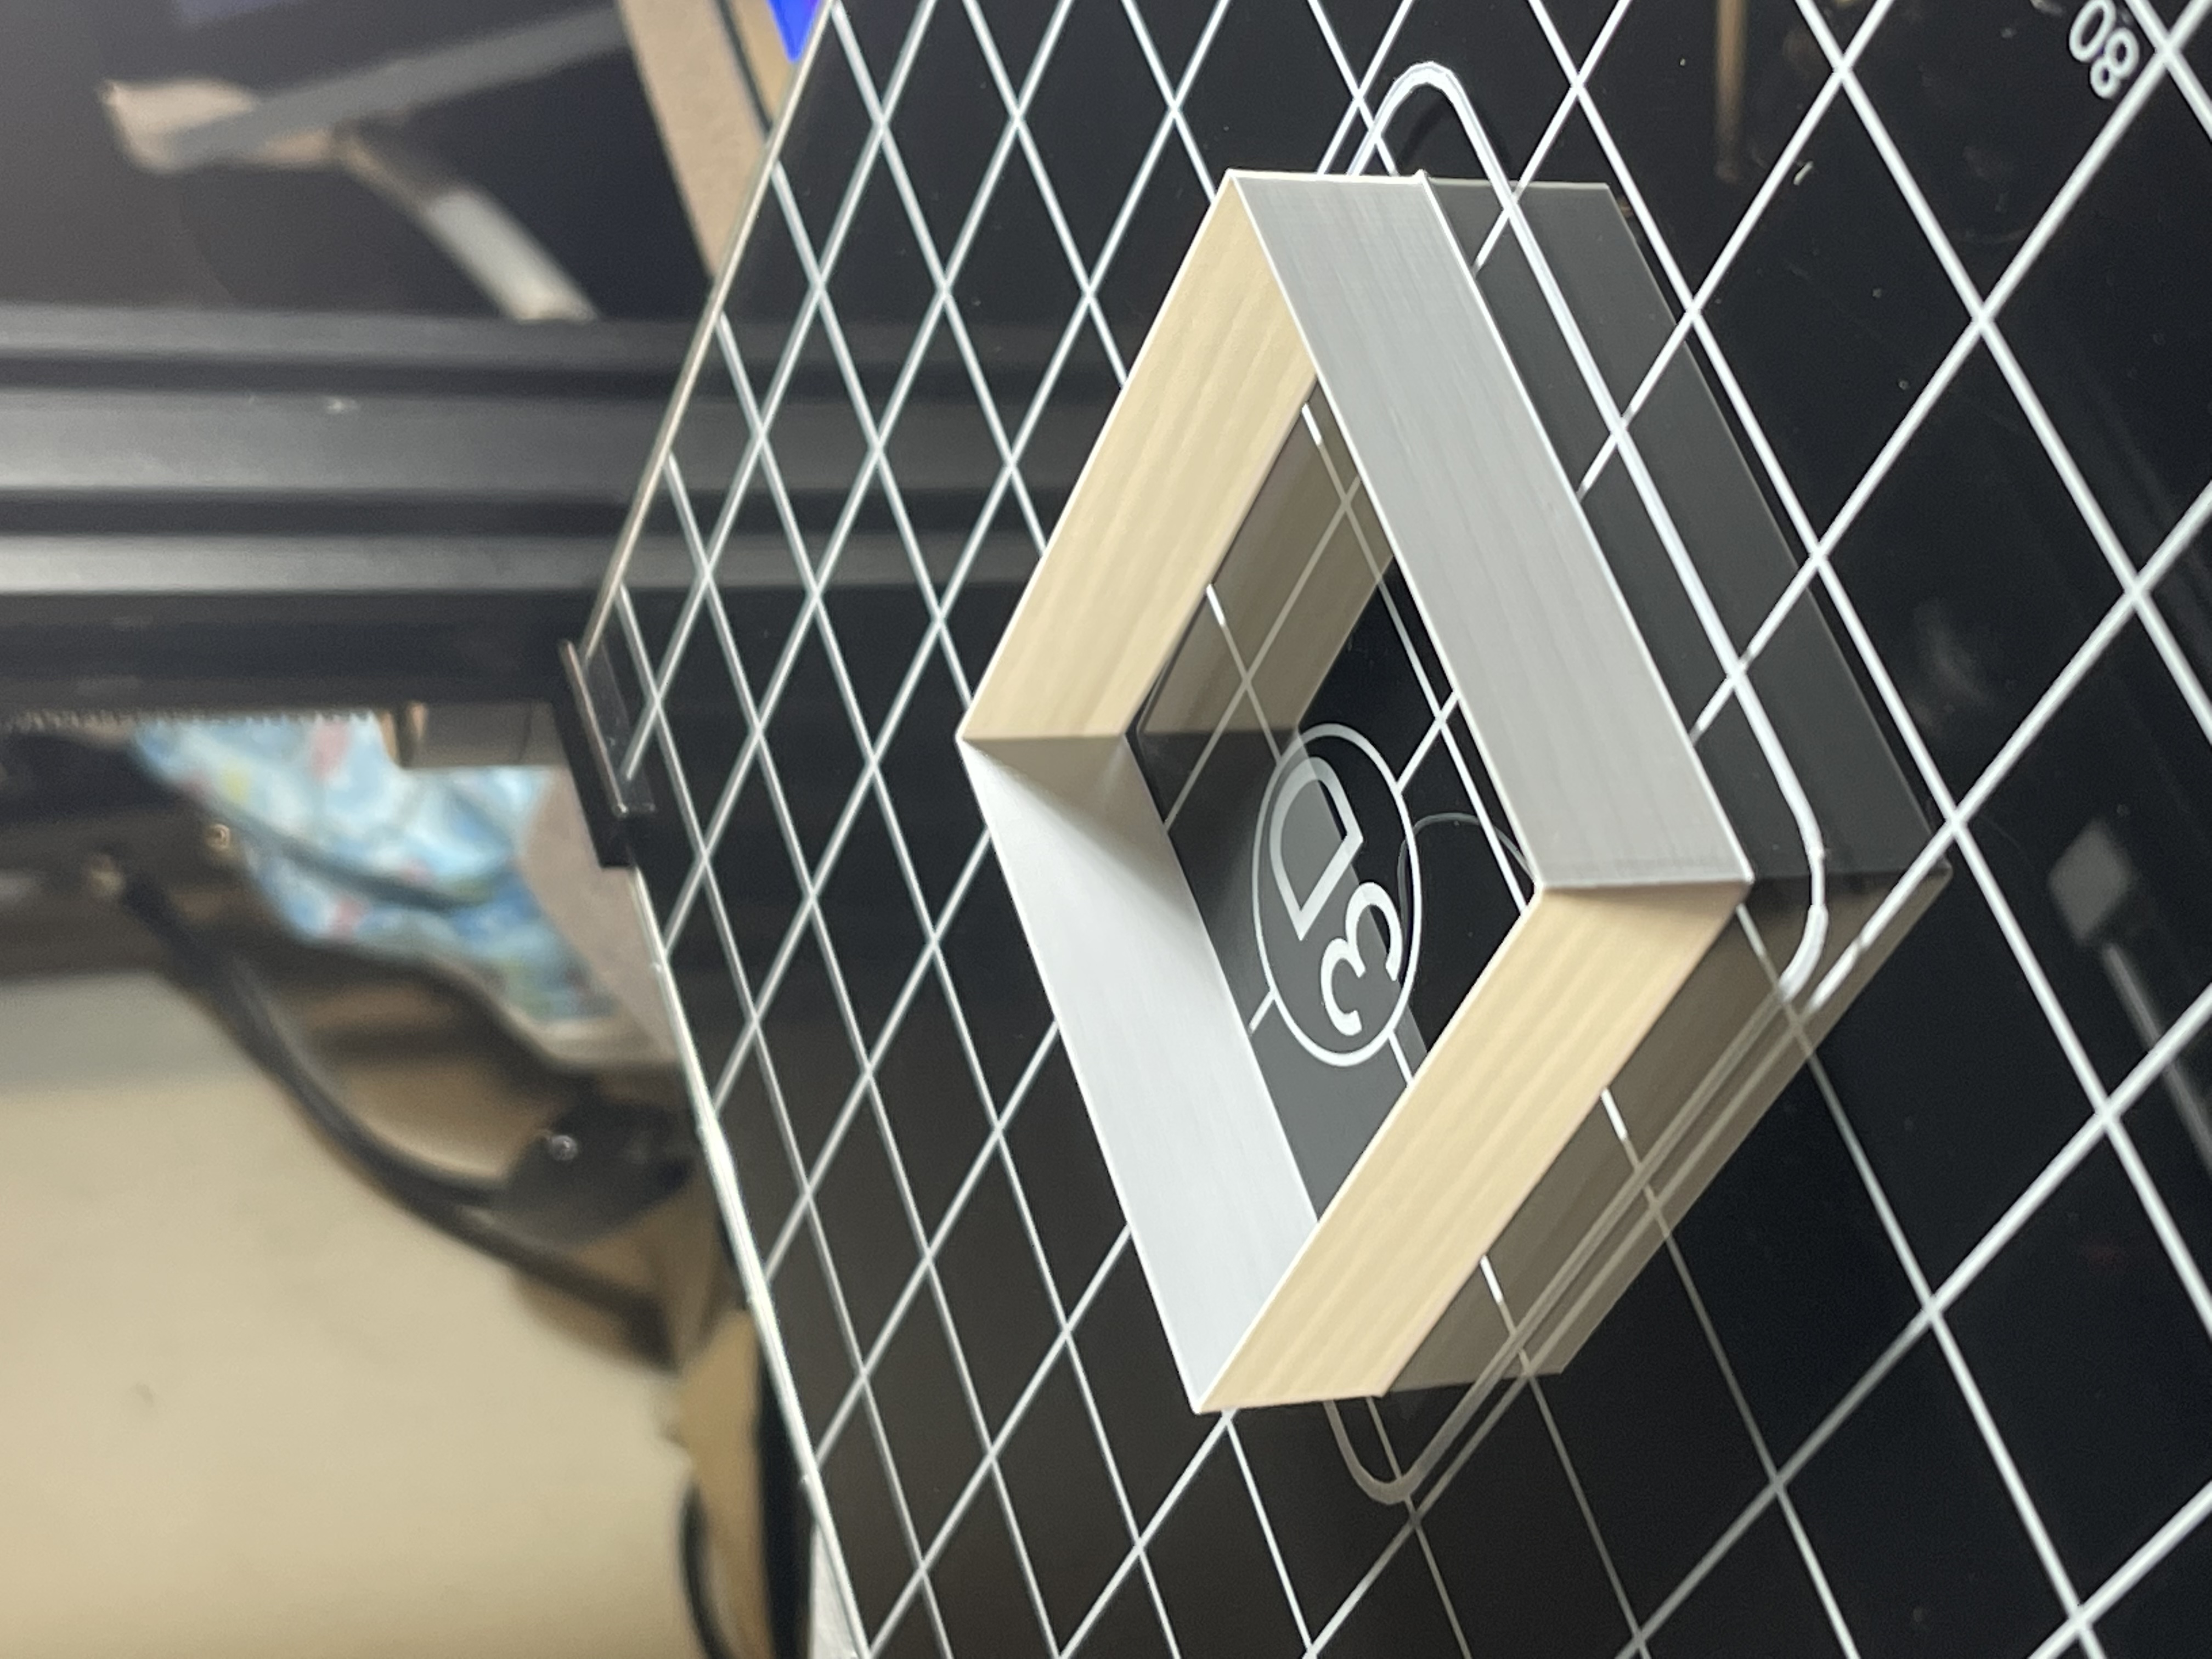
<p>Created this quick model for better flow calibration. I have found that when printing larger models after calibrating flow with a 20x20 cube, I usually end up with some form of under extrusion somewhere in the model I'm printing. <br><br>To solve my problem, I extended the width and length of a standard cube to 60mm on x and y. This gives me a better idea of flow when it comes to bigger models.<br><br>Also, I had some spare filament and thought what better way to use almost finished spools of filament than to calibrate and tune your printer! </p><p><strong>NOTE: </strong><i>You will need digital calipers to calibrate your flow. You can find fairly priced good models on Amazon if you don't already have one.</i><br><br><strong>Calibration Steps</strong></p><ol><li>Set print to use spiralize/vase mode. <ul><li>Prusaslicer - go to<strong> Print settings > Vertical Shells > Spiral vase</strong> <i>(check the box)</i><br><a href="https://help.prusa3d.com/article/layers-and-perimeters_1748#spiral-vase">https://help.prusa3d.com/article/layers-and-perimeters_1748#spiral-vase</a></li><li>Cura - go to Special Modes > <strong>Spiralize Outer Counter </strong><i>(check the box)</i><br><a href="https://all3dp.com/2/cura-vase-mode-all-you-need-to-know/">https://all3dp.com/2/cura-vase-mode-all-you-need-to-know/</a></li></ul></li><li>Print the model</li><li>Go to this link <a href="https://www.layerfused.com/3d-printer-calibration">https://www.layerfused.com/3d-printer-calibration</a><ul><li>Scroll down to the section titled <strong>Flow Compensation </strong></li><li>Enter the flow rate value you used to print the model</li><li>Enter the nozzle size you are using</li><li>Using your digital calipers, measure each individual wall and enter the measurements in each respective input field. ***</li><li>The number returned is your new flow rate.</li></ul></li><li>Print model again to verify the flow calibration</li></ol><p><strong>Example: </strong><i>For a standard 0.4mm nozzle each wall should measure 0.4mm. If it is under or above the nozzle diameter, run the calibration steps again. Until you get desired measurements. ***</i></p><p><br> </p>
With this file you will be able to print Flow Calibration Cube 60x60x15 with your 3D printer. Click on the button and save the file on your computer to work, edit or customize your design. You can also find more 3D designs for printers on Flow Calibration Cube 60x60x15.