Flow Calibration Cube
thingiverse
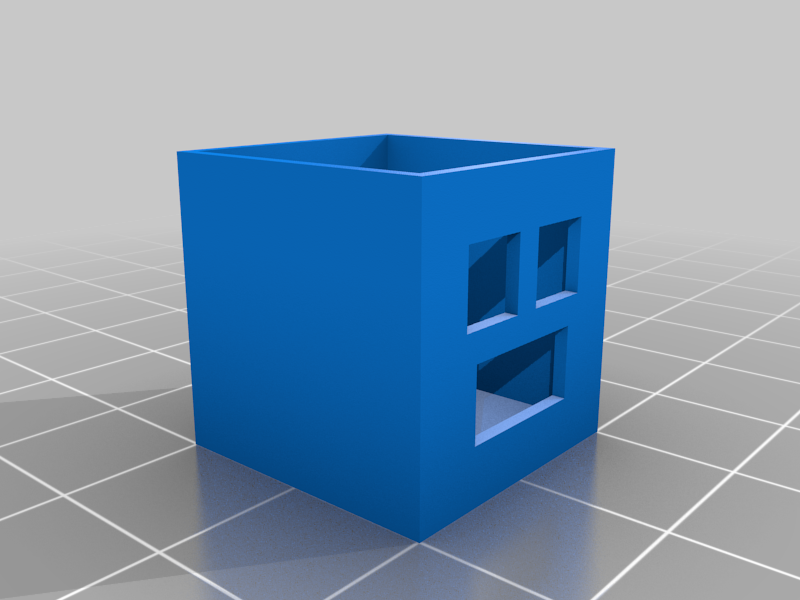
A test cube that I designed to calibrate my flow percentage. See pictures for what the dimensions SHOULD be and compare to your printed model. I have 3 models for nozzles sized 0.3mm, 0.4mm and 0.5mm (I can make more, just leave a comment) First calibrate your extruder E-steps, this is super important. Have a look at a video like Tomb of 3D Printed Horrors' https://www.youtube.com/watch?v=xzQjtWhg9VE on how to do it and then once it is properly calibrated... HOW TO PRINT: Set your exact nozzle size in your slicing software, infill to 0% and bottom layers to 100 or whatever makes it solid. you should see 3 walls on the sides of the model, 2 outer walls and 1 inner. Set your flow to 100% and print. Once done measure the thickness of the walls (see 2nd image for where to measure) and get an average of the thickness then; take the expected value (0.9mm for a 0.3mm nozzle, 1.2 for a 0.4 etc...) e.g. 1.2mm, divide by your actual measured value e.g. 1.1mm and you get a value for your new flow value. e.g. 1.2 / 1.1 = 1.09 so new flow rate is 109%. Note: To calculate new flow rate for a print with a flowrate that is not 100% just do the same calculation as up above and then multiply your current flow by the value e.g. if flow is 109% and you get a new value of 0.98 then 109 X 0.98 and you get 106.8% as your new flow.
With this file you will be able to print Flow Calibration Cube with your 3D printer. Click on the button and save the file on your computer to work, edit or customize your design. You can also find more 3D designs for printers on Flow Calibration Cube.