FLSUN QQ-S MARLIN 2.0.5.3 FIRMWARE (STOCK & TMC2208 / BMG EXTRUDER)
thingiverse
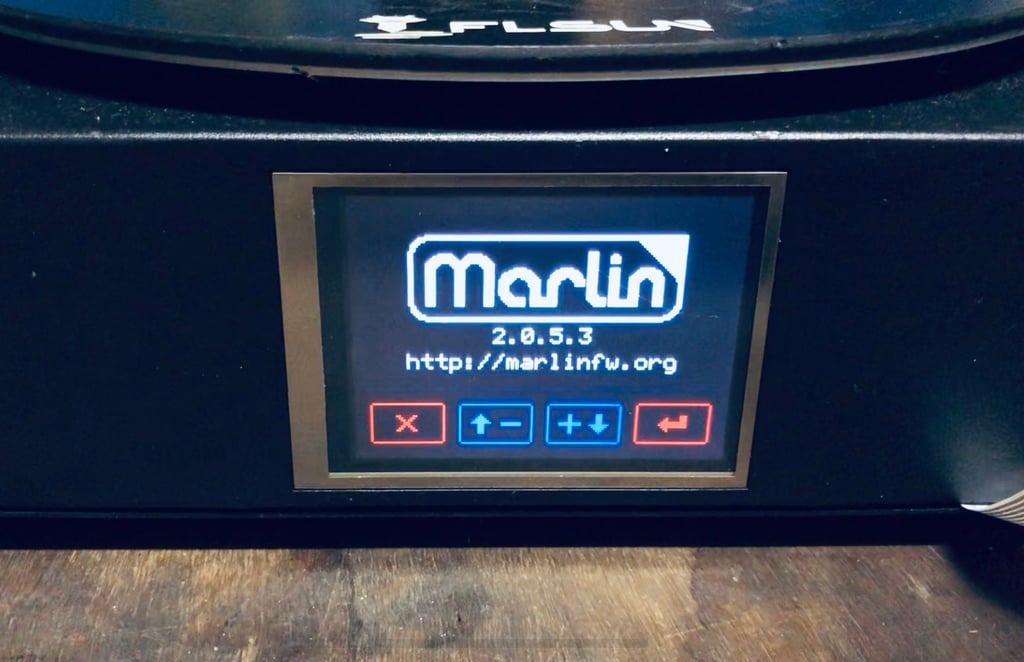
EDIT : Stock version added reversed and normal extruder direction. EDIT : If you have a filament sensor connected to the raspberry with octoprint turn off the filament sensor in the printer menu otherwise it will loop the retract/feed procedure of the M600 infinitely. Marlin firmware for FLSUN QQ-S STOCK AND MODDED WITH TMC/BMG ALL CREDITS TO ANDERS SAHLMAN this is an update to marlin 2.0.5.3 of his work. FILES HAVE ACTIVATED FILAMENT SENSORS you can disable in the printer's screen menu : UNCOMPILED AND COMPILED FILES HERE : https://www.dropbox.com/s/ly59gypivj67fmg/FLSUN%20QQ-S%20MARLIN%202.0.5.3%20STOCK%20%26%20TMC2208%20V2.zip?dl=0 FIRMWARE ALSO PROVIDED FOR REPLACEMENT BOARD FOR FLSUN QQ-S with TMC2208 AND BMG EXTRUDER : https://www.aliexpress.com/i/4000580369269.html and https://aliexpress.com/item/4000072198732.html Anders Sahlman : 9 February To upgrade to Marlin, take the correct file named Robin_mini.bin from the link and put it on the sd card and let the printer self update on reboot. To revert take the files from original firmware (robin_mini.bin, robin_mini_config.txt, mks_pic and mks_font) and let the printer update in same way as normal Configuring Marlin (this is how I do it) 1. Start by initializing EEPROM (Configuration/Advanced Settings/Initialize EEPROM) 2. Mount the leveling switch 3. Start the delta calibration (Configuration/Delta Calibration/Auto Calibration) This will take a long time (many iterations up to 9 times) but it is doing a good job. 4. Start bed leveling (Motion/Level Bed) 5. Remove the leveling switch. 6. Turn off soft end stops to make it possible to move z below zero (Motion/Move Axis/Soft Endstops:) 7. Move the nozzle down until it is at a paper from the bed (Motion/Move Axis/Move Z) 8. Now note the Z height that the printer is at, should be negative, and use this value as Probe offset (Configuration/Probe Z offset) (As the menu goes 0.01 mm per touch this can be easier to do if you have it connected to the USB with pronterface, then this is done with M851, for example if the offset is 8.45 mm then send 'M851 Z-8.45') 9. Now configuration is done, save to EEPROM (Coinfiguration/Store Settings) Printing Remember to add M420 S1 to your start code in the slicer, it will enable your saved leveling mesh. When starting the prints until you know your settings are correct, use a skirt and use babystep to trim that first layer (Tune/z babystep) Calibration, E.steps : To calibrate the proper E-step value remove the bowden tube from either the hotend or the extruder, heat up the hotend to >170C, extrude so the filament is sticking out of the extruder or the ptfe depending on where you disconnected it. Cut the filament flush to the opening. Order the printer to extrude 100mm either with the menu or as I prefer with gcode byt first sending M83 to set it in relative mode and then G1 E100 F100 Now measure the extruded length and if it is not correct then you need to set the new E-step to old e-step * 100/length extruded in mm So for example your old E-step was 400, you extruded 90 mm , this gives the new e-step 400*100/90 = 444.4 (This is not any real values just an example..) To change your e-step (and to see what your current e-step is) you go into the menu Configuration/Advanced Configuration/Steps/mm and there you can find and change the extruder steps/mm When you have changed the steps setting remember to save to EEPROM with Configuration/Store Settings Dimensional calibration : To check the dimensional calibration you start by printing a 100x100mm calibration square. Measure the real values, if inaccurate calculate new delta rod lenght, new rod length = old rod lenght * measured value/100 , so if you printed the square and it was 101 mm then the new delta rod value would be 280.0*101/100 = 282.8 This setting is found under Configuration/Delta Calibration/Delta Settings/Diag Rods: Remember to save to EEPROM when you have changed it. PID tune: PID tuning should be done if you want really stable temepratures, this _can_ be done for the hotend in the menu Configuration/Advanced Settings/Temperature but the user feedback is totally missing so I recommend doing this with gcodes instead. For procedure just google it, there are no difference for the flsun delta printers than any other printer. Binaries: Here are the binaries and also the code they are based on, remove the _date from the binaries when loading: QQ-S stock Code: https://github.com/AndersSahlman/Marlin/tree/Flsun-QQ-S Binary: https://github.com/AndersSahlman/Marlin/tree/Flsun-QQ-S/builds/Robin_mini_20200122.bin
With this file you will be able to print FLSUN QQ-S MARLIN 2.0.5.3 FIRMWARE (STOCK & TMC2208 / BMG EXTRUDER) with your 3D printer. Click on the button and save the file on your computer to work, edit or customize your design. You can also find more 3D designs for printers on FLSUN QQ-S MARLIN 2.0.5.3 FIRMWARE (STOCK & TMC2208 / BMG EXTRUDER).