Flux Delta new feeder
thingiverse
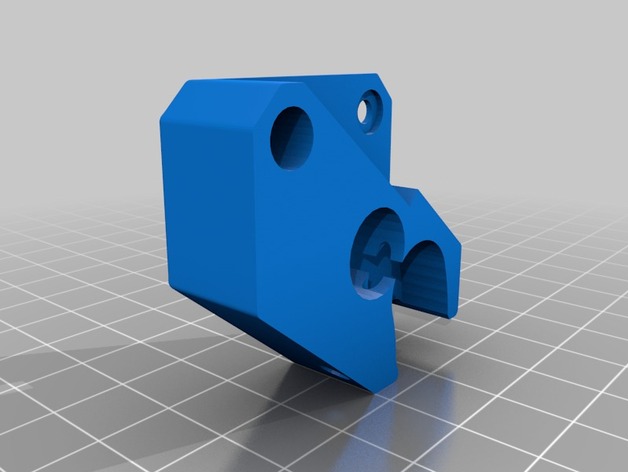
This part will help you to print flexible filament with your Flux Delta printer. Print Settings Printer: Flux Delta Rafts: No Supports: No Resolution: 0.1 Infill: 100% Notes: print it slow with the biggest surface on the table. (on the image the back side) Post-Printing Clean after print Clean the filament hole with a piece of filament and some toothpaste or something like this (little abrasive). Rinse. It also works with a piece of filament with toothprints of the feeder (you get after changing the filament). Or use a needle file to smooth the hole. Disassemble !!! you will loose your flux warranty now !!! open the top housing of flux. remove the feeder motor and mechanics. (2 screws) watch for the spring!! remove the springarm with the roller on the rotation axis. (little spring ring) remove the motor from the support. (4 screws) remove the lower filament guide (brass piece) remove the quick tube adapter from the brass piece. You dont need the brass piece for the new version. Assembling Screw the printed adapter, motor support and motor together (same 4 screws) Check that the motor turns free inside the printed piece. Screw quick adapter with slight pressure through the opening of the motor holder (where previously the brass piece was) into the printed part. The thread cuts itself. Apply the spring arm with roller. Now you can remount the feeder in flux.
With this file you will be able to print Flux Delta new feeder with your 3D printer. Click on the button and save the file on your computer to work, edit or customize your design. You can also find more 3D designs for printers on Flux Delta new feeder.