Flyingbear P902 E3D Titan Aero X Carriage
thingiverse
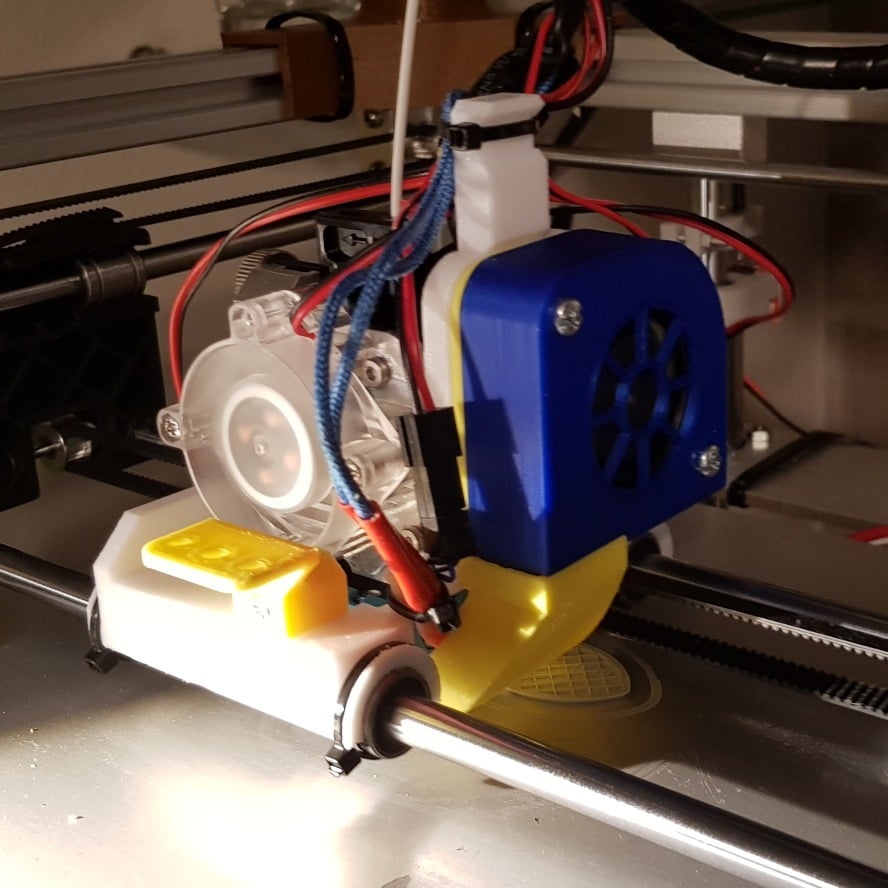
This is a X-carriage for the E3D Tian Aero direct drive extruder/hotend combo. The carriage is designed for the Flyingbear P902 but should work just as well for similar printers with a 70mm span between the x-axis smooth rods. *Note:* The belt tensioner is inluded for convenience but was not designed by me. The original design is here: https://www.thingiverse.com/thing:2018900 Features ------------ * Easy mount and removal. One screw and snap-on/snap-off. * Low profile (adds to build height) * Dual layer fan support * Tie wrap pegs Printing recommendations ---------------------------------- I recommend printing the main carriage and belt clip in PETG or similar. PLA will get mushy if the extruder motor gets warm. The other parts can be printed in PLA if you like. Assembly ----------- * Take the stock x-assembly apart. Remove the the linear bearings. * Put the linear bearings on the smooth rods and re-asseble. * Use a little thread lock fluid on the mounting screws * Mount the motor and back plate into the carriage * Remove the hot end and throat from the heatsink * Wiggle the heatsink and guts into place and and screw it tight (use thread lock) * Screw the heatsink fan into place. Replace the bottom screw with a longer one that extends through the mounting hole. * Screw the hotend and throat into the heatsink from the under side. * Mount the radial fan, funnel and cover * Optional: add a 30mm fan to the bottom on the opposite side (under carriage). See picture. * Optional (recommended): take the heatsink and fan from the stock extruder and mount it on the back of the E3D pancake stepper to keep it cool. Before I did this, I had issues with a warming stepper resulting in loss of torque. * Mount the x-carriage tensioner * Cut the x-belt to a suitable length so that, after inserting both ends into the clip, there is a little slack that can be tightened with the tensioner. * Snap the carriage on place over the linear bearings. * Secure the carriage to the bearings with tie-wraps * Screw the belt clip to the carriage Before you start ---- * Manually check that the x, y and z end stop line up with the new carriage. You may have to bend the levers. * If you add the heatsink and fan to the back you will have to move the z axis endstop to the other smooth rod for lack of space.
With this file you will be able to print Flyingbear P902 E3D Titan Aero X Carriage with your 3D printer. Click on the button and save the file on your computer to work, edit or customize your design. You can also find more 3D designs for printers on Flyingbear P902 E3D Titan Aero X Carriage.