Foam Board Cutter
prusaprinters
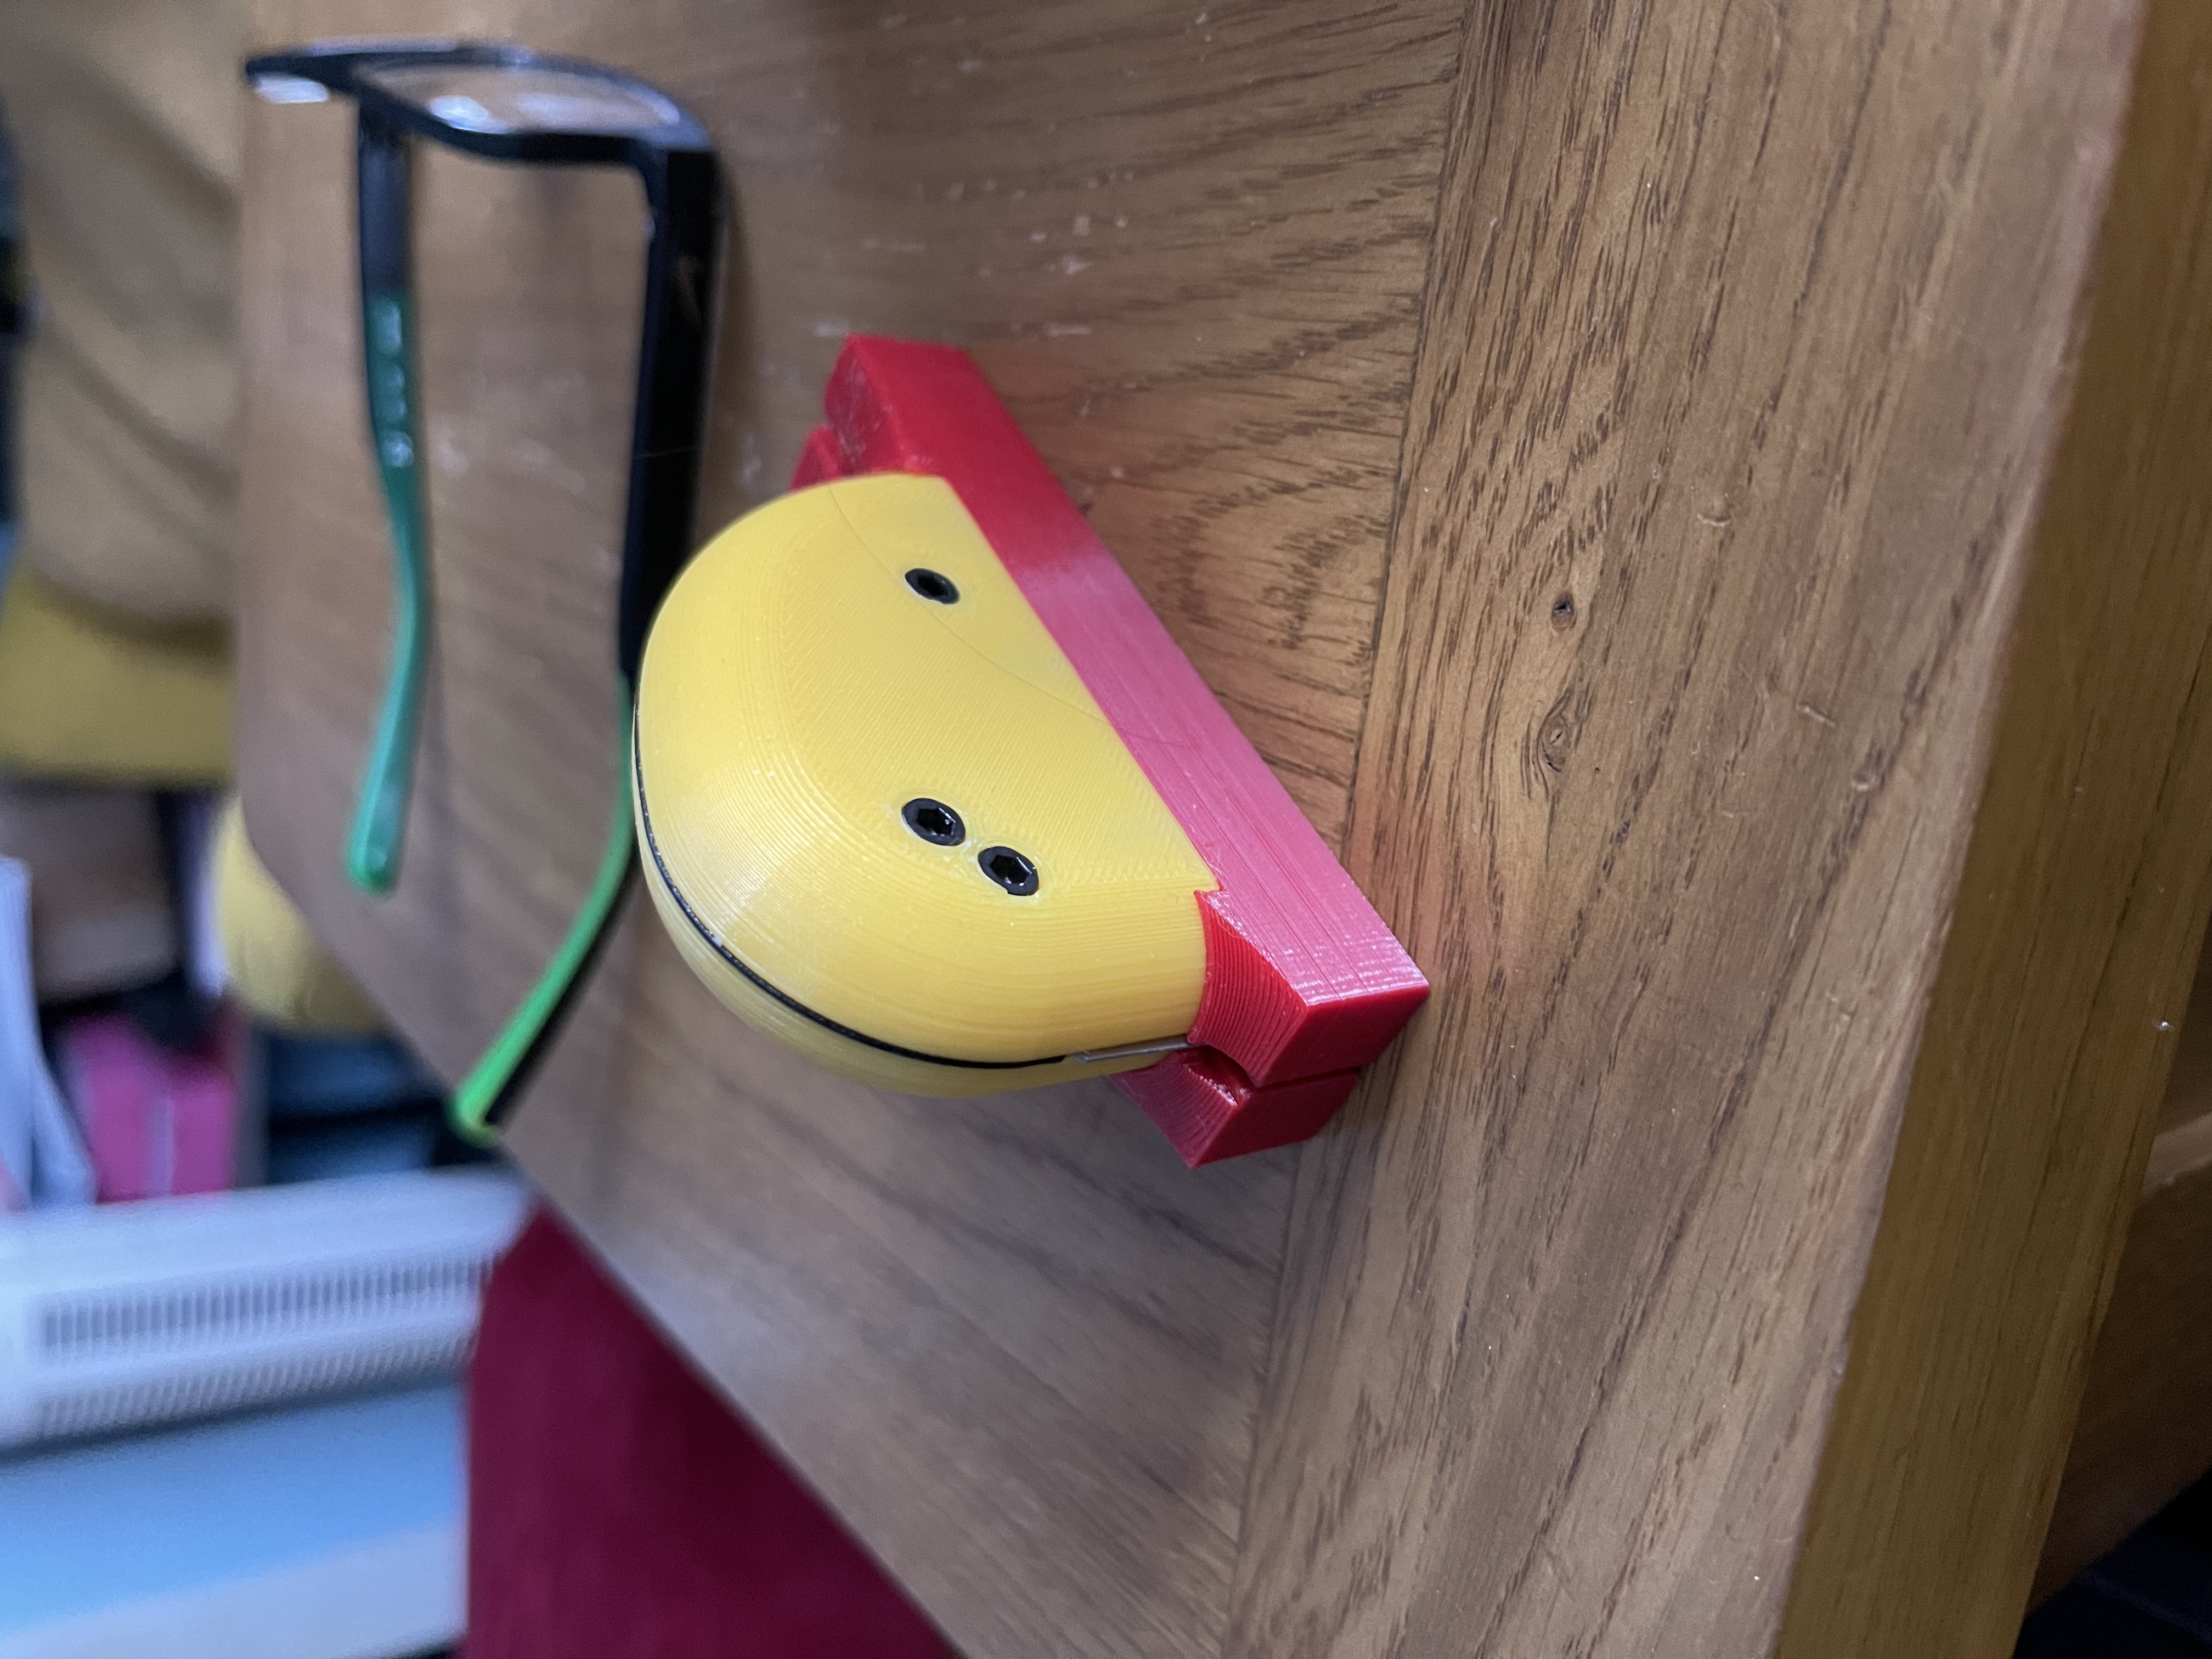
<p><strong>Disclaimer! (Danger Will Robinson!)</strong></p><p>First up, blades are sharp! Take every precaution to make sure you do not cut yourself or leave this anywhere where a child (or adult!) may accidentally injure themselves with it.</p><p><strong>So, What Is This?</strong></p><p>While working on a project I decided that the best materials for the walls of said project would be foam card. </p><p>Foam card (if you're not already familiar with it) is a material used in the art world and in crafting or modelling situations, a layer of foam is sandwiched between 2 layers of card, the resulting material is incredibly strong and is generally fairly easy to work with, it's also available cheaply in sizes from envelopes to A1 and probably beyond!</p><p>When I say it's easy to work with, you do have to take your time and ensure that you are cutting it in the right manner, if you go too fast or too deep or at the wrong angle while cutting, you're likely to end up dragging the card or foam with the blade, this creates horrible jagged edges that are unsightly, and you're more often likely then to have to throw it away and start again.</p><p>I created this tool as a means to aid myself in cutting nice straight and perpendicular parts from the foam card, and as these parts will be on display, I needed to make them as clean as possible. I have used foam card in the past, so I knew I had to be careful, so I grabbed by Mitutoyo ruler and proceeded to cut with my craft knife….</p><p>Disaster, both on the resulting “not to straight edge” and the “you've dragged the knife” fronts, I ended up with a edge where the angle varied across the 600mm span, and in places I'd dragged and created a jagged edge, at this point I still had a lot of these cuts to make, so the only real solution was either to buy a tool, or create my own….and this is the result.</p><p><strong>The Design</strong></p><p>My design consists of a “puck” which you hold in your hand, the puck holds a standard utility knife blade (60mm by 19mm by 0.6mm) tight and presents the blade to the foam board at the perfect angle for a clean cut. </p><p>As the blade is held in a fixed position, the removable base determines the cut depth, I have provided bases from 1mm to 6mm, the idea is to run over the same cut multiple times, starting with a shallow cut to break through the first layer of card, the subsequent cuts then use different bases to finish by cutting through the foam and then bottom layer of card.</p><p>I have made provision for inserting magnets to hold the base to the puck, but currently the connection is a friction fit and the magnets are not required, but I have shown them in the photographs. </p><p>To attach the the magnets, apply some superglue to the magnet positions on the puck, and ensure they are properly glued in place, then carefully push the mating magnets on top of the freshly glued magnets, ensuring of course you have the right polarity…otherwise you'll have magnets flying out while you do this! When in place, carefully dab superglue onto the posts of the base, do not apply too much and do do get the glue near the edges, because the next step is to push the puck into the bases that he magnets then stick to the base, hopefully once you remove the puck the magnets will remain stuck to the puck.</p><p>There is a slot either end which you can use to help align the cutter to the exact position you need, this ensures that you get a straight line where you want it and not one that is off at an undesired angle.</p><p><strong>The Construction</strong></p><p>The puck is in 3 part sandwich, the two outer sections hold the blade in place and provide a nice surface to grab with your fingers and thumb, and a small shim is sandwiched between the two sides, this shim has a cut out to accept the utility blade and to hold it in place. </p><p>3 M3x16mm cap head screws clamp the assembly together, when everything is in the correct place the blade will be held in exactly the right position, and can easily be swapped out for a fresh blade by loosening the screws and releasing the blade.</p><p><strong>Using It</strong></p><p>It really couldn't be easier. As always, measure twice (even thrice or more!), make sure you have marked out where you want to cut, use a decent steel ruler and when you are happy with the outline, use the ruler with the cutter butted un to it and adjust the position, check the start and the end of the lines to make sure that the blade will follow the line, the cutouts at the front and back of this tool help you ensure that the cut will be straight, double check, and then triple check….and then you're ready!</p><p>Using the 1mm deep base, hold the rule down tight and apply pressure to keep the tool right against the ruler, and slowly draw the cutting tool along the desired cut path, go steady and slowly and you'll get a clean cut, this initial cut is the base on the other cuts, so get this one right and everything else will be easy.</p><p>Switch the base for one that allows a deeper cut, repeat the cut, this time you'll be cutting into the foam, again, keep the pressure, take your time, get this cut right and you're nearly home!</p><p>The final cut will be with the 5 or 6mm blade, repeat the instructions again and hopefully you'll have ended up with a nice, straight, clean cut like a pro!<br><br><strong>Tip</strong><br><br>Always ensure that the blade sharp is sharp, card and foam and surprisingly hard on cutting blades and can dull them quickly, so if you start feeling a resistance or something isn't right or you start to see either the card or the foam starting to not cut nicely, then you should reverse the blade or replace it with a new one, blades are cheap!</p><p>Always keep an eye on what you're doing, these blades are sharp. Try to keep your hands out of the way of any potential path should you slip and end up with a blade hurtling through the air, safety first. Try not to apply too much pressure, you don't need it, too much pressure might result in the cutter coming away from your straight edge.</p><p><strong>Things you need.</strong></p><ul><li>60mm x 19mm x 0.6mm utility knife blade.</li><li>3 x M3x16mm cap head screws.</li><li>3 x M3 nuts.</li></ul><p>Optionally:</p><ul><li>12 x 8mm (OD) x 2.7mm rare earth magnets.</li></ul><p><strong>Print Requirements</strong></p><p>There are no special requirements for printing, use whatever you're happy with, but for reference this is how I printed mine on my MK3S+ (originally a MK3S)</p><ul><li>Generic PETG filament</li><li>0.2mm layer height</li><li>15% infill</li><li>No Supports</li></ul><p>Everything should be printed on the flat side of the parts.</p><p><i>If you feel like donating, then I have a ko-fi pages which you can find here, if you don't, no worries, but I love to hear how people are using my stuff!</i></p><p><i>https://ko-fi.com/nedrysoft#</i></p>
With this file you will be able to print Foam Board Cutter with your 3D printer. Click on the button and save the file on your computer to work, edit or customize your design. You can also find more 3D designs for printers on Foam Board Cutter.