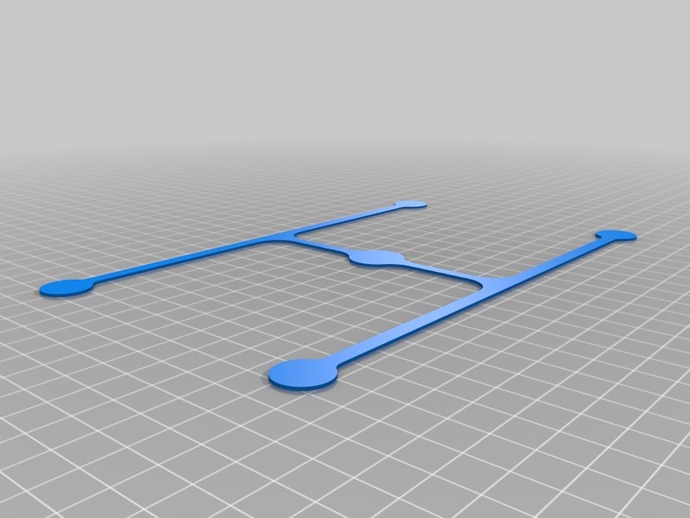
ForceBoard.com's ultimate levelling geometry
thingiverse
With this levelling geometry, you will be able to fine-tune your Replicator 2 beyond fine-tuning. It is also very fast to print. I print it with a layer height of 0.2mm using 1 shell and I always print using an SD card. When the first layer is finished and when the first shell of the second layer has finished printing I cancel the print via the menu button on the Makerbot and pick out the build plate. I then hold the build plate against the light and study the overall smoothness of the print. I then peel off the print using a thin scraper and my fingers and make sure that all of the material is hanging togehter as one piece. You should not be able to separate the individual strands (if you can you need to bring the nozzle closer to the build plate) of the PLA material and the overall thickness should be the same for all the circular shapes. If the material is thinner for any of the circular shapes this means that the print-head nozzle is too close to the build plate. This is the ultimate way of making sure that the Makerbot has the correct build plate screw settings! Instructions One more thing which makes life alot easier when calibrating your machine - Make sure to adjust your layer height according to the layer height you actually intend to use for your print! For example: If you intend to print a part with a 0.27mm layer height and want to do a calibration before printing the part - use a layer height of 0.27mm when exporting the levelling geometry for your calibration! If you intend to print a part with a 0.15mm height, use a 0.15mm height when printing the levelling geometry!
With this file you will be able to print ForceBoard.com's ultimate levelling geometry with your 3D printer. Click on the button and save the file on your computer to work, edit or customize your design. You can also find more 3D designs for printers on ForceBoard.com's ultimate levelling geometry.
