FPV RC Plane
thingiverse
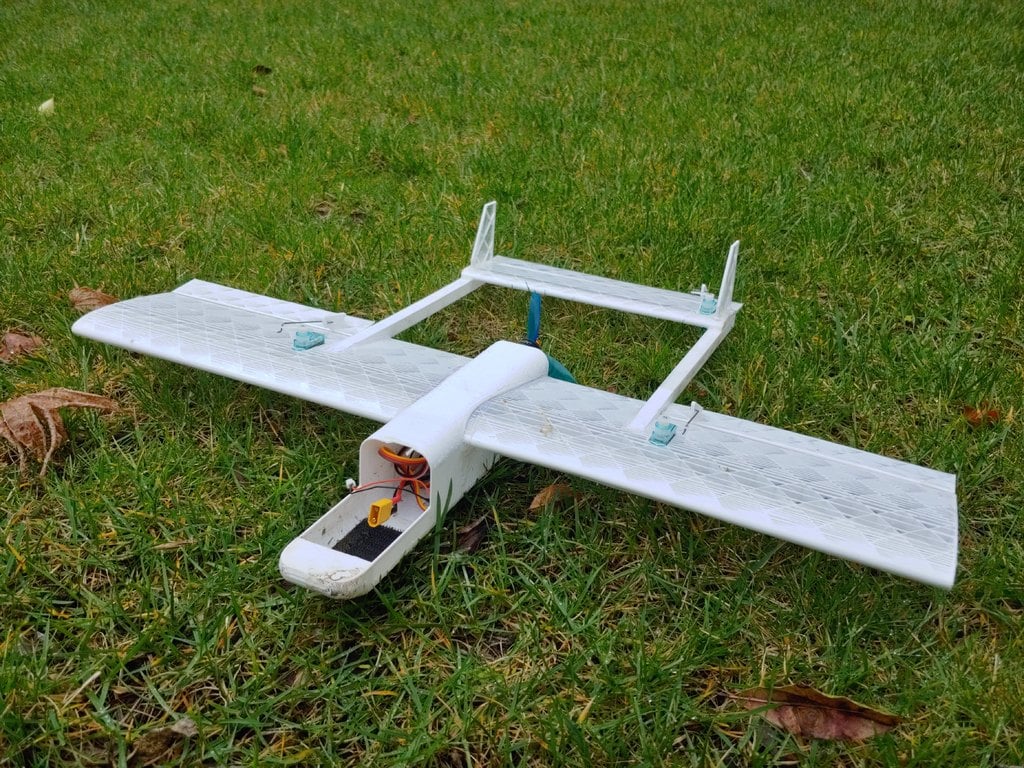
After seeing Joshua Cameron's Mini RC Wing, I decided to apply the same techniques to create a larger dual boom aircraft that could better accommodate FPV gear and support more powerful power systems. To print this model, you will need the following 3D printed parts: 1x Left wing 1x Left Aileron 1x Right wing 1x Right Aileron 1x Horizontal stab 1x Elevator 1x Cockpit or FPV Cockpit 1x Fuselage front 1x Fuselage rear 2x Spar 2x Vert Stab You will also need: 1x 1507 or similar motor 1x 15a ESC, depending on your motor choice 3x 3.7g servos 1x RC Receiver 1x Servo extension for the elevator servo 1x 3in Triblade Prop 1x 4s 650mah LiPo To minimize weight, all parts (except wings, control surfaces, and stabilizers) should be printed with only 2 perimeters and 2 top and bottom layers. Use 5-10% infill. For the wings, control surfaces, and stabilizers, print them with just 1 perimeter and 0 top and bottom layers. I used 5% infill. After printing, cover these parts with a covering film or use packing tape like I did. The control surfaces can be simply taped onto their respective wings/stabilizers. Depending on your printer's tolerances, you may need to use a soldering iron to widen the holes for the vertical stabilizers or use a file to remove material from the rear fuselage where the wing slides in. Assembly: Attach the motor and esc to the rear fuselage before doing anything else. Then, attach the two wings together and cover them and the ailerons with tape or covering film. Slide the wing through the fuselage and secure it in place with CA or hot glue. Next, attach the rear spars, using hot glue or CA. Make sure these are perfectly square in all axis and not warped from printing. Then, cover the horizontal stabilizer, elevator, and vertical stabs with tape or covering film. Attach the horizontal stabilizer to the spars with CA or hot glue, ensuring it is square in all axis. Hot glue or CA the vertical stabs, making sure they are square with the rest of the aircraft. Finally, hot glue or CA the servos in place, as well as the front fuselage. If you have any questions about the build process or the aircraft in general, please let me know. This aircraft is still a work in progress and tends to be tail heavy even with 650mah batteries, so keep that in mind when flying it.
With this file you will be able to print FPV RC Plane with your 3D printer. Click on the button and save the file on your computer to work, edit or customize your design. You can also find more 3D designs for printers on FPV RC Plane.