Frame for ultrasound photos (without MMU)
prusaprinters
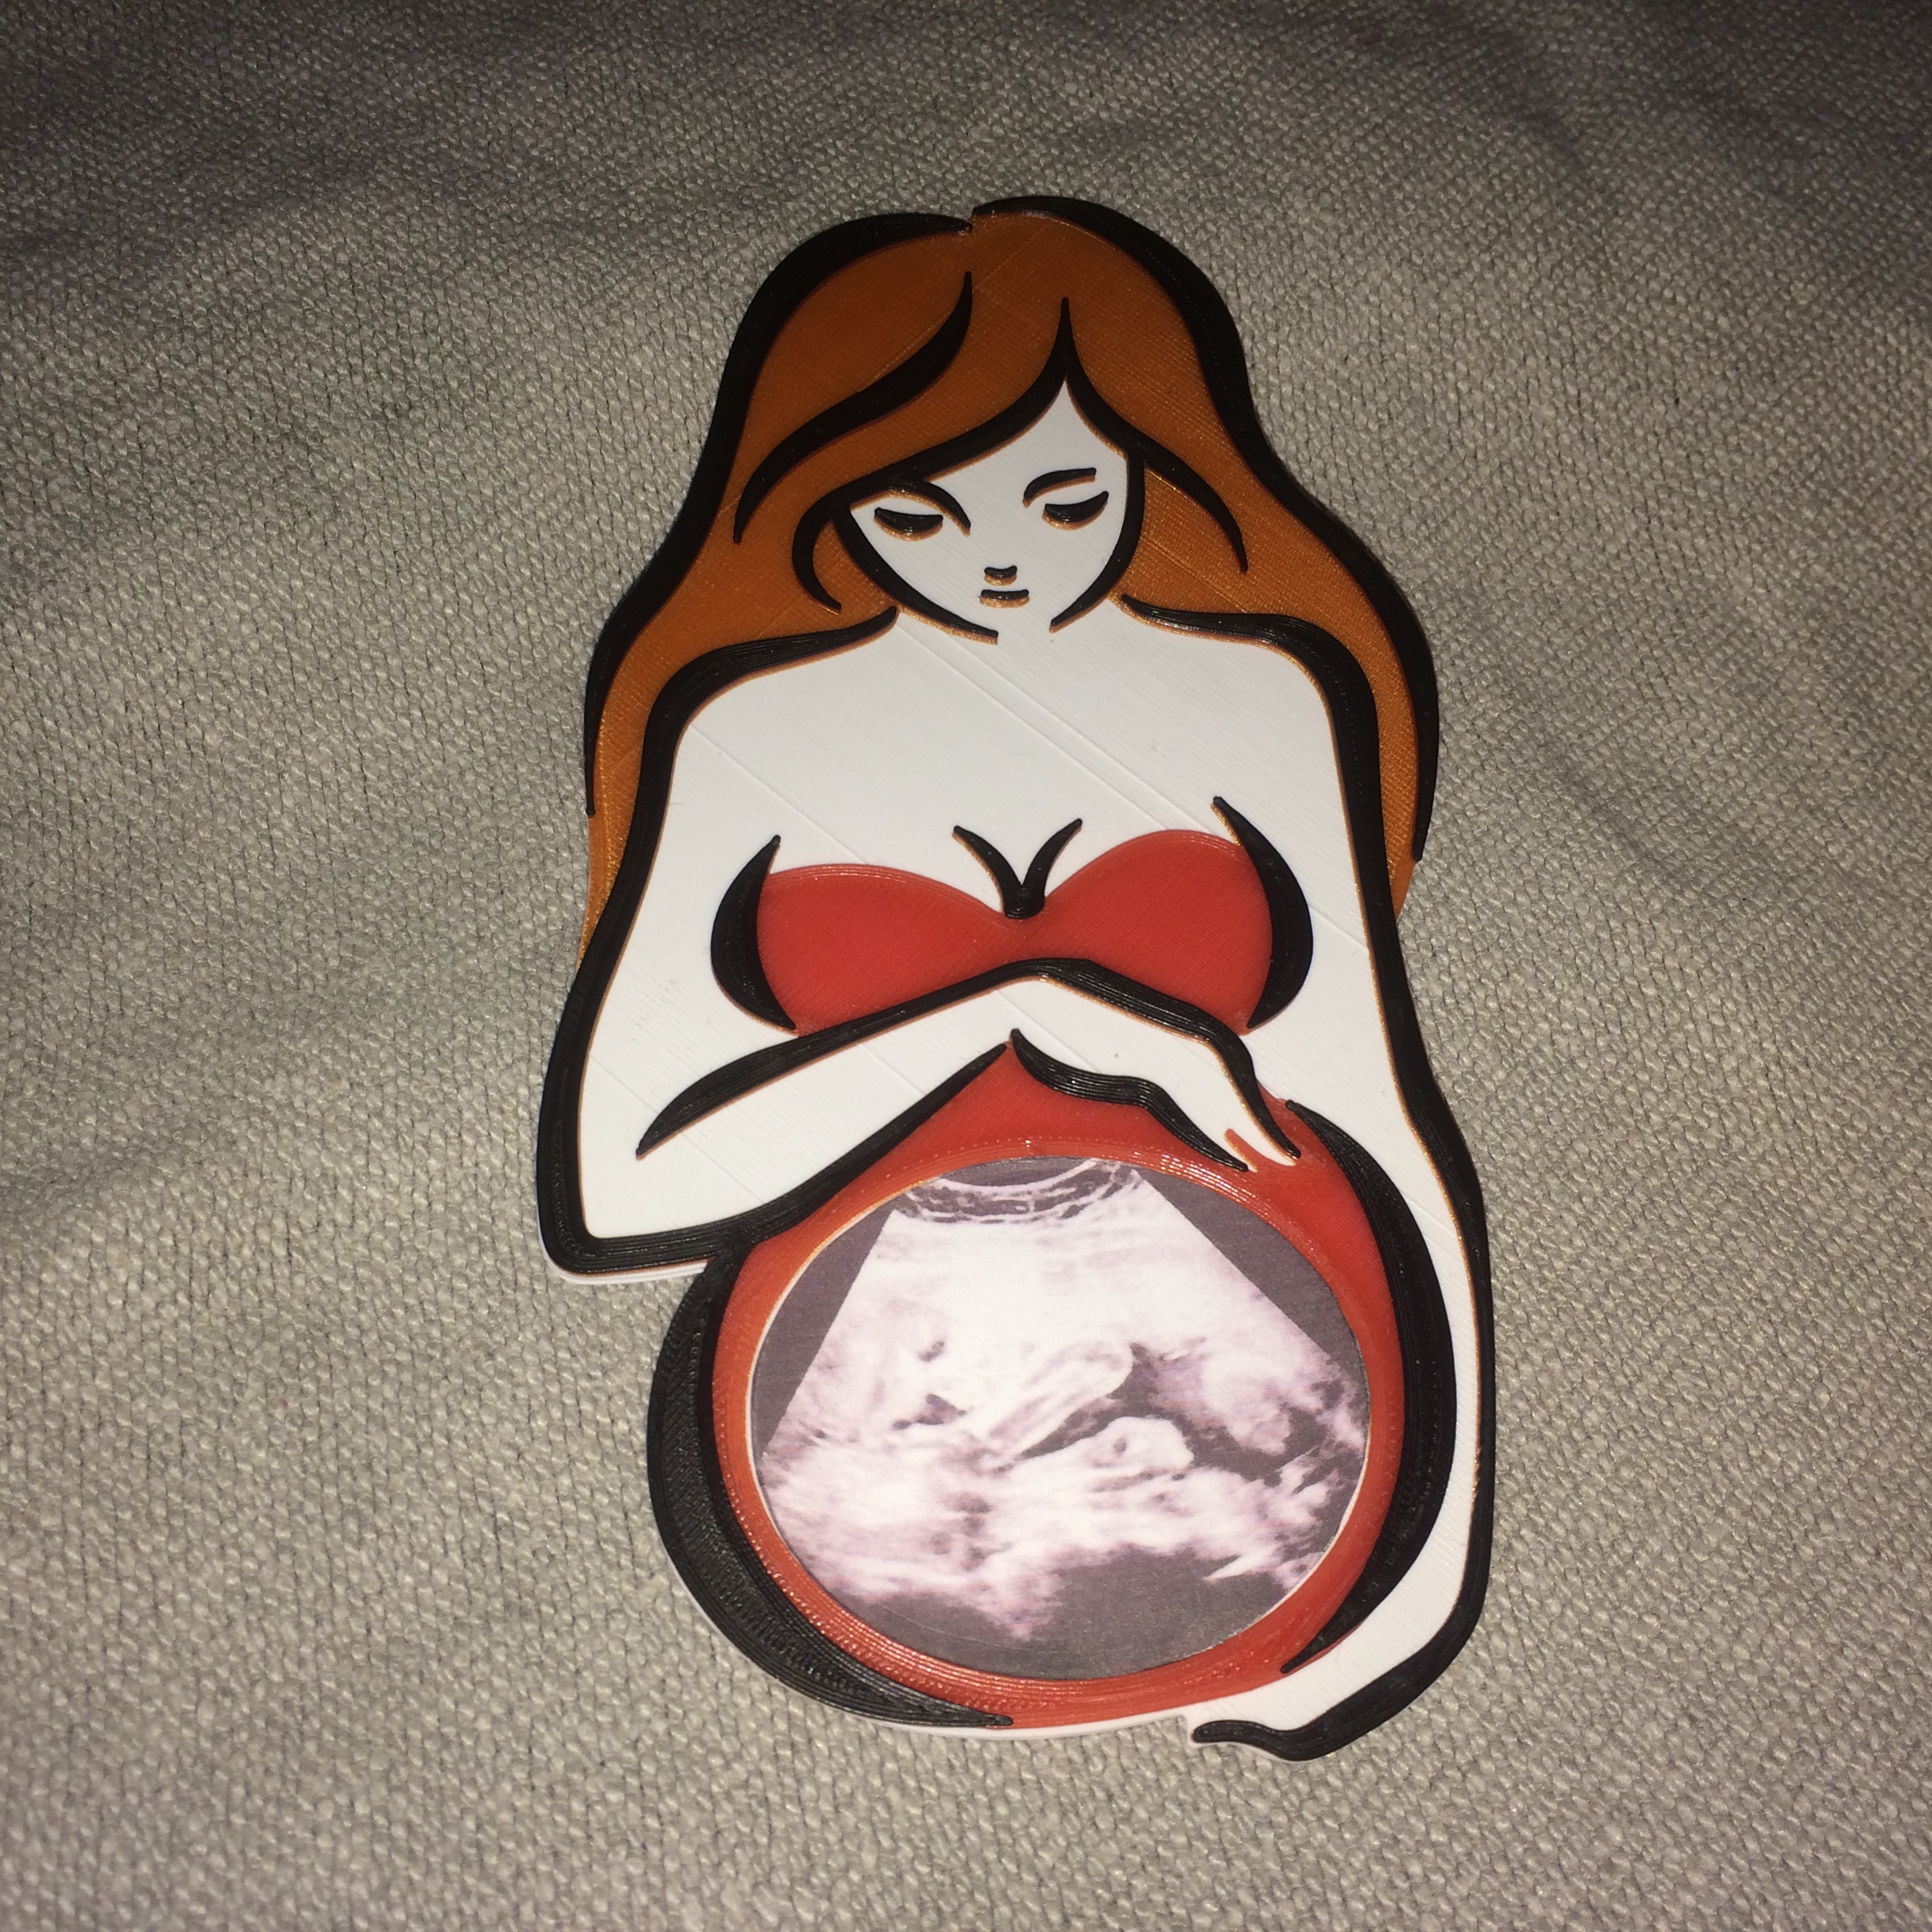
<p>[EN]</p><p>Multi-colour ultrasound photo frame adapted for printing without MMU by changing filament layer by layer (M600 or by hand). The model is adapted for printing with a layer height of 0.2mm (then 3 layers per colour which is enough to cover even quite contrasting colours).</p><p>The model includes a template for cutting the photo into the correct shape.</p><p>ATTENTION! Ultrasound photographs are usually created by thermal printing, This brings with it besides speed, simplicity of printing and contrast also a disadvantage in the form of low durability of this printing mainly due to the chemical environment (contact with plastics, moisture, ...) but mainly sunlight (UV, heat). Therefore, it is advisable to use a copy of the photo for display (either from a photo lab or a photocopier) and keep the original in a paper wrapper.</p><p>Procedure. Attach the template to the desired photo and trace and then cut out the desired part of the photo. Insert the cut out photo (if cut out correctly, it will stay in the frame on its own) into the frame and tape it if the photo falls out.</p><p>Colour layout:</p><p>0.0mm - 1.0mm => Body colour<br>1.2mm - 1.6mm => Hair colour<br>1.8mm - 2.2mm => Dress colour<br>2.4mm - 2.8mm => Outline colour</p><p> </p><p> </p><p>[CZ]</p><p>Barevný rámeček na fotku z ultrazvuku přizpůsobený pro tisk bez MMU pomocí výměny filamentu po vrstvách (M600, nebo ručně). Model je přizpůsoben pro tisk výškou vrstvy 0.2mm (poté vychází 3 vrstvy na barvu což je dostatek pro překrytí i dosti kontrastních barev.)</p><p>Součástí modelu je i šablonka na obstřihnutí fotky do správného tvaru.</p><p>POZOR! Fotografie z ultrazvuku vznikají zpravidla termotiskem, To sebou přináší krom rychlosti, jednoduchosti tisku a kontrastu i nevýhodu v podobě nízké trvanlivosti tohoto tisku především vlivem chemického prostředí (kontakt s plasty, vlhkost, …) ale hlavně slunečního záření (UV, teplo). Proto je vhodné pro vystavení použít kopii fotky (ať již z fotolabu, nebo kopírky) a originál uchovat v papírovém obalu.</p><p>Postup: Vytisknout rámeček včetně šablonky. Na požadovanou fotku přiložit šablonu a podle ní obkreslit a následně vystřihnout požadovanou část fotografie. Vystřiženou fotografii vložit (pokud se správně vystřihne drží v rámečku sama o sobě) do rámečku a v případě, že by fotografie vypadávala, jí podlepit.</p><p>Rozložení barev:</p><p>0.0mm – 1.0mm => Barva těla<br>1.2mm – 1.6mm => Barva vlasů<br>1.8mm – 2.2mm => Barva šatů<br>2.4mm – 2.8mm => Barva obrysů</p>
With this file you will be able to print Frame for ultrasound photos (without MMU) with your 3D printer. Click on the button and save the file on your computer to work, edit or customize your design. You can also find more 3D designs for printers on Frame for ultrasound photos (without MMU).