FrankenStick - Control Parts and Hinges
thingiverse
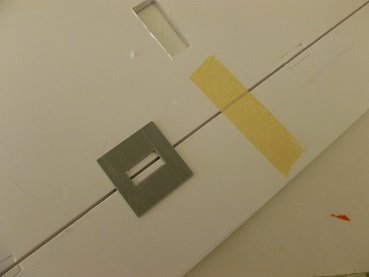
First to say is this is made up of various sets of parts, body, tail, wing etc. I have put links to the other parts on here at the bottom of this writeup. Use part, all (or none) as you see fit. This paragraph is on all sets of parts to explain what they are part of. This is all part of an idea I had to make a modular plane based on being able to assemble different wings / tails based on a 25mm round or 22mm square tube 'stick' body. Ideal for anyone wanting to play with different configurations. Based on the idea of a 'stick' plane being an actual stick. I used 25mm plastic conduit but CF tubes would be lighter. Each one has a PDF file with photos to help visualise things plus more info and instructions. I used 3mm and 4mm threaded bar a lot, you could glue CF rods but I liked the idea of just unbolting to replace any damage. Adds weight but not a massive amount. Some of the photos may be slightly different to the STLs as they evolved a bit. This makes the plane in the photos, Wingspan 110cm, Length 90cm, Front of wing to Prop centre 20cm, Wing trailing edge to front of tail 32cm. All sizes are not fixed, just recommended averages. CG is about 1/3 from leading edge of the wing but make it closer just in case, again play around, this is meant to be a chassis for whatever you want to do. Weights are Wing 365g and rest of the plane with motor, servos, nose weight and undercarriage (basically as in photos) 650g. Battery is extra, weight is with PVC conduit 'stick' CF would be a bit lighter. If I make any changes / updates in future I will add them here. If you modify or upgrade any parts (feel free) just link them back to here. Updates – None. So, this is the - Control parts. Hinges, cleats and control horns. Various parts to hinge control surfaces. Main ones are the 'foam hinge' ones as these are to fit onto foam board or correx of 4mm or 5mm thickness. They pivot on a dressmaker's pin and push over the foam board. They require a cutout and the cutting template does that and spaces the joint. Then just glue the hinges into the recess and over the top of the foam. See photos. The other hinges, variations of ones seen on here, can be glued into slots in foam of any kind. The foam control horn has a tongue to go through the foam and a second part to use to clamp it to the foam, so it won't pull through. Other control horns are just general types. The cleats are just a general one and my favourite a glueable one. To fit the glueable one just make sure the rod goes into the cleat so you can see it in the recess. Line up the control part, tail, aileron and fill with glue to fix it. Any alignment problems just do another one. A lot of these parts can be seen in the Tail section of this plane. Other Franken Parts – Body https://www.thingiverse.com/thing:3708532 Battery https://www.thingiverse.com/thing:3708528 Wing https://www.thingiverse.com/thing:3708569 Motor https://www.thingiverse.com/thing:3708547 Tail https://www.thingiverse.com/thing:3708553 Undercarriage https://www.thingiverse.com/thing:3708558
With this file you will be able to print FrankenStick - Control Parts and Hinges with your 3D printer. Click on the button and save the file on your computer to work, edit or customize your design. You can also find more 3D designs for printers on FrankenStick - Control Parts and Hinges.