Frog
prusaprinters
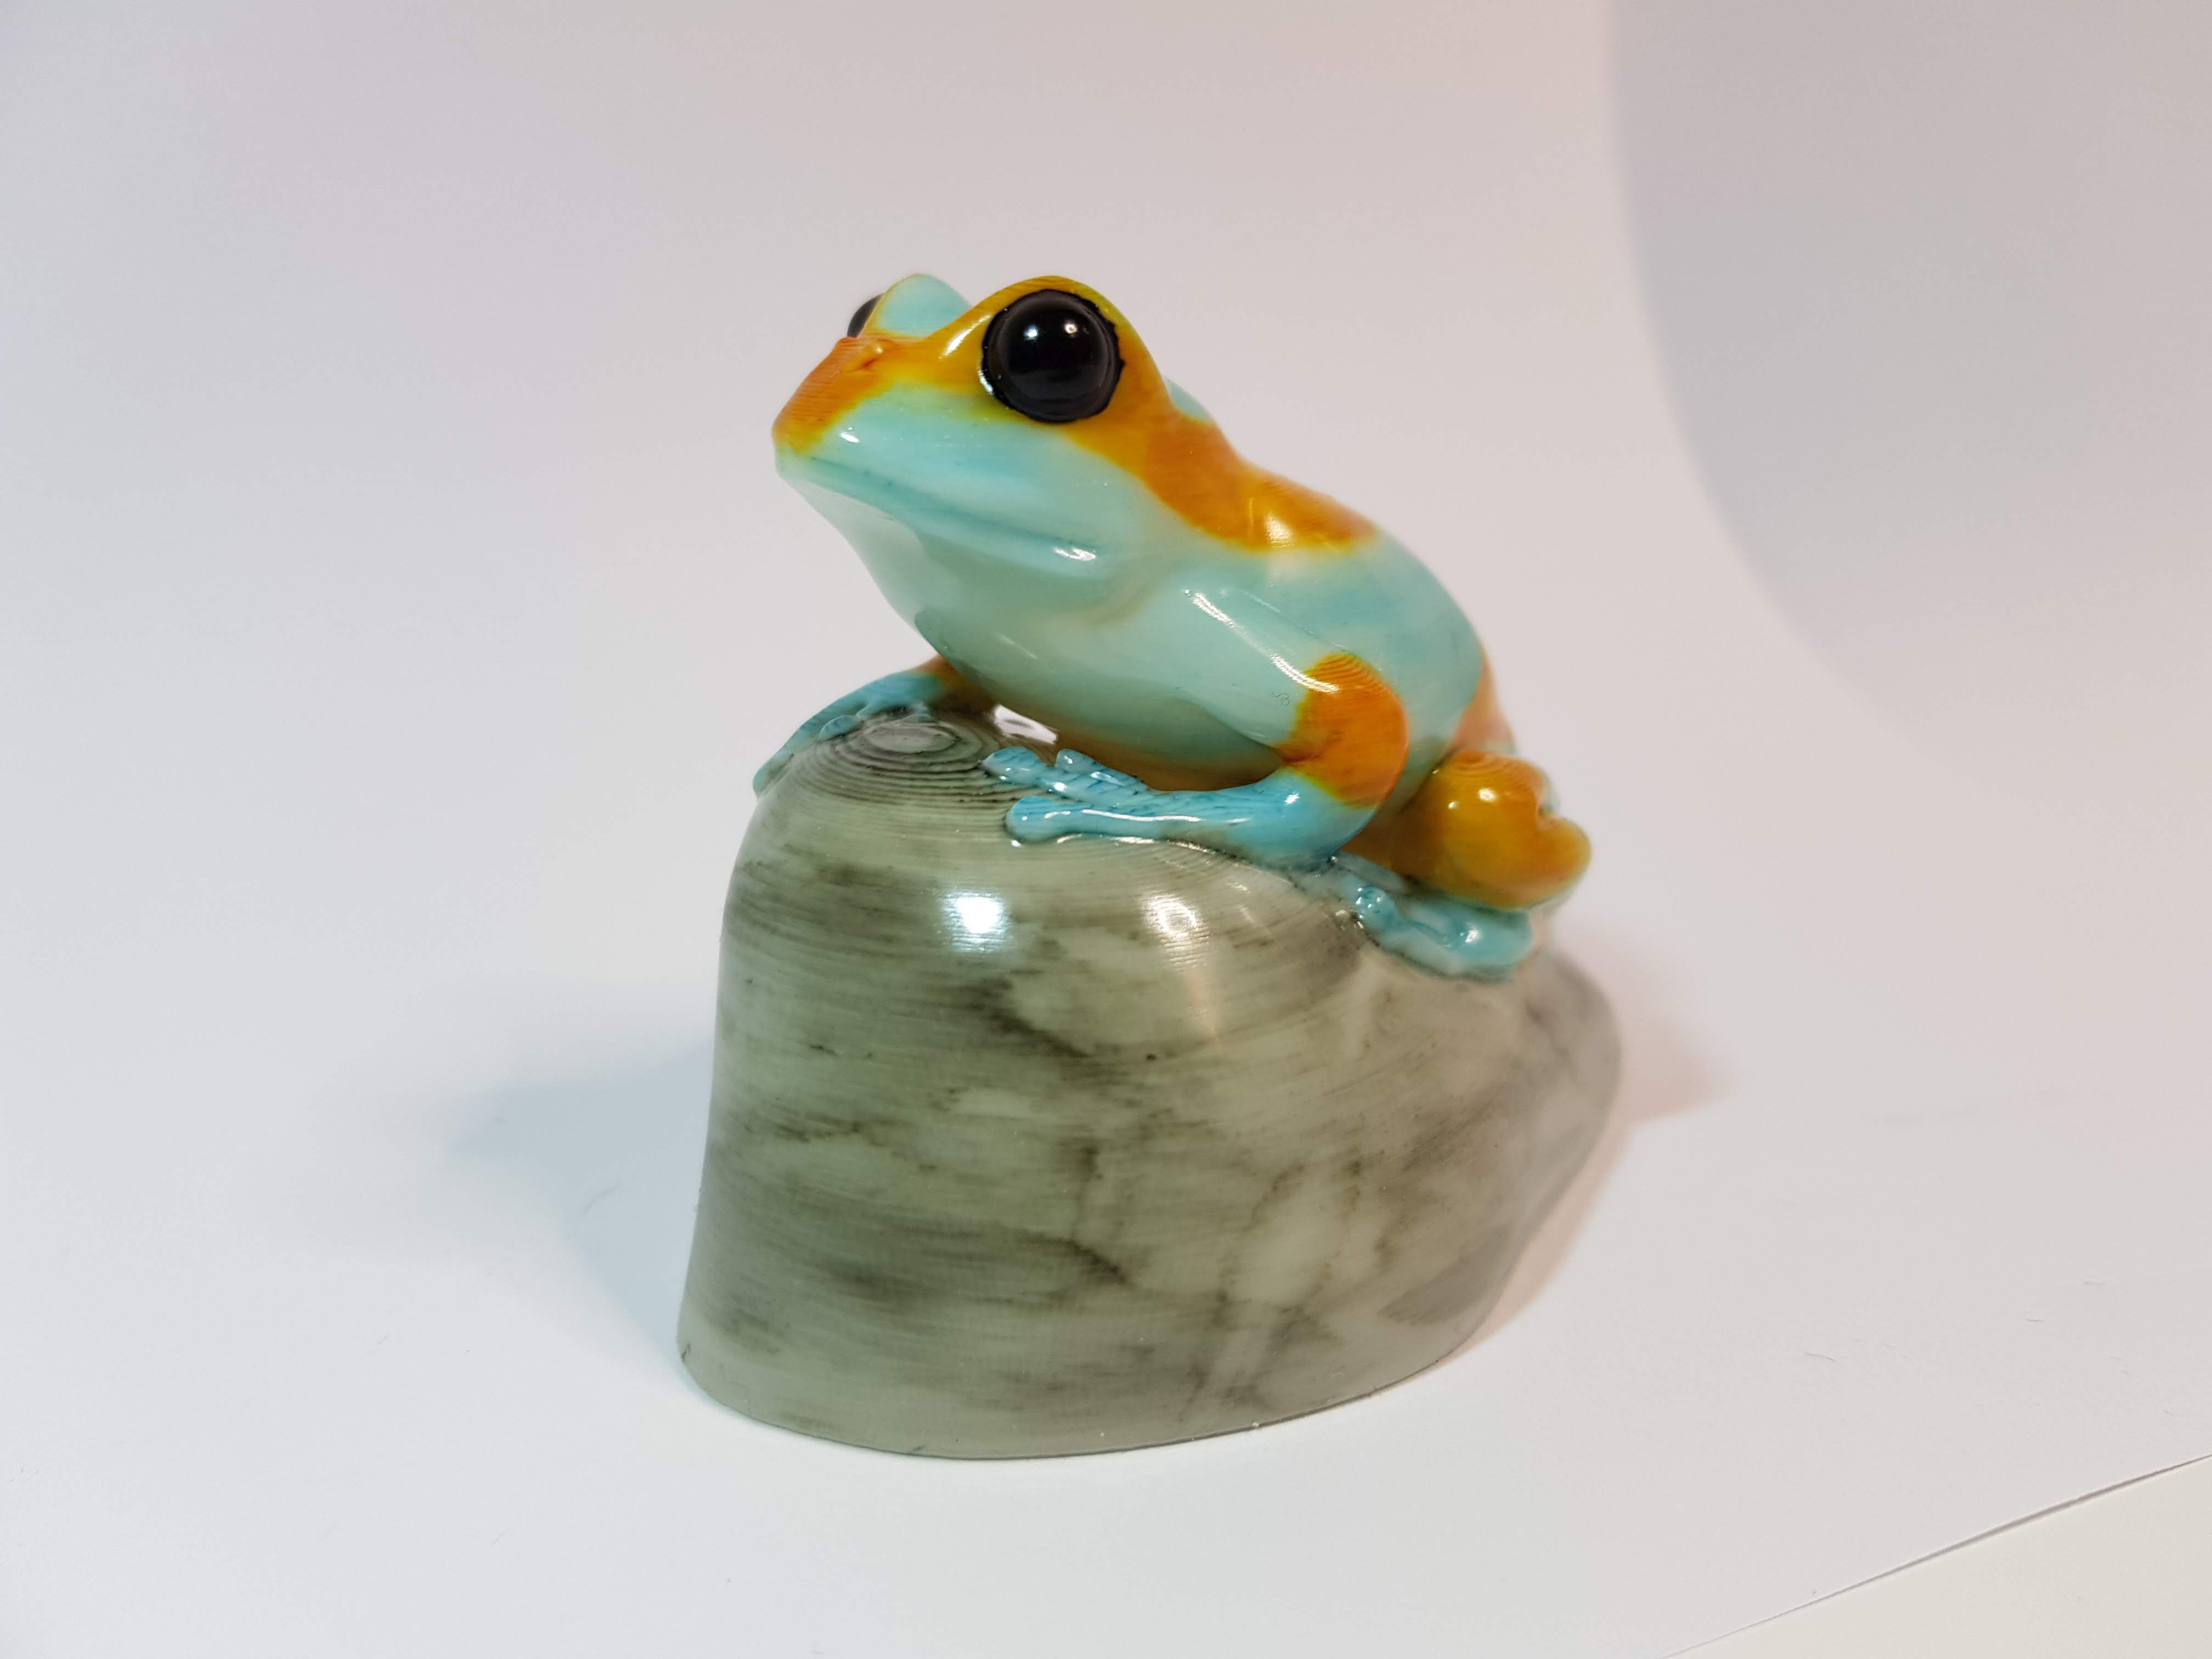
<p>Frog on a rock.</p><h3>Print instructions</h3><p>No supports needed. Prints well with no infill.</p><h3>Versions</h3><h4>chubby</h4><p>This version of the frog is a bit chubbier and covers more of the stone and his inner toes with his stomach which makes the model much easier to paint.</p><h4>slim</h4><p>A bit slimmer frog which holds much of its body just above the rock. I think it looks a bit better but it is harder to post process.</p><h4>single</h4><p>Single material version.</p><h4>mmu</h4><p>MMU version. Color areas for rock, body, belly, pattern and eyes (see pictures).<br>AMF files included which already has the extruders set for the different parts.</p><h3>Painting and smoothing</h3><p>Here I will try to guide you through the process I used to post process some of the frogs I printed. In this process I painted the model using permanent markers and then used acetone vapors to smooth the layers. The result is a nice smooth glossy finish. Due to the painting some layer lines will still be visible due to ink sipping in between the layers but the overall result is according to me very nice. This issue should be possible to solve with finer layers and/or some light sanding but I do not have the patience for that.</p><h4>Prerequisites</h4><p>A model printed in ASA or ABS</p><h4>Filament</h4><p>I used Prusament ASA Natural for this. Other brands ASA/ABS should work with similar results. White or very light color needed.</p><h4>Materials</h4><h5>For painting</h5><ul><li>Permanent markers in different colors. I used <i>Letraset ProMarkers</i> in colors <i>terracotta</i>, <i>sky blue</i> and <i>grass</i> for the frog, <i>Copic Sketch</i> color <i>C7</i> diluted with isopropanol for the rock and an unbranded standard black permanent marker for the eyes.</li><li>A small brush</li><li>Isopropanol or something else which will dissolve the ink from the markers without dissolving the filament. This is used to clean the brush, fix misstakes and dilute the colors.</li></ul><h5>For smoothing</h5><ul><li>Acetone</li><li>A big saucepan/bowl/pot</li><li>A smaller saucepan/bowl/pot with metal lid which fits inside the bigger one.</li><li>A small magnet</li><li>A small screw</li></ul><h4>Painting</h4><p>Avoid using the markers directly on the model. This will most likely result in ink flowing between the layers creating stripes still visible after smoothing.</p><p>If you are using other brands of markers they may behave differently than described below. Always test on a scrap piece or the bottom of the model before painting the model.</p><h5>With Letraset ProMarker</h5><p>Press the tip of the brush against the tip of the marker to transfer ink to the brush. Brush back and forth on the model to create an even layer and to avoid ink filling the nooks between the layer lines</p><h5>With other markers</h5><p>This applies to the other markers I used, your results may be different.<br>The other markers I used did not work well with the method of pressing the brush against the tip because they dried too quickly and made the brush stiff. To overcome this I found two methods depending on the finish I wanted:</p><ol><li>To paint an even layer I applied the marker to a scrap piece of plastic and moistened the brush with isopropanol and then soaking up the ink to the brush to paint on the model.</li><li>This is what I did on the stones (see pictures). I used the marker directly on the model and then dipped the brush in isopropanol and brushed it back and forth letting it spread out and dilute the ink, repeating until all ink is diluted and spread over the model.</li></ol><h5>Correcting misstakes</h5><p>To clean up misstakes use a clean brush, moisten the tip with isopropanol and brush over the area you wish to correct to dissolve the ink. Then you can carefully use a bit of paper to soak up the dissolved ink. Repeat until satisfied.</p><h4>Smoothing</h4><h5>Warning</h5><p>Only do this under the supervision of an adult. Do it outside or in an extremely well ventilated area, acetone fumes are very bad for you. Use proper safety equipment and precautions to make sure you do not breathe in the fumes or get any acetone on your skin.</p><h5>Preparation</h5><p>Put the screw in the bottom of the model and screw it in partially and connect it to the pot lid using the magnet. Make sure the model will be a safe distance away from the bottom of the pot when the lid is put on (the model should not be in direct contact with the acetone which will be there later). If it is too close to the bottom either put the screw in a bit further or use a bigger pot.<br>Boil some water. How much depends on the size of your pots, I used about 5dl.</p><h5>Execution</h5><p><i>The last picture shows parts of the process.</i></p><ul><li>Pour some acetone in the smaller pot. Make sure it covers the bottom and then add a little more so it is a few millimeters deep.</li><li>Put the smaller pot inside the bigger one.</li><li>Put on the lid with the model hanging from it.</li><li>Pour the boiling water into the bigger pot to heat up the smaller one. You should now be able to hear the acetone fizzing. Do not breathe in any fumes.</li><li>Take a quick look at the model every 30-60 seconds (beware of the fumes) to see how smooth it is. If you are satisfied continue to the next step.</li><li>Take of the lid and place it upside down with the model still attached and let it sit until the model has hardened.</li><li>Safely take care of / dispose any remaining acetone.</li></ul>
With this file you will be able to print Frog with your 3D printer. Click on the button and save the file on your computer to work, edit or customize your design. You can also find more 3D designs for printers on Frog.