Front 40mm fan grill and light bar
thingiverse
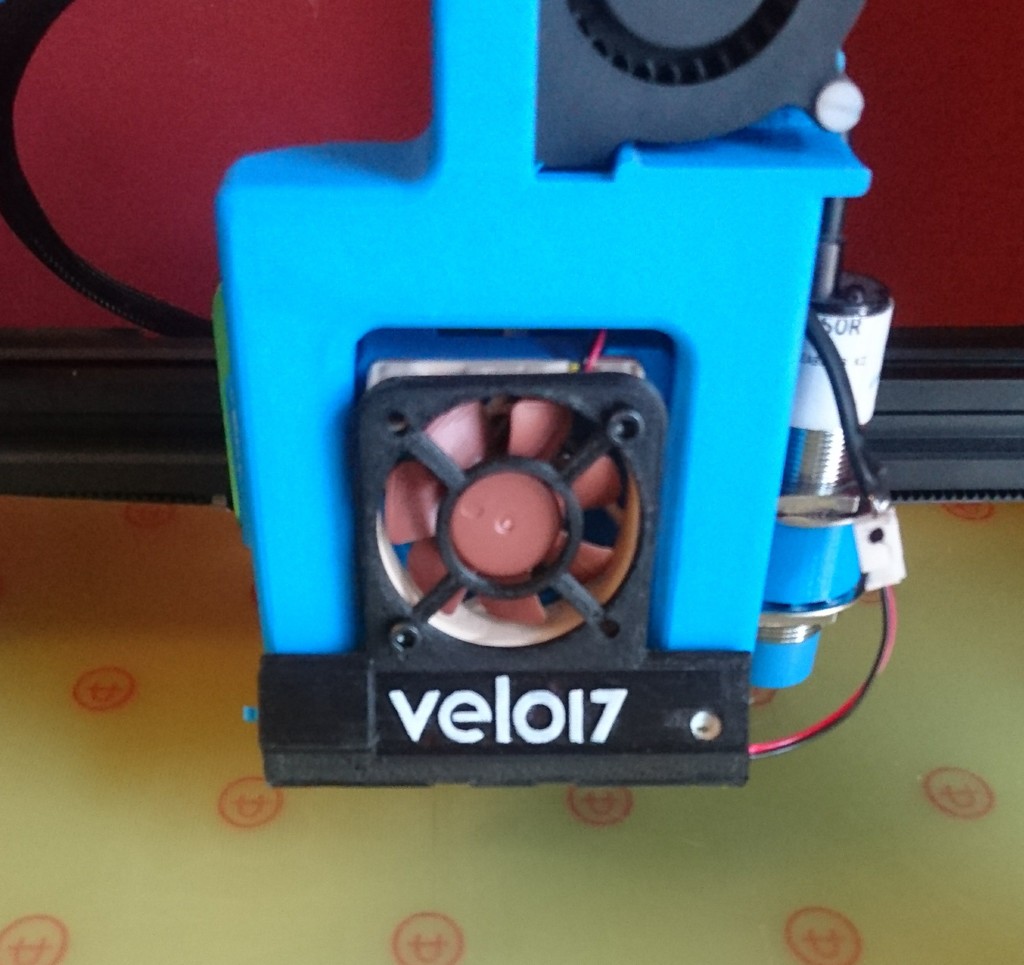
I had a go at adding a piece of 12V LED strip to the hot end cooling fan so that it lights up the area under the nozzle. I also added a little switch and potentiometer so that you can switch and control the light. I know that using just a pot is not a smart way to control a LED, but it works for this application and the current that flows thru the pot is not a lot (I measured about 20mA with the used LED strip so that is less than 1/4 Watts). I am using this on a Petsfang on a Tevo tornado, but I think this is a more universal design. There is also an optional clip that you could print 2 times to secure the LED strip. I dont use them myself as I simply used some hot glue to secure it - but maybe you feel more secure with the 2 clips. As a LED strip has 2 continuous rails for +12V and GND, you can attach the pot on one and the switch to the other side and only need one wire for either +12V or GND (depending on where you put the other one) to run below the strip to the switch. I used a standing type 10k pot. I cut the 3 connection pins away almost completely and directly soldered the input voltage GND to the pot's middle pin and soldered the strip's one side GND contact to one of the other pins of the pot (it doesnt matter which, this only flips the way you later have to turn the pot to change the brightness). Now the +12V input wire runs behind the strip to the other side where the switch is located and is soldered to one of it's contacts. Then you only need another short wire from the switch to the +12V of the LED strip. I used a micro push button switch 7mmx7mm like [this]{https://www.amazon.com/SODIAL-Self-locking-Button-Switches-7mmx7mm/dp/B01G6P1G8W} I would recommend first soldering the wires and contacts and then using hot glue or the like to put it all together - I did this in 3 steps and not all at once, so I first glued the switch into it's place, then the strip and lastly the pot, making sure the single wire is correctly seated in the channel. As most users won't have much interest in my Velo17 logo, I also added a version without logo so that you can easily add your own. In the picture you can see my logo simply painted with a white pen. Update 16.3.18: Added STEP file so users can easily modify the design
With this file you will be able to print Front 40mm fan grill and light bar with your 3D printer. Click on the button and save the file on your computer to work, edit or customize your design. You can also find more 3D designs for printers on Front 40mm fan grill and light bar.