FT-5 Wiring Harness Connector and Covers
thingiverse
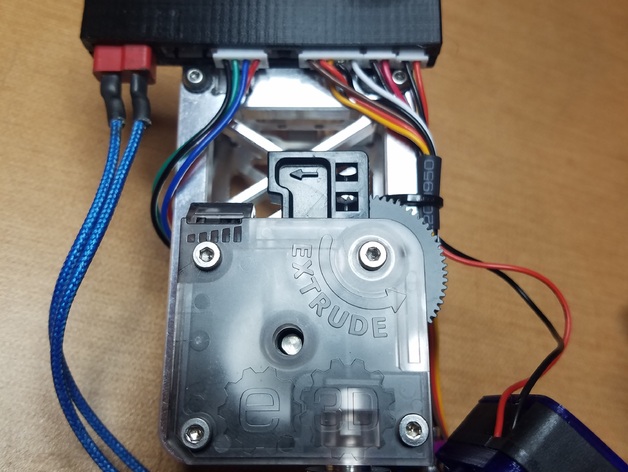
11/22/2016 -- Had to mark this as a work in progress.. I messed up the files and they have very bad walls now. Nothing matches where it is supposed to meet and the corners have no integrity. I wanted a cleaner look around the print head and wiring harness where it runs down the back of the frame. For the harness connector I narrowed down the connections to two connector types. A Dean two pole connector for the hotend core and JST’s for everything else. This design makes replacing fans or experimenting with alternate hardware quick and easy without the hassle of additional soldering or splicing directly on the printer. It should also reduce risk to the wires in the loom as they are not being handled as much. I have made the plug large enough to accommodate one high current Deans connector, two fans, BLTouch, thermistor, a hot end, plus one additional 4 and 2 connector headers for future add-on's or redundant wiring. I chose JST’s simply because their format can use both JST and servo style connectors which most of the gear we purchase for our printers already has on it. It is two part construction and it can be used with both the stock FT-5 melamine hot end carrier and the 713Maker metal hardware upgrade. One you have your wires soldered and your connectors planned out just glue the two halves together and bolt onto the carrier.This model is set up for three 2 connector headers, two 4 connector headers, and one 5 connector header. I will be adding an additional cover with a mount for bowden tube adapter soon. The wire harness covers for the back of the printer provide a much cleaner look and protect the wires from snags or damage. I have provided two upper models, one of which fits the stock Melamine t brackets for the frame and the other fits the 713Maker all metal upgrade kit. Print Settings Printer: JG Aurora A3 Rafts: Yes Supports: Yes Resolution: .1 Infill: 100% Notes: I printed the connector without any rafts or support However while printing the covers I have printed them either standing up on the large end or laying flat across the bridge and I printed both with rafts and supports Post-Printing For the connector I found it easier to put a piece of double sided tape down onto a table or other flat surface after soldering my wires onto the headers this held them in place and alignment so I could tape them together to insert them into the connector housing when finished. The female Deans connector is glued into the base with either superglue or hot glue. This is necessary because the male side of the deans plug is exactly the same size as the female side and I could not build a lip into the connector to hold it in place like was done for the JST's The cable covers for the back need no special post printing work. How I Designed This I taught myself enough CAD to complete this with TinkerCAD.
With this file you will be able to print FT-5 Wiring Harness Connector and Covers with your 3D printer. Click on the button and save the file on your computer to work, edit or customize your design. You can also find more 3D designs for printers on FT-5 Wiring Harness Connector and Covers.