FT Mini Arrow Canopy Hatch
thingiverse
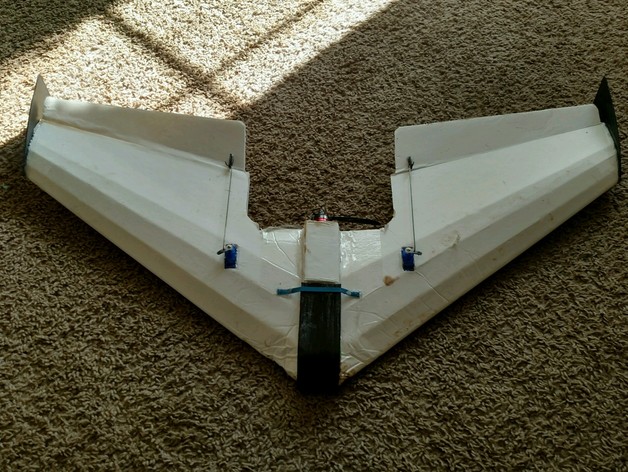
I needed some extra space in my mini airplane model and didn't want to design an entire new aircraft structure, so this modification provides 5mm of clearance versus the standard foam board canopy. After printing it out, heat it up until the ABS/PLA material is flexible then mold it directly over the electronics compartment. You only need to secure the top section because once it's molded into place, the bottom will hold steady without any additional support needed. You could attach the bottom section with velcro if you feel extra security is necessary. The picture shows my first prototype in action, which worked perfectly and handled several tough crashes without a hitch. This version 2 should be even more reliable. Print Settings Printer Brand: RepRap Printer: FolgerTech Prusa I3 Resolution: .2 Infill: 100 Post-Printing Heat up the lower half of the canopy and mold it directly over the vertical foam board that makes up the electronics compartment. Use any heat source you prefer, I simply waved the lower half of mine above an electric stove for a few seconds and it worked great.
With this file you will be able to print FT Mini Arrow Canopy Hatch with your 3D printer. Click on the button and save the file on your computer to work, edit or customize your design. You can also find more 3D designs for printers on FT Mini Arrow Canopy Hatch.