FTC - Iron Eagles Linear Slides
thingiverse
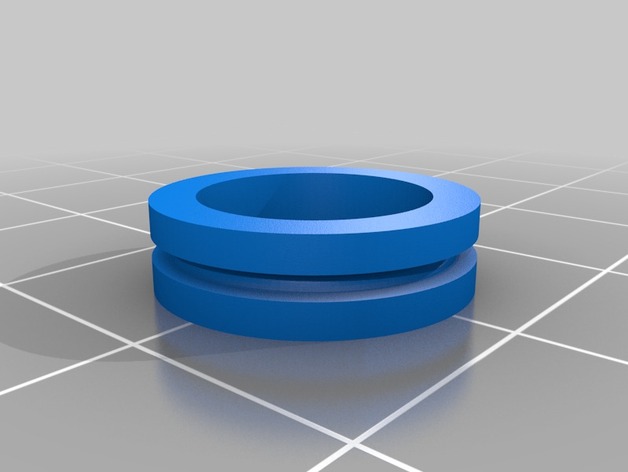
These Things create a versatile linear lift system mechanism. They are specifically designed for use with Misumi 1515 extruded aluminum to create a robust and efficient linear slide. Users can print as many units as needed to accommodate multiple "stages" of operation. The Iron Eagles, comprised of Optimus (3708), Prime (6272), Guardian (8814), and Silverbolt (8815), created these mechanisms for the FIRST Tech Challenge. These designs are now freely available for public use and adaptation. Human operators must follow 'Gracious Professionalism' when utilizing these components on their robots. If possible, a shout-out to the Iron Eagles during competition events is appreciated as an act of gratitude for sharing this open-source innovation. **Assembly Instructions** **NOTES:** The instructions provided are tailored for building a complete four-stage slide setup. Adjust material quantities according to specific needs. **Bill of Materials:** - 4 Misumi HFS3-1515 aluminum bars, precision-cut to desired length - 6 Side Plate printed units - 3 Stage Topper printed components - 30 M3 nuts - 23 M3 x 10mm bolts - 7 M3 x 20mm bolts - 3 M3 x 8mm bolts - 7 623ZZ ball bearings - 7 Pulley printed parts - Fishing line for tensioning **Assembly Steps:** 1. For each Side Plate, secure a M3 nut within the center hole by applying heat until it snugly fits, then filing down any excess plastic for a smooth finish. 2. On Misumi aluminum bars, attach two opposite plates to a section using M3 bolts and nuts. Place washers over the bolt heads to secure them firmly in place. 3. Add a Stage Topper component with the flat face directed away from the protruding plates. Install it by screwing through pre-existing holes. 4. Mount pulleys onto stages, using 20mm bolts with a tightly fitted M3 nut as support and ensuring proper pulley engagement. The stage topper also needs the pulley securely bolted to the stage below, ensuring efficient motion. 5. Preload the next-stage attachment by using a washer and M3 bolt to loosely secure it, making sure to maintain necessary tension throughout assembly.
With this file you will be able to print FTC - Iron Eagles Linear Slides with your 3D printer. Click on the button and save the file on your computer to work, edit or customize your design. You can also find more 3D designs for printers on FTC - Iron Eagles Linear Slides.
