Full Print Volume Volcano Modification
thingiverse
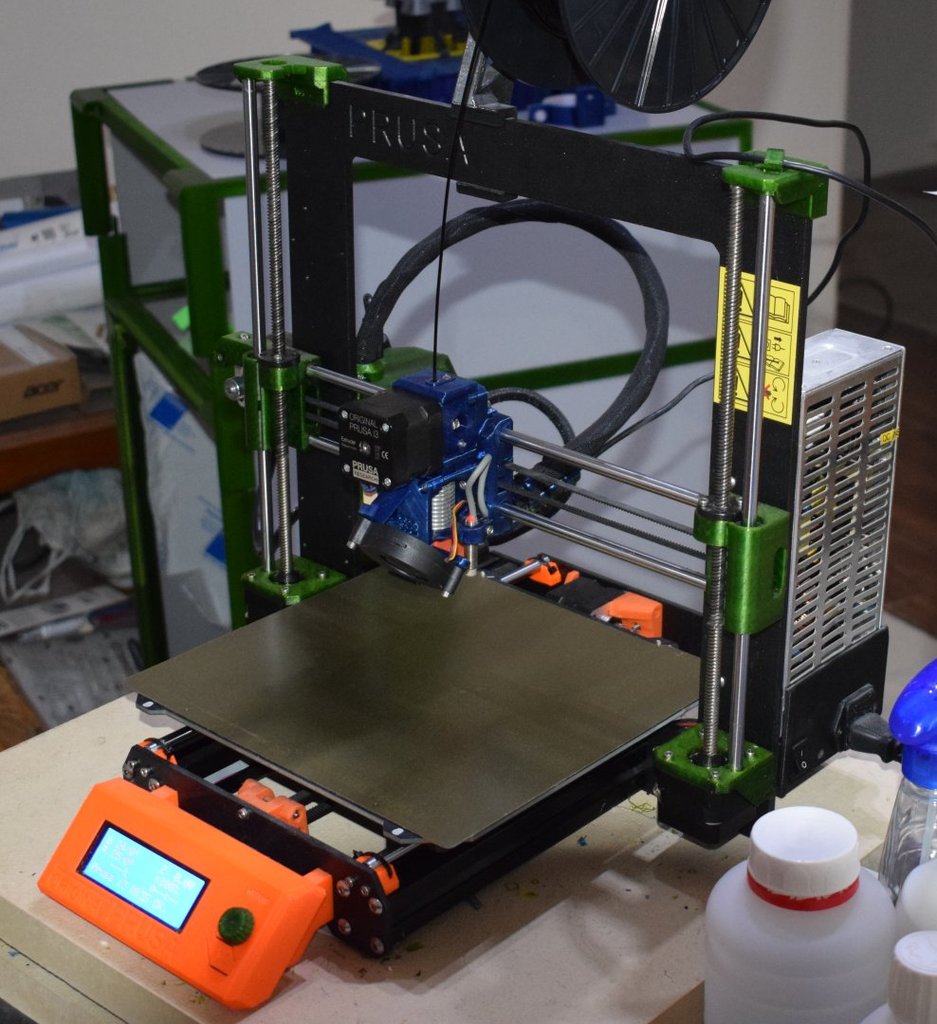
This modification enables full print volume on Prusa i3 MK2.5, MK3, MK2.5S, and MK3S with Volcano heater block and nozzle without firmware changes. It includes adjusters that fit between trapezoidal nuts and x-ends for standard V6 block use without removing the mod. I will update pictures and drawings later as they are still in version 2 format. This is the version 3 of my modification and its second release. With this version, compatibility with MK3S and MK2.5S has been added. The Z-Motor mounts have been updated to match Prusa R3 versions, and cable management has been improved. If you've already fitted a previous version of this mod and are upgrading from MK2.5/MK3 to MK2.5S/MK3S, I suggest not changing the Z-motor mounts. If you've already fitted this mod and it's currently working for you, and you're not upgrading to MK2.5S/MK3S, I suggest staying on your current version unless you need a major printer rebuild for other reasons. Rough Assembly Instructions: Insert nuts into X-carriage and lower bearing cover. Insert nuts into extruder body. Fit filament sensor cable to X-carriage. Fit Pinda probe to extruder body. Fit extruder motor to motor-plate for MK2.5S and MK3S. Fit print fan adaptor/nozzle mount to extruder cover. Fit print nozzle to extruder cover. Fit print fan to extruder cover. Temporarily fit lower bearing cover to X-Carriage. MK2.5S/MK3S Temporarily fix extruder cover and motor plate to extruder body. MK2.5/MK3 Temporarily fix extruder cover and motor to extruder body using right side screw only, as left side is currently inaccessible. Now fix extruder body to X-Carriage, routing cables so they're not trapped and that the extruder motor and print fan leads have a bit of slack. Thread leads through hole in cable holder. Temporarily fix cable holder to lower bearing cover. You can now unfix temporary mounting motor plate and extruder cover. Now fix extruder body left side mounting screw to X-Carriage. For MK2.5S and MK3S, fit FS lever printer adaptor magnets and bearing to extruder body. If you haven't already fitted bondtech gear to extruder motor shaft. Place hot-end assembly (heatsink, PTFE, heat break, heater block, and nozzle) in extruder body with cables pointing towards back. The extruder cover and for MK2.5S/MK3S the motor-plate can now be fixed to extruder body. Complete appropriate steps to finish extruder assembly. Unfasten cable holder from lower bearing cover and remove lower bearing cover. Assembled extruder with X-Carriage can now be fitted to printer. Fix upper and lower bearing covers to X-carriage holding it to printer. Fix cable holder to lower bearing cover. Fit and tension X-Axis belt. Fix belt cover. Fit 500mm nylon filament to cable holder. Wrap cable bundle. Fit cable clamp to cable holder using Zip-Ties, making sure not to crush any wires. The E-Axis assembly is now complete. For final wiring and testing, consult Prusa assembly instructions. Regards, Martin
With this file you will be able to print Full Print Volume Volcano Modification with your 3D printer. Click on the button and save the file on your computer to work, edit or customize your design. You can also find more 3D designs for printers on Full Print Volume Volcano Modification.