Furniture Leg Trimming Gauge
thingiverse
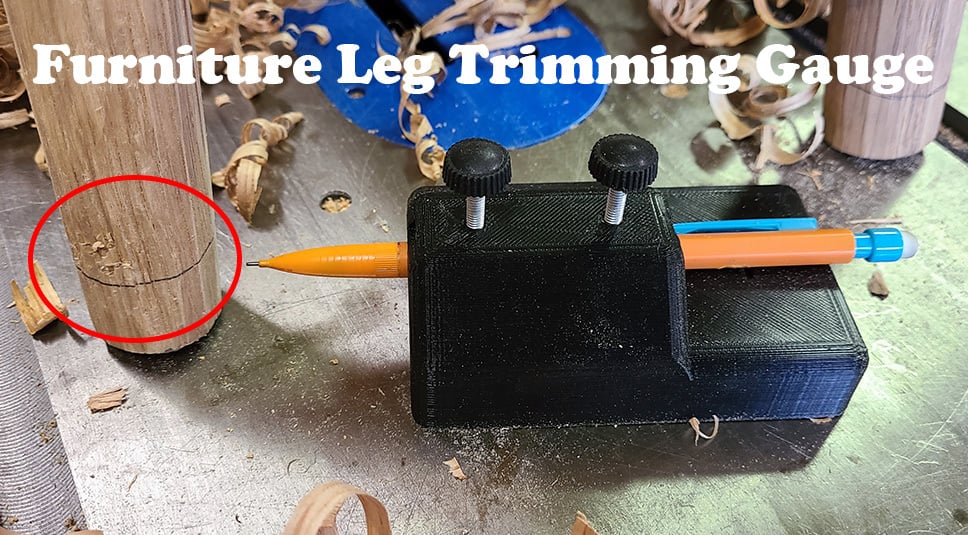
These gauges are intended to create coplanar marks for trimming furniture legs. Often when stools, tables, chairs, etc. are being made, the wood used is unequal in length. If the legs aren't trimmed, the piece of furniture will most likely not be level and may rock back and forth. These gauges can also be used to trim the legs of an existing piece of furniture with unequal legs. The piece of furniture is set on a flat reference surface, and the legs are shimmed up to the point where the furniture sits level. Next, a pencil is inserted in the gauge and tightened down. The gauge is then set onto the reference surface, and pushed around to draw circles all of the way around each leg. These marks are then cut with a hand saw to create even legs. I have included three gauges that correspond to the marks being created at 1 inch (25mm), 3/4 inch (19mm), and 1/2 inch (13mm) from the reference surface. The marking heights of the gauges are embossed into the tops for easy identification. These measurements are accurate when using BIC mechanical pencils (my preferred marking utensils), though a standard pencil will also fit in the hole. Parts needed: (2x) M4 Nut (2x) M4x20mm thumb screw (This is just what I had laying around... a shorter thumb screw or just plain regular screw would work just fine.) Each gauge has a slot on the front and a slot on the back where the M4 nuts are installed. The thumb screw is then inserted from the top and lightly tightened onto the pencil for a frim grip.
With this file you will be able to print Furniture Leg Trimming Gauge with your 3D printer. Click on the button and save the file on your computer to work, edit or customize your design. You can also find more 3D designs for printers on Furniture Leg Trimming Gauge.