Game Controller Stand
thingiverse
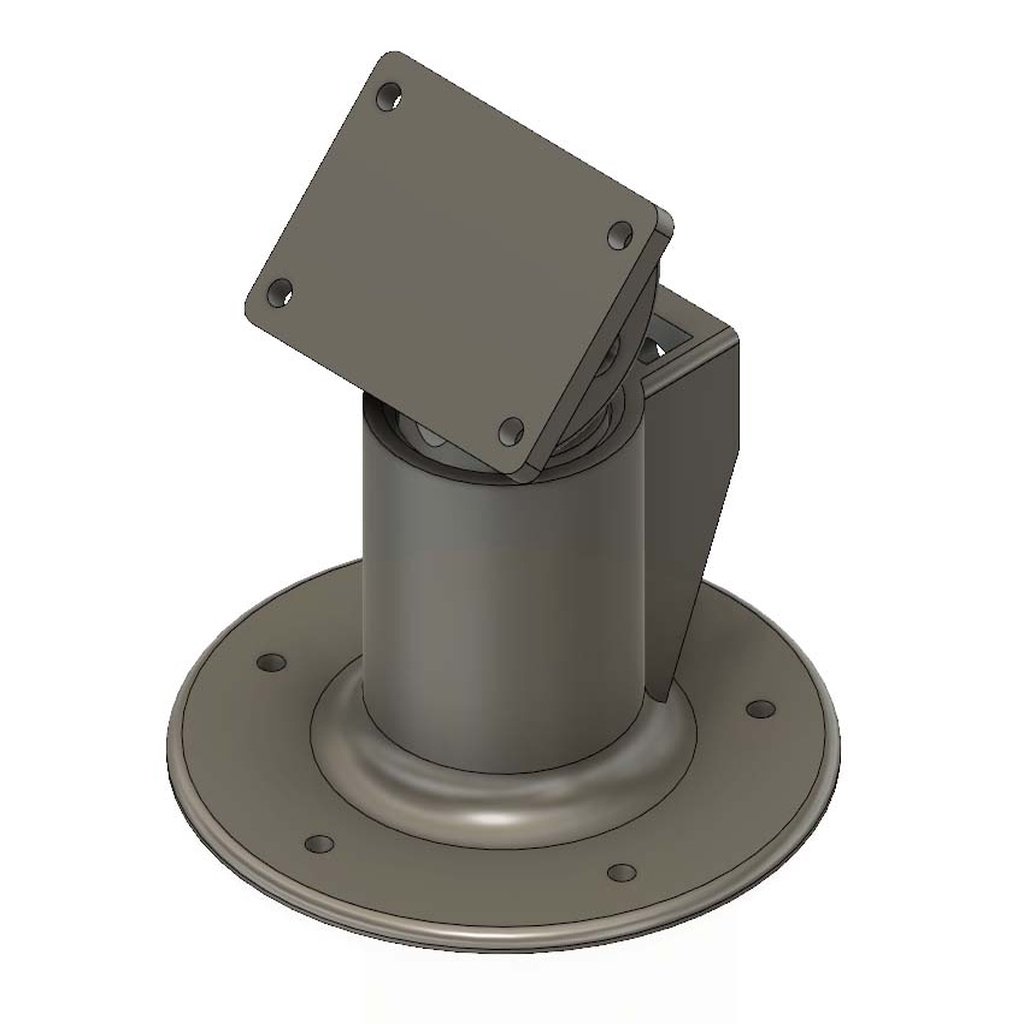
You will require the following hardware: (1) A size 1/4 inch screw, 3/4 inches long (1) A size 1/4 inch nut (1) A size 10 screw, 1 1/4 to 1 1/2 inches long (1) A size 10 lock nut (5) Size 4 screws, 1/4 inch long (4) Size 4 screws, 1/2 inch long to attach the tilt plate to the controller Print all parts. If the base is too large for your printer, you can use the paper pattern to lay out the attachment screws manually on a flat base of your choosing. There are also 2D vector files available if you wish to CNC mill it. Use the Tilt Mount as a pattern by placing it against the back of your controller and drill/mark the four mounting holes. You can also use glue, Velcro or whatever works best for you. It's best to take the controller apart and drill into just the rear half of the shell to avoid damaging components inside. Attach the Controller Tilt Mount to the Inner Shaft using a size 10 screw and lock nut. Adjust the lock nut as needed. Attach the Controller Tilt Mount/Inner Shaft assembly to the rear of the controller. Reassemble the controller shells at this time (if you took them apart). Drop a 1/4 inch nut into the slot on the back of the Outer Shaft Base. Attach the Outer Shaft Base to the flat base using five size 4 screws (or the method of your choice). Slide the controller/tilt/inner shaft assembly into the Outer Shaft Base. Drive a 1/4 inch screw into the back of the base through this nut and tighten against the Inner Shaft. This allows you to adjust and set the height.
With this file you will be able to print Game Controller Stand with your 3D printer. Click on the button and save the file on your computer to work, edit or customize your design. You can also find more 3D designs for printers on Game Controller Stand.