GarageWorx CNC limit switch mounts
thingiverse
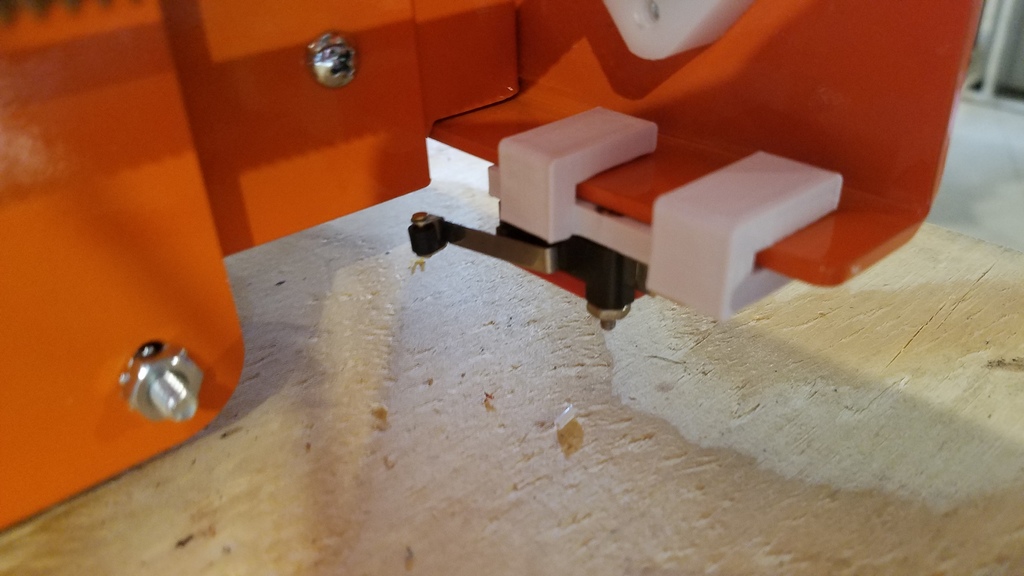
These mounting files are the designs I created for limit switches on the GarageWorX CNC kit. They were built specifically for my 4x4 model, but I know the gantry layout differs on smaller units, so the X-axis mounts may not work on other sizes. The Y and Z mounts should be compatible though. You'll need one each of the Y-axis mounts, one each of the Z's, and then two of the X-axis mounts. They are identical from side to side. To mount the X's, remove two 1/2" 10-24 screws that secure the gantry cross and rail, replace them with a 3/4 or 1" screw, and install them backwards so the threads face outward. Slide on the printed mount and then add one more 10-24 nut to secure the limit switch mount. I used smaller lever switches for these units. Here's a link to them on Amazon: https://www.amazon.com/gp/product/B00MFRMFS6 For the Y and Z switches, I used common V-156-1C25 type switches from Xylotex. Here's a link to a set on Amazon: https://www.amazon.com/dp/B01G3FCH56 To mount the Y axis brackets, slide the printed mount over the front and rear C-channel frames, line them up so the vertical gantry plate will strike the roller, and then add a glob of hot glue to each clip 'leg' to keep them from vibrating loose. The Upper Z axis mount is pretty straightforward. To mount the lower Z, remove the bottom two 1/2" 10-24 screws that secure the Z slider rail plate to the front of the Z-box. Replace them with 3/4 or 1" 10-24 screws just like on the X-axis mounts. Slide the printed mount in there - it's a close fit, so you have to angle it in and then line it up with the screws. Then secure the printed mount onto the longer screws with one extra nut per side. All of the small screws that attach the switches to the printed mounts are 4-40 by 3/4" machine screws and nuts. I had to trim the middle screws on the two Z-axis mounts by about 1/8 of an inch so they wouldn't touch the lead screw. The others don't need to be trimmed, but can be to avoid snagging your hand when you're working around the machine. The lower Z and both Y mounts should be printed with supports. There is no need for supports on the upper Z or the X's.
With this file you will be able to print GarageWorx CNC limit switch mounts with your 3D printer. Click on the button and save the file on your computer to work, edit or customize your design. You can also find more 3D designs for printers on GarageWorx CNC limit switch mounts.